997-340-001, Issue 8
April 1998
ID1000 Series Operating Manual
Press the appropriate pushbutton. Sensors and Modules must be printed out as separate operations.
Three further options are provided:
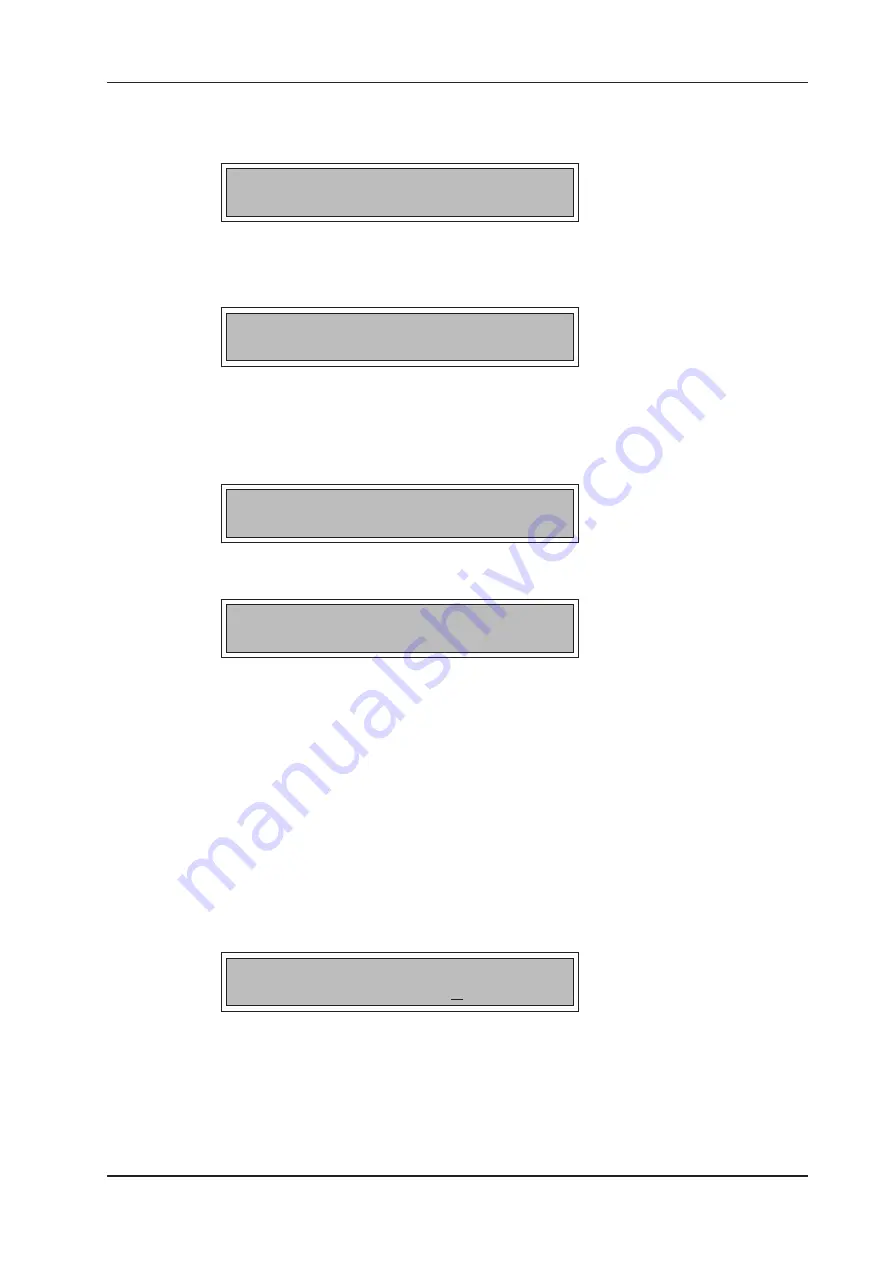
Choose from ZONE no. (0=ALL)?
Key in the specific Zone number followed by ENTER, to print only the devices in that zone, or just
ENTER to select the default of ALL ZONES. In the case of the latter the display then shows:
Print ONLY if value above (%)? 0
Key in the desired minimum value (expressed as a percentage) followed by ENTER, or press just
ENTER to select the default of ALL values. This is a means of selectively printing only those devices
with an unusually high reading. In normal conditions values should be below 60%.
If you press just ENTER in response to the above question, you are given a further option:
Print only MASKED devices?
(0=NO, 1=YES):
or, on a Network Master panel:
Print only MASKED devices (ALL stns.)?
(0=NO, 1=YES):
If you select 1 for ‘YES’ then only MASKED devices are printed. In the case of this option only, if the
panel is the Master Panel on a Network system, any masked devices connected to the Slave panels
are also printed. This is the only occasion on which a list of devices at another panel can be obtained.
Note that only one of the above special options at a time can be selected, i.e. you cannot print out
selectively both by specific Zone and by specific value threshold, etc.
The printout will list, in addition to configuration details about each device and its current reading,
indications of any device that is MASKed and any device that is MISSING (i.e. registering a NO-
REPLY fault).
You may abort the printout subsequently by pressing CANCEL (on the VDU: by pressing any key); it
will also be aborted if any new alarm occurs in the meantime.
3.12.1 Printer Control Modes
Selection of option ‘2’ offers a choice of three printer control modes as displayed below:
0=Normal/ 1=Hold/ 2=Disable: 0
The panel always powers-on with the printer in ‘Normal’ mode. Selection of option ‘1’ allows the
printout data to be held in memory but without being printed. When option ‘2’ is selected, the printout
data will not be printed and is discarded.
During panel mains failures, the printer status is equivalent to being in ‘Hold’ mode. However, if the
printer is manually set to ‘Hold’, it does not revert to ‘Normal’ when the mains is restored.
All three modes are latched either until subsequently changed by the user or the panel goes through
a power-up sequence.
15


