Video/Audio Adjust menu
07
37
En
Chapter 7
Video/Audio Adjust menu
From the Video/Audio Adjust menu you can make various settings that affect how video is presented on your TV and how the sounds. Items in the Video/Audio Adjust
menu can only be changed during playback.
Video Adjust
• Default setting:
Standard
From the Video Adjust screen you can select the Standard or Cinema
video presentation or define presets of your own in Memory 1 to 3.
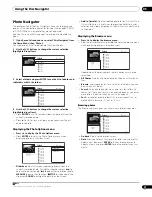
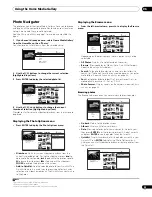
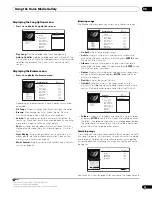
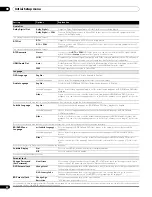
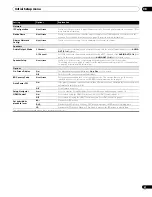
1
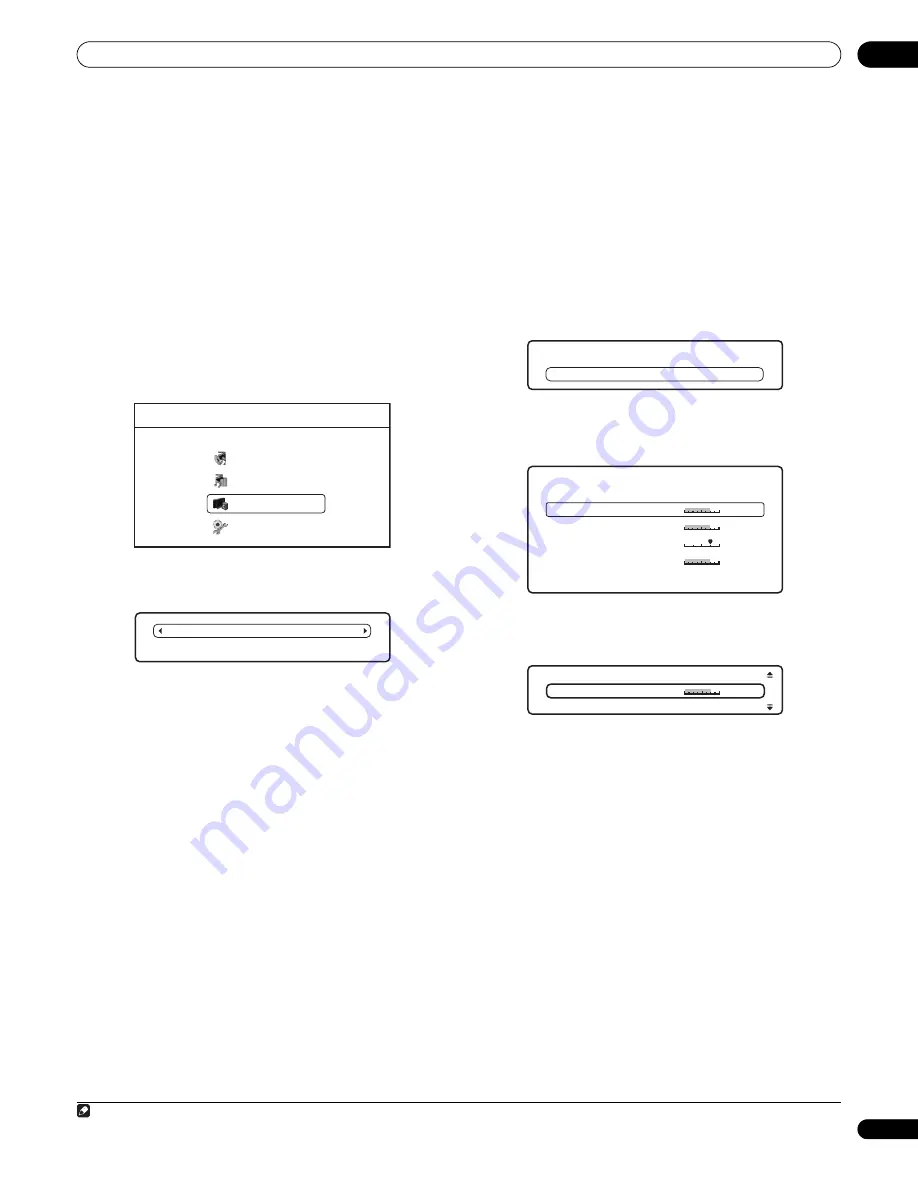
Press HOME MENU and select ‘Video/Audio Adjust’ from
the on-screen display.
You can press
VIDEO ADJUST
on the remote to display the Video
Adjust screen.
2
Select ‘Video Adjust’.
3
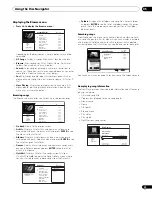
Use the
/
buttons to select a preset.
•
Standard
– Standard setting
•
Cinema
1
– Optimized for watching movies
•
Memory1/Memory2/Memory3
– Use for saving your own
presets (see
Creating your own presets
below)
4
Press ENTER or RETURN to make the setting and exit the
Video Adjust screen.
PureCinema
There are two types of video signals: Video material, with a frame
rate of 25 or 30 frames/second; and film material, that has a frame
rate of 24 frames/second.
In PureCinema mode film material is converted to 50 or 60 frames/
second progressive for an exceptionally clear picture. Video output
at 24 frames/second is converted to 60 frames/second.
For film material or sources otherwise recorded with a frame rate of
24 frames/second, video is output in PureCinema mode even if you
have
Video Adjust
set to
Standard
,
Cinema
, or
Memory 1
,
2
or
3
.
Additionally, for PAL movie discs (25 frames/second BD-ROM or
DVD discs) with film material or sources not correctly recorded at a
frame rate of 24 frames/second, film materials are output in
PureCinema even if you have the
Video Adjust
set to
Cinema
. If you
notice problems with the images projected when set to
Cinema
(images appear to move, or zigzag), set the
Video Adjust
to
Standard
or
Memory 1
,
2
or
3
.
Creating your own presets
You can create up to three presets of your own.
1
Select one of the Memory presets.
2
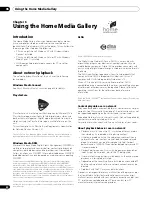
Press
to select ‘Detailed Settings’ then press ENTER.
3
Adjust the picture quality settings.
• Use the
/
buttons to select a setting.
• Use the
/
buttons to adjust the current setting.
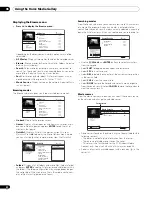
Select a setting then press
ENTER
to display just that setting. This
gives you more screen area in which to see the effects of changes
you make.
• Press
ENTER
or
RETURN
to go back to full-screen display.
You can adjust any or all of the following picture quality settings:
•
White Level
1
– Adjusts the intensity of white.
•
Black Level
1
– Adjusts the intensity of black.
•
Hue
– Adjusts the overall colour balance between red and
green.
•
Chroma Level
– Adjusts how saturated colours appear.
4
Press RETURN to save the preset and exit the Detailed
Settings screen.
Note
1 Effective only for video output from
HDMI OUT
or
COMPONENT VIDEO OUT
connections (settings do no affect video output from
VIDEO OUT
or
S-VIDEO OUT
).
Home Menu
Disc Navigator
Home Media Gallery
Video/Audio Adjust
Initial Setup
S
tandard
Detailed
S
ettings
Memory
1
Detailed
S
ettings
Memory 1
Hue
M i n
Max
White Level
Max
Black Level
Max
Chroma Level
G re e n
Red
M i n
M i n
Memory 1
M i n
Max
White Level


