49BDL5055P
27
5. Signage display
5.1. Setting
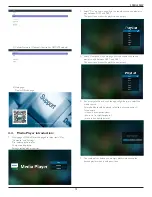
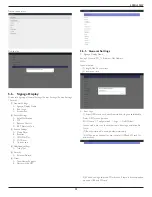
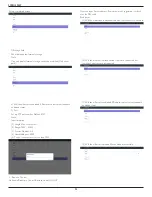
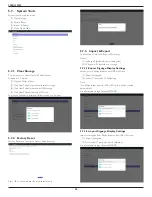
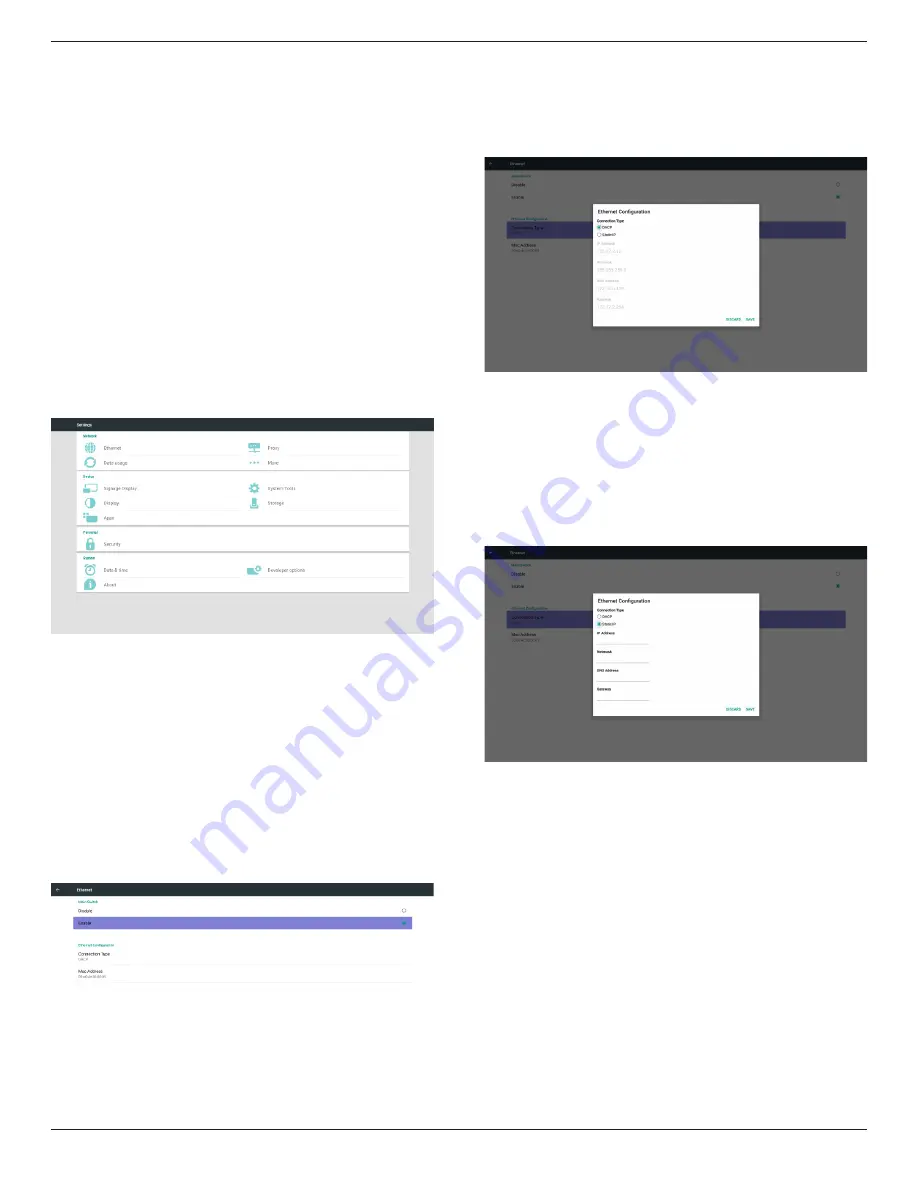
Main items:
(1) Ethernet
(2) Proxy
(3) Data usage (Show up when 4G module connected)
(4) More (Show up when 4G module connected)
(5) Signage Display
(6) System Tools
(7) Display
(8) Storage
(9) Apps
(10) Security (Show up when 4G module connected)
(11) Date & time
(12) Developer options
(13) About
5.2. Ethernet
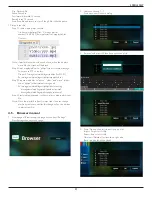
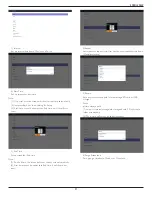
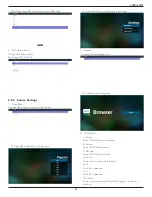
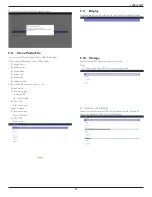
Enable/Disable to turn on/off Ethernet
After enable Ethernet, the settings will show:
(1) Connection Type (Available connection type: DHCP/Static IP)
A. DHCP
B. Static IP
C. IP Address
D. Netmask
E. DNS Address
F. Gateway
(2) Mac Address
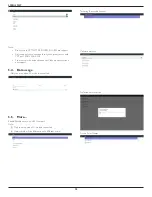
Note:
Ethernet will be disabled automatically when wifi on and connect to
network.
5.2.1. DHCP
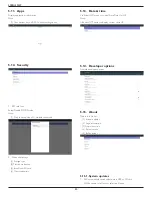
DHCP mode:
(1) Cannot modify IP Address, Netmask, DNS Address and Gateway.
(2) If connect successfully, it will display current network
configuration.
5.2.2. Static IP
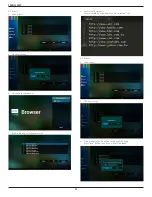
In Static IP mode, user can input IP Address, Netmask, DNS address and
Gateway
Note:
IP address, netmask, DNS address and gateway address input limitation
(1)Format:
I. number 0-9
II. decimal point “.”
5.3. Proxy
Browser connect to Proxy server and ask Proxy server to connect
some website on Internet.
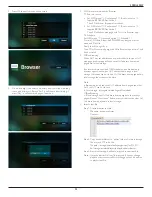
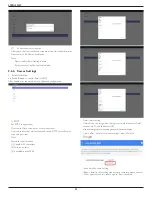
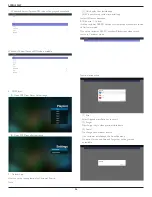
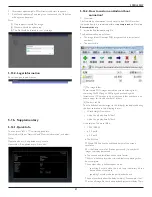
Enable/Disable to turn on/off Proxy server.
• Click “Enable” to switch proxy function “ON”
• Input the “Proxy hostname”. (Proxy server IP address)
• Input the “Proxy port”. (Proxy server port number)
• Select an “Type”. (Proxy server type.)
• Done.
-
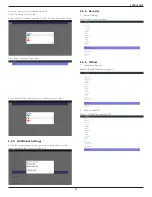
If the proxy server is need an authentication to connect, please
“check on” the Authentication and input Username & Password.
-
If the proxy server is not need an authentication to connect.
Содержание SignageSolutions 49BDL5055P
Страница 1: ...www philips com welcome 49BDL5055P V1 01 User Manual English ...
Страница 13: ...49BDL5055P xiii Step 3 ...

