Hardware Repair
MCP9350i
12.
EN 59
12.16. Motherboard
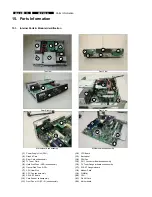
12.16.1. Motherboard Subassembly Removal
1.
Remove the top cover. See paragraph 12.1.1.
2.
Remove the main bezel. See paragraph 12.2.1.
3.
Remove the HDD subassembly. See paragraph 12.3.1.
4.
Remove the ODD. See paragraph 12.4.1.
5.
Remove the riser card subassembly. See paragraph 12.5.1.
6.
Remove the CPU heat sink. See paragraph 12.15.1.
7.
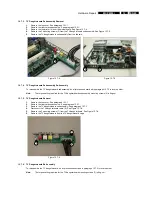
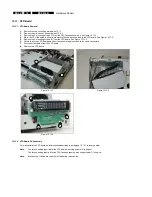
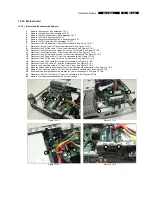
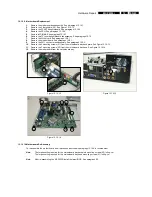
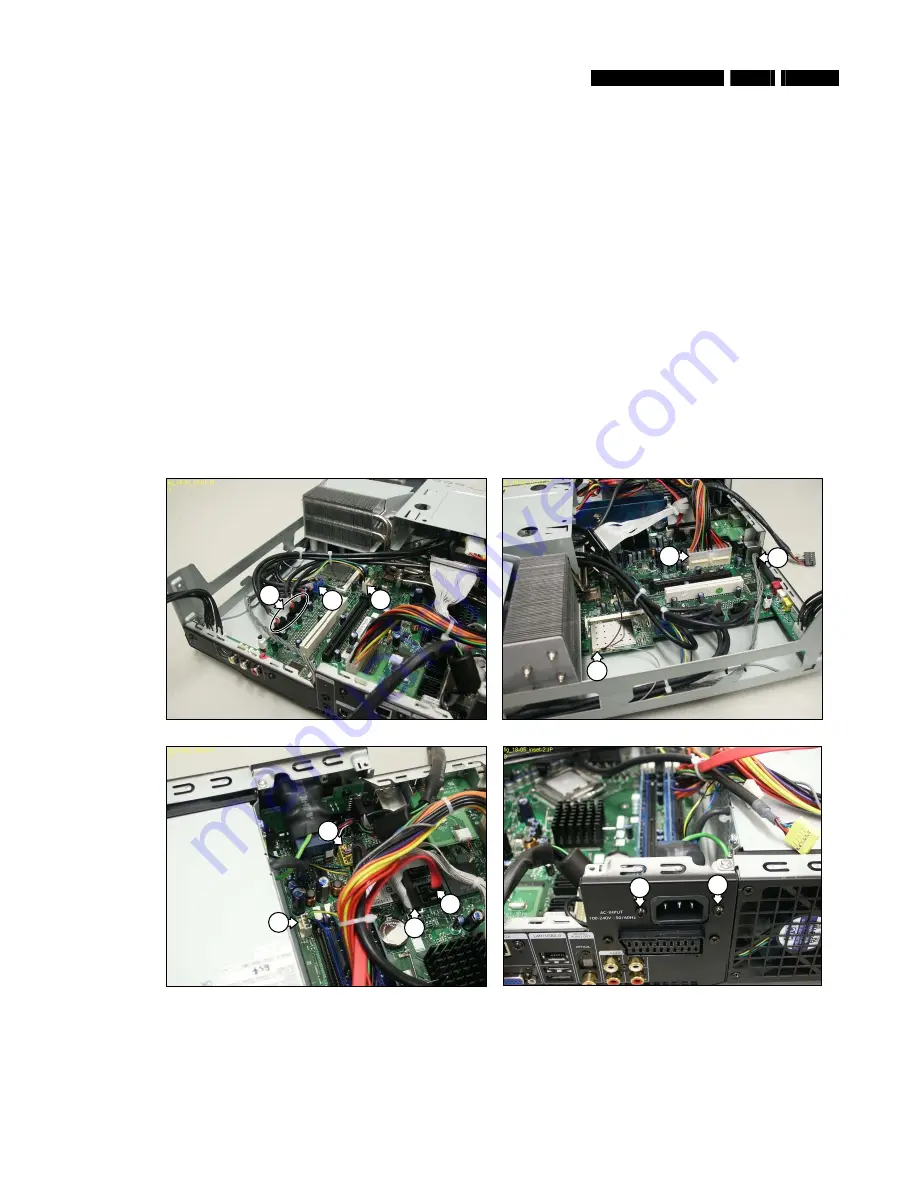
Disconnect the 3 USB cables (1) from the motherboard. See Figure 12.16-1.
8.
Disconnect the 1394 cable (2) from the motherboard. See Figure 12.16-1.
9.
Disconnect the CPU fan cable (3) from the motherboard. See Figure 12.16-1.
10.
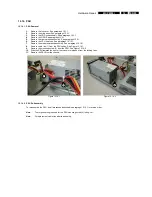
Disconnect the WLAN antenna cables (4) from the WLAN card. See Figure 12.16-2.
11.
Disconnect the IR blaster cable (5) from the motherboard. See Figure 12.16-2.
12.
Disconnect the PSU main power cable (6) from the motherboard. See Figure 12.16-2.
13.
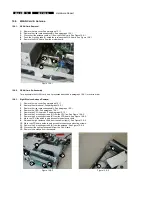
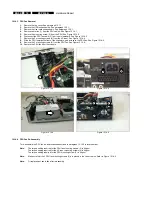
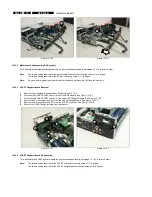
Disconnect the FP audio cable (7) from the motherboard. See Figure 12.16-3.
14.
Disconnect the PSU fan cable (8) from the motherboard. See Figure 12.16-3.
15.
Disconnect the ATA33 cable (9) from the motherboard. See Figure 12.16-3.
16.
Disconnect the SATA cable (10) from the motherboard. See Figure 12.16-3.
17.
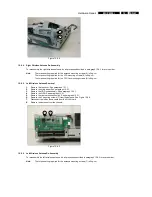
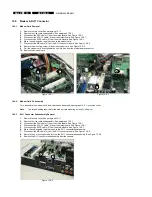
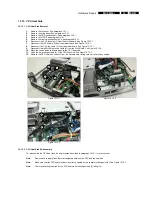
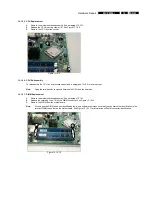
Remove the 2 mounting screws (11) from the AC input. See Figure 12.16-4.
18.
Move the cables aside to allow clear access to the motherboard subassembly. See Figure 12.16-5.
19.
Remove the 2 mounting screws (12) from the motherboard subassembly. See Figure 12.16-5.
20.
Slide the motherboard subassembly towards the rear of the chassis. See Figure 12.16-6.
21.
Disconnect the PSU +12v cable (13) from the motherboard. See Figure 12.16-6.
22.
Remove the motherboard subassembly from the chassis.
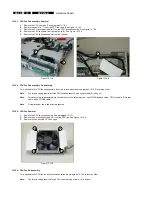
Figure 12.16-1
Figure 12.16-2
Figure 12.16-3
Figure 12.16-4
1
3
2
4
5
6
7
8
9
10
11
11

