Hardware Repair
MCP9350i
12.
EN 39
12.2. Main
Bezel
12.2.1. Main Bezel Removal
1.
Check the front of the MCP9350i for cosmetic damage. Make a note of any existing damage to the main bezel and ODD bezel.
2.
Remove the top cover. See paragraph 12.1.1.
3.
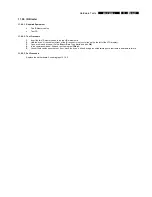
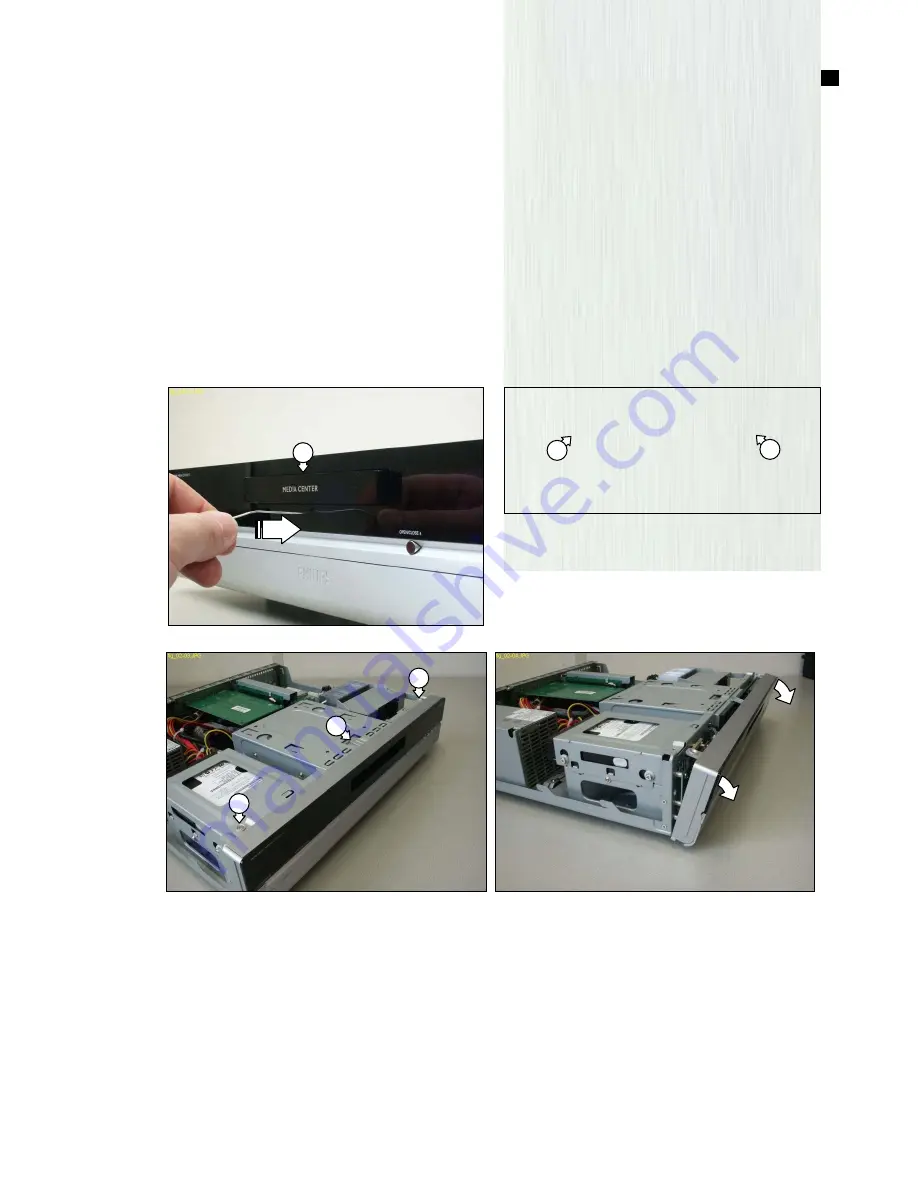
At the front of the MCP9350i insert a straightened paper clip into the access hole under the ODD tray.
4.
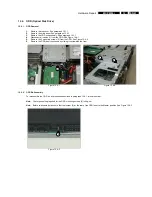
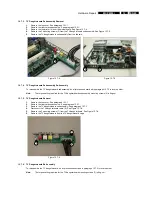
Push the paper clip until the ODD tray (1) is unlocked. See Figure 12.2-1.
5.
Carefully turn the MCP9350i over, so that the bottom side of the chassis is facing upwards.
6.
Carefully pull the ODD tray out to gain access to the underside of the ODD bezel.
7.
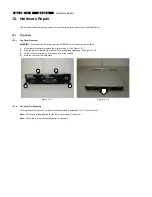
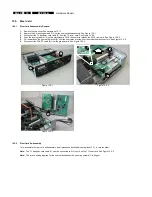
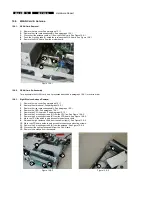
Release the 2 locking tabs (2), and remove the ODD bezel. See Figure 12.2-2.
8.
Store the ODD bezel in a safe place.
9.
Push the ODD tray in until it closes.
10.
Turn the MCP9350i over, so that the topside of the chassis is facing upwards.
11.
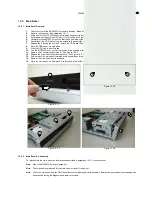
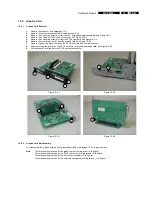
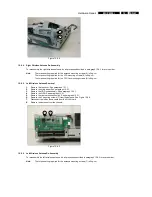
Remove the 2 countersunk screws (3). See Figure 12.2-3.
12.
Release the main bezel upper locking tab (4). See Figure 12.2-3.
13.
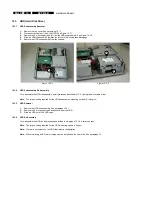
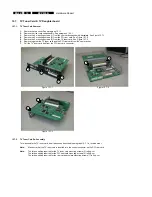
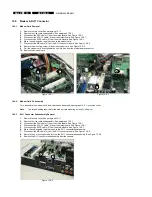
Pull the top of the main bezel forwards and downwards until the lower locking tabs disengage. See Figure 12.2-4.
14.
Remove the main bezel from the chassis.
15.
Store the main bezel in a safe place. Avoid touching the inside of the display window.
Figure 12.2-1
Figure 12.2-2
Figure 12.2-3
Figure 12.2-4
12.2.2. Main Bezel Re-Assembly
To re-assemble the main bezel, do all processes described in paragraph 12.2.1 in reverse order.
Note:
Clean the MCP9350i before re-assembly
Note:
The torque setting required for the main bezel screws (3) is 8kg-cm
Note:
Check the main bezel and the ODD bezel for cosmetic damage after re-assembly. Replace only when additional damage has
been caused during the diagnosis and repair procedure.
1
2
2
3
4
3

