5
E
N
connection to PC
V
IDEO
S
ETTINGS
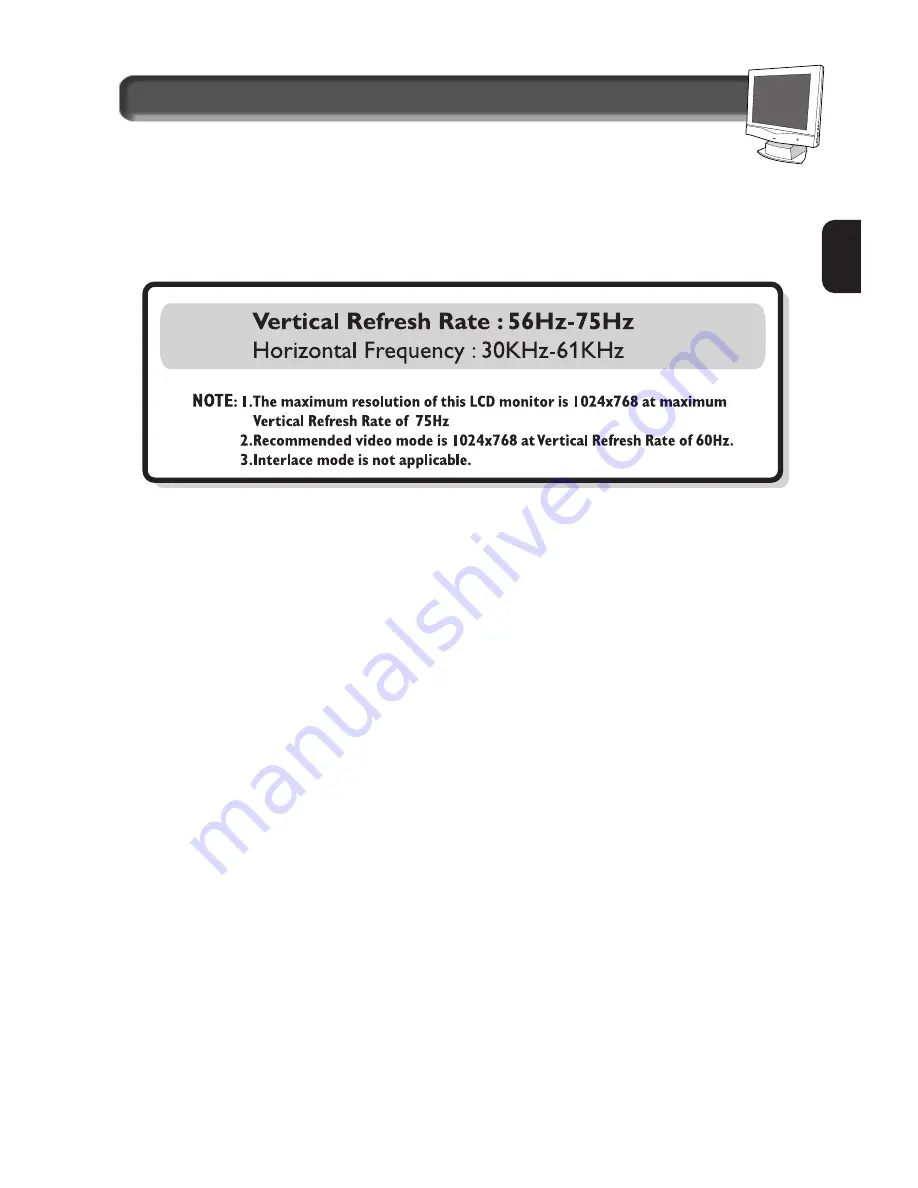
Before connecting your LCD Monitor to the PC, make sure that the computer’s video settings (resolution
and frequency) are in accordance with those below.
If you have Windows ’95 . . .
FOLLOW THESE STEPS TO COMPLETE SETTING UP YOUR MONITOR
1. Insert Windows ‘95 floppy disk supplied with this monitor.
2. Click on the “START” icon. Next, click on the “SETTINGS” icon. Then click on “CONTROL PANEL.”
3. Double-click on “DISPLAY” icon. Next, click on “SETTINGS” tab. Then click on “ADVANCED
PROPERTIES” dialog box.
4. Click on “MONITOR” tab.
5a. If you have an old computer, click on “CHANGE” dialog box. Next, “SELECT DEVICE” screen appears.
Now click on “HAVE DISK” dialog box. and select A drive
Or
5b. If you have a new computer, “SELECT DEVICE” screen automatically appears.
Click on “HAVE DISK” dialog box and select A drive.
6. Select “OK” in the “INSTALL FROM DISK” dialog box. If model name of the Philips monitor is correct,
click “OK” tab in the “SELECT DEVICE” dialog box.
7. Click “CLOSE” tab in the “ADVANCED PROPERTIES” dialog box. If your Windows ’95 version is
different or you need more detailed installation information, please refer to the Windows ’95 user’s
manual.


