background image

© 2004 Perma Green Supreme, Inc. All rights reserved.

DOCUMENT ID: U005M

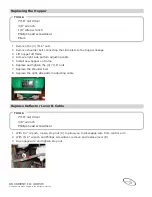
Replacing the Hopper

1 Remove the (4) 7/16” nuts
2 Remove shoulder bolt connecting the slide plate to the hopper linkage
3 Lift hopper off frame
4  Remove right side pattern adjusting cable
5 Install new hopper on frame
6 Replace and tighten the (4) 7/16” nuts
7 Replace the shoulder bolt
8 Replace the right-side pattern adjusting cable


TOOLS

7/16” nut driver
3/8” wrench
1/8” Allen wrench
Phillips head screwdriver
Pliers

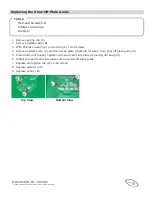
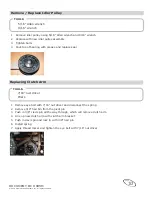
Replace Deflector Lever & Cable

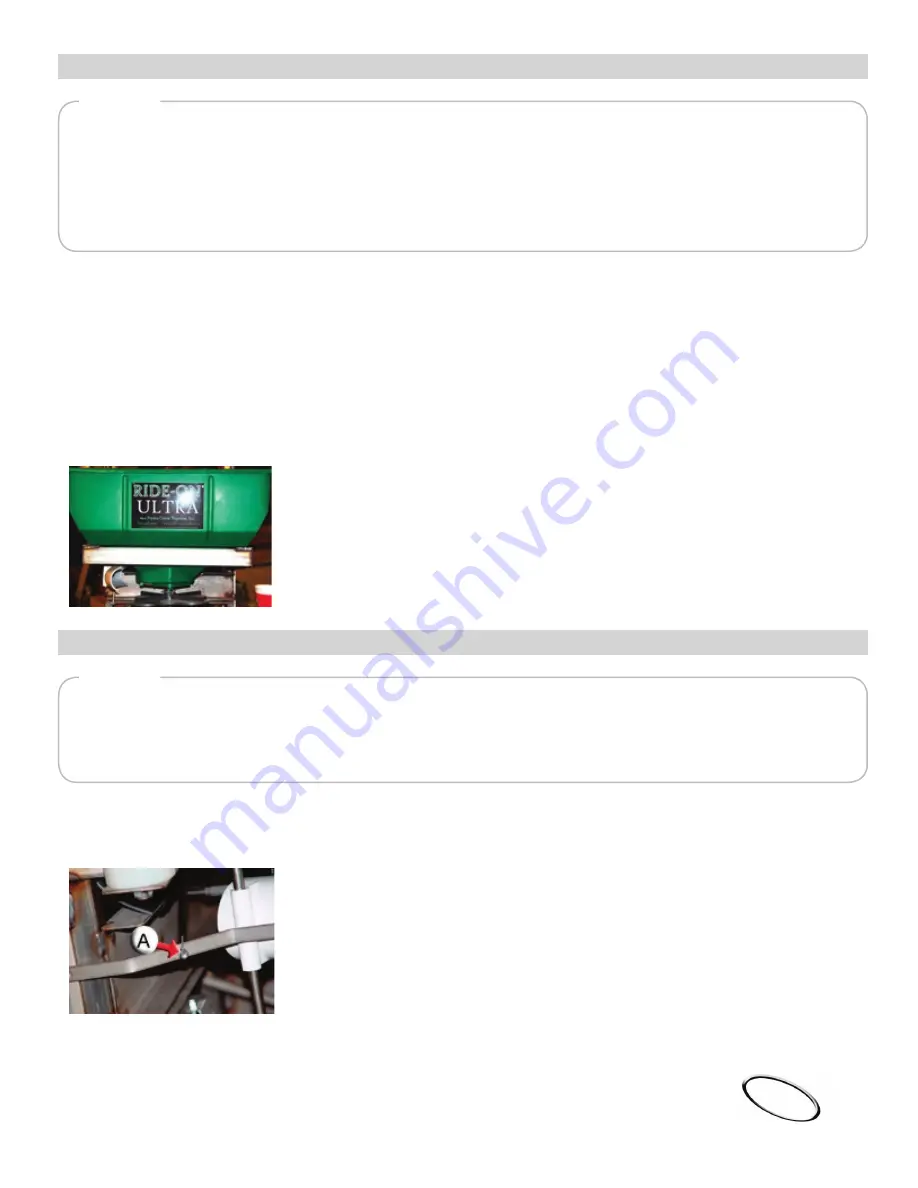
1 With 1/4” wrench, loosen stop nut (A) to allow you to disengage wire from control arm
2 With 7/16” wrench and Phillips screwdriver, remove and replace lever (B)
3 Re-engage wire and tighten stop nut


TOOLS

7/16” nut driver
3/8” wrench
Phillips head screwdriver

page

5

Содержание ULTRA SE A1A

Страница 1: ...tions please call 800 346 2001 or your local distributor below Direct all inquiries to DOCUMENT ID U005M Perma Green Supreme Inc 5609 Murvihill Rd Valparaiso IN 46383 8324 info ride onspreader com 200...

Страница 2: ...al number for ordering parts and when making technical or warranty inquiries INTRODUCTION page 2 2004 Perma Green Supreme Inc All rights reserved DOCUMENT ID U005M Pressure Unloader Valve clean 3 Pump...

Страница 3: ...pump wiring harness including pump switch and replace with new harness 6 Put on new pump assembly on leg bolts 7 Tighten the 4 10 24 nuts 8 Plug wiring harness together 9 Reconnect hoses 10 Re run wi...

Страница 4: ...lies TOOLS none 2004 Perma Green Supreme Inc All rights reserved DOCUMENT ID U005M 1 With 7 16 socket or 7 16 wrench remove the 4 tank bolts If the tank threads strip out use a pry bar to force the ta...

Страница 5: ...Replace and tighten the 4 7 16 nuts 7 Replace the shoulder bolt 8 Replace the right side pattern adjusting cable TOOLS 7 16 nut driver 3 8 wrench 1 8 Allen wrench Phillips head screwdriver Pliers Rep...

Страница 6: ...hut off plate guide D 5 Clean bottom of hopper agitator cam and main slide plate removing dirt and grit 6 Install cam and main slide plate onto new shut off plate guide 7 Replace and tighten the 6 10...

Страница 7: ...ting to engine 7 Remove kill wire plug from engine 8 Tip machine back upright 9 Remove engine making sure spinner shaft comes loose from engine 10 Install new engine on frame 11 Top machine on front e...

Страница 8: ...er clutch pulley first then transaxle pulley 4 Release clutch arm TOOLS none Change Engine Oil 1 Top nose on its front end nose 2 Using 3 8 socket extension loosen ONLY the drain plug D 3 Place wheels...

Страница 9: ...ned cap washer 2 spacer bushings and seal 5 Remove clutch with pulley puller positioned around drive belt pulley 6 Clean shaft apply anit seize to shaft and install new clutch assembly 7 Install clutc...

Страница 10: ...e eye bolt with 7 16 nut driver and disconnect the spring 2 Remove 3 8 hair bin from the pivot pin 3 Push in 3 8 clevis pin all the way through which will remove clutch arm 4 Line up new clutch arm wi...

Страница 11: ...g the 2 1 2 wrenches 4 Remove the 2 self tapping screws with 1 2 wrench 5 Unplug electrical harness from transaxle 6 Remove transaxle assembly 7 Set new transaxle assembly in place Replace the 4 bolts...

Страница 12: ...ating joint 8 Apply thread locker and tighten bottom bolt 9 Replace safety wire and clamp 10 Grease articulating joints TOOLS 1 1 8 wrench Flathead screwdriver Replacing Caged Roller Bearings 1 Remove...

Страница 13: ...ke band around the brake drum TOOLS 7 16 wrench Changing the Battery 1 Remove hood by removing the 4 10 24 nuts 2 Unplug battery from main wiring harness 3 Using Phillips screwdriver and 3 8 wrench re...

Страница 14: ...own with WD 40 paying particular attention to moving parts such as bearings and linkages 4 Flush and drain the tank and pump 5 Add RV anit freeze to tank and run through the entier spray system 6 Chan...

Отзывы: