120
121
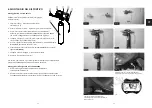
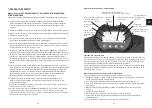
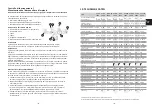
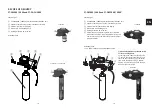
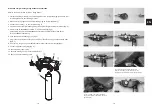
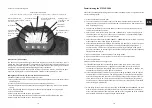
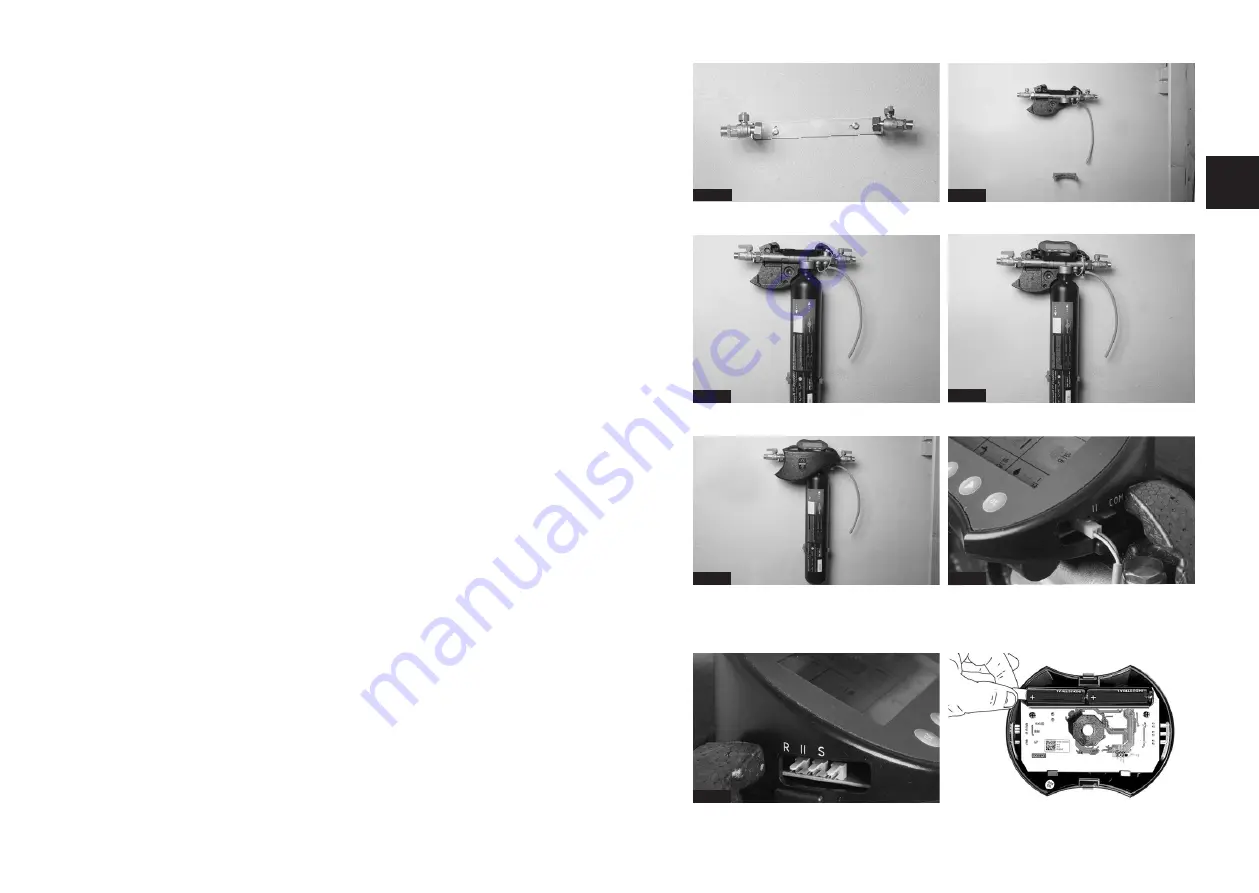
Fig. 1
Fig. 2
Fig. 4
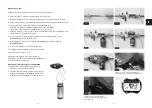
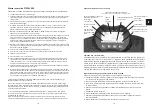
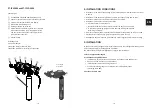
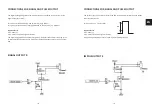
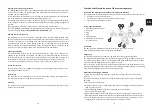
Connections on the left on the display:
signal cable (R), conductance sensor (II), pulse cable (S)
Connections on the right: conductance sensor (II), prepa-
ration for bidirectional communication (COM)
Fig. 3
Fig. 5
Fig 6
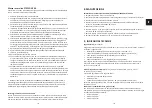
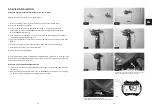
6. DEVICE INSTALLATION
Installation of digital heating filling stations PT-DA and PT-DA-CH
Observe the flow direction (arrow on filling station)
1. Fasten the holding bracket
⑤
to the wall with the screw set provided (fig.1)
2 Screw the ball valves
②
on (fig.2)
3
.
Screw in the PT-PS1000 or PT-PS5000FD
permasoft
①
from underneath (fig. 3),
alternatively connect the PS-AD28000 adapter with the flexible connection hoses
for PT-PS28000E to the fitting.
4. Push the electronics housing
③
on (fig. 4), first removed the paper flag on the battery
compartment (2x AA battery) (fig. 8)
5
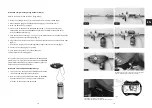
Plug in the conductance sensor (II) on the side of the electronics; possible on both sides
(fig.6, 7)
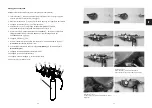
6. If necessary, plug in the pulse cable (S) and/or signal cable to the relay (R) (fig.7)
7. Push the flushing hose
④
onto the bleed valve
8. Attach the front insulating shells
For the initial filling with the PT-PS18000 or PT-PS18000 Alu permasoft, or for larger refill
volumes with the PT-PS28000E permasoft for stationary use, these permasoft versions can
be connected via an optional adapter.
Installation of the PS-AD28000 adapter flange
1. To do this, screw the optionally available adapter flange into the thread underneath the
electronics
2. Now connect the two flexible hoses to the PT-PS28000E demineralisation unit. In doing
so, observe the flow direction on the adapter and permasoft.
Fig. 8
Fig. 7
EN
Содержание PT-DA-CH5000
Страница 72: ...142 143...

