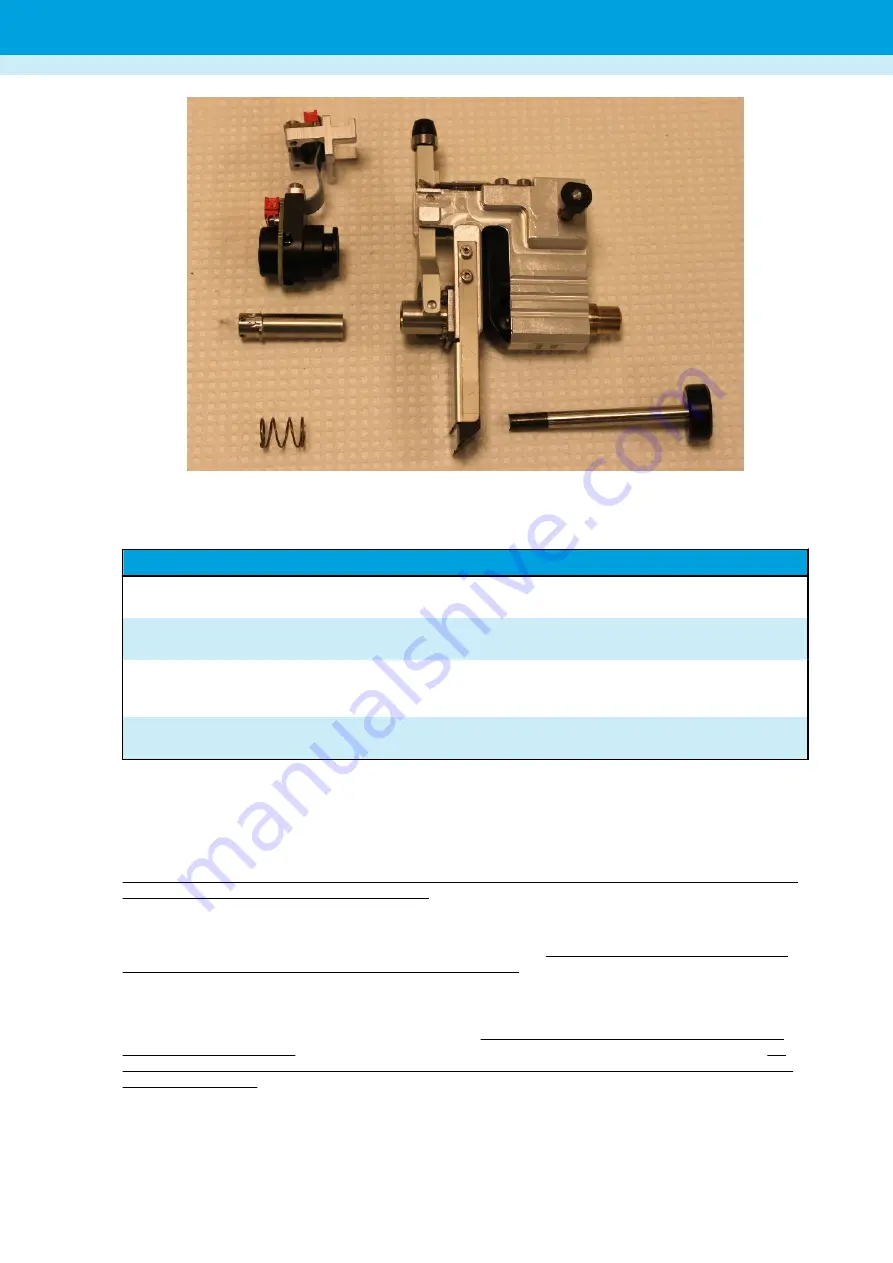
Wash all of them according to your laboratory standard procedures.
Focus especially on the following parts: inner chute, the punch die, and the whole shaft area where the punch die and
the disk move:
Part
Cleaning
Punch
Clean the punch thoroughly from top to bottom in order
to remove all the dust.
Upper shaft
Clean all the accumulated dust off the upper shaft so that
the punch can move in it freely.
Inner chute
Most of the dust gathers in the inner chute. If too much
dust is accumulated, there is a risk of dust falling into the
wells. To prevent this, clean the inner chute thoroughly.
The pillow
The pillow and the space above and below it gather dust.
They must be cleaned every time.
To ensure full functionality and enhanced lifetime, all parts must be clean and dry when re-assembling them together.
Except for the electronics (disk detector), the different parts can be cleaned with either pressurized air, or water
followed by alcohol. If you choose to use alcohol, first rinse the components with water. Since alcohol denaturates
proteins, these will stick to the surfaces and will therefore be harder to remove. Using water first should largely
eliminate this problem.
You may use swabs (foam or nylon applicator sticks are best as cotton-tipped applicator sticks can leave behind cotton
filaments) or cleaning clothes that do not create dust. Avoid microfiber clothes in dry conditions since rubbing them
against the different parts of the punch head may create static electricity.
The disk detector should be cleaned as needed. To clean the disk detector, use canned air to remove the dust. You can
also use your laboratory compressed air system if it is completely oil-free. Alternatively, you can use a soft brush or a
dry applicator stick (preferably foam or nylon to dust off the detector.
When you have finished cleaning (and drying) the different parts, you need to reassemble them in the following order.
First slide the inner chute back into the disk detector and make sure it goes all the way down.
You may have to twist the inner chute while you push it down (the chute has a small groove that should line up with
the groove inside the detector) in order to ensure that the edge of the cylinder is at the same level as the plastic. For
disk detection to work propely, the four holes in the inner chute must line up with the the two infrared LEDs and their
corresponding sensors.
Panthera-Puncher
™
9 User Manual
Maintenance and shutdown
20
Содержание Panthera-Puncher 9
Страница 1: ...2081 0010 USER MANUAL Panthera Puncher 9 Software version 1 8 Dried Blood Spot Punching Device...
Страница 2: ......
Страница 40: ...36...
Страница 41: ......


