184
7
Settings
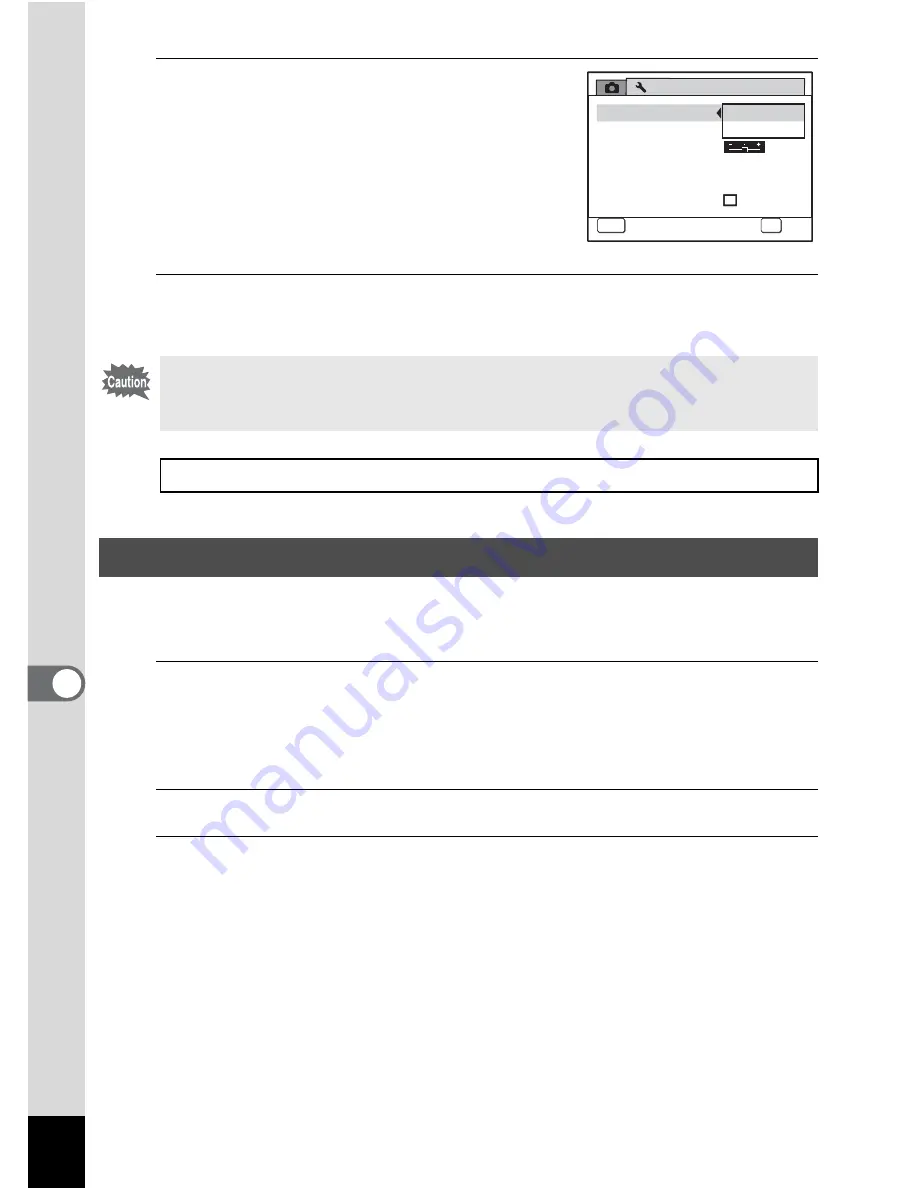
4
Use the four-way controller (
23
)
to select [PC] or [PictBridge].
PC
: For transferring image
data to a computer
PictBridge
: For connecting the camera
to a PictBridge-compatible
printer
5
Press the
4
button.
The setting is saved.
When you connect the camera to AV equipment, choose the appropriate
video output format (NTSC or PAL) for taking and playing back images.
1
Press the
3
button in
Q
mode.
[
W
Setting] menu appears.
When you press the
3
button in
A
mode, press the four-way
controller (
5
) once.
2
Use the four-way controller (
23
) to select [Video Out].
3
Press the four-way controller (
5
).
A pull-down menu appears.
Do not connect the camera to your computer while [PictBridge] is
selected for the USB Connection mode. And do not connect the camera
to your printer while [PC] is selected.
Printing Using PictBridge
1
p.161
Changing the Video Output Format
S e t t i n g
P o w e r S a v i n g
A u t o P o w e r O f f
3 min
5 sec
U S B C o n n e c t i o n
Vi d e o O u t
B r i g h t n e s s L e v e l
2 / 3
MENU
Cancel
Cancel
C a n c e l
OK
OK
OK
O K
P C
PictBridge
Q u i c k Z o o m
Содержание OPTIO L60
Страница 47: ...2 Common Operations Understanding the Button Functions 46 Setting the Camera Functions 51...
Страница 119: ...4 Playing Back and Deleting Images Playing Back Images 118 Deleting Images 132 Connecting the Camera to AV Equipment 141...
Страница 145: ...5 Editing and Printing Images Editing Images 144 Setting the Printing Service DPOF 158 Printing Using PictBridge 161...
Страница 169: ...6 Recording and Playing Back Sound Recording Sound Voice Recording Mode 168 Adding a Voice Memo to Images 171...
Страница 175: ...7 Settings Camera Settings 174...
Страница 217: ...Memo...
Страница 222: ...Memo...
Страница 223: ...Memo...


