146
5
Edi
tin
g an
d Pri
n
ti
ng
Ima
g
es
3
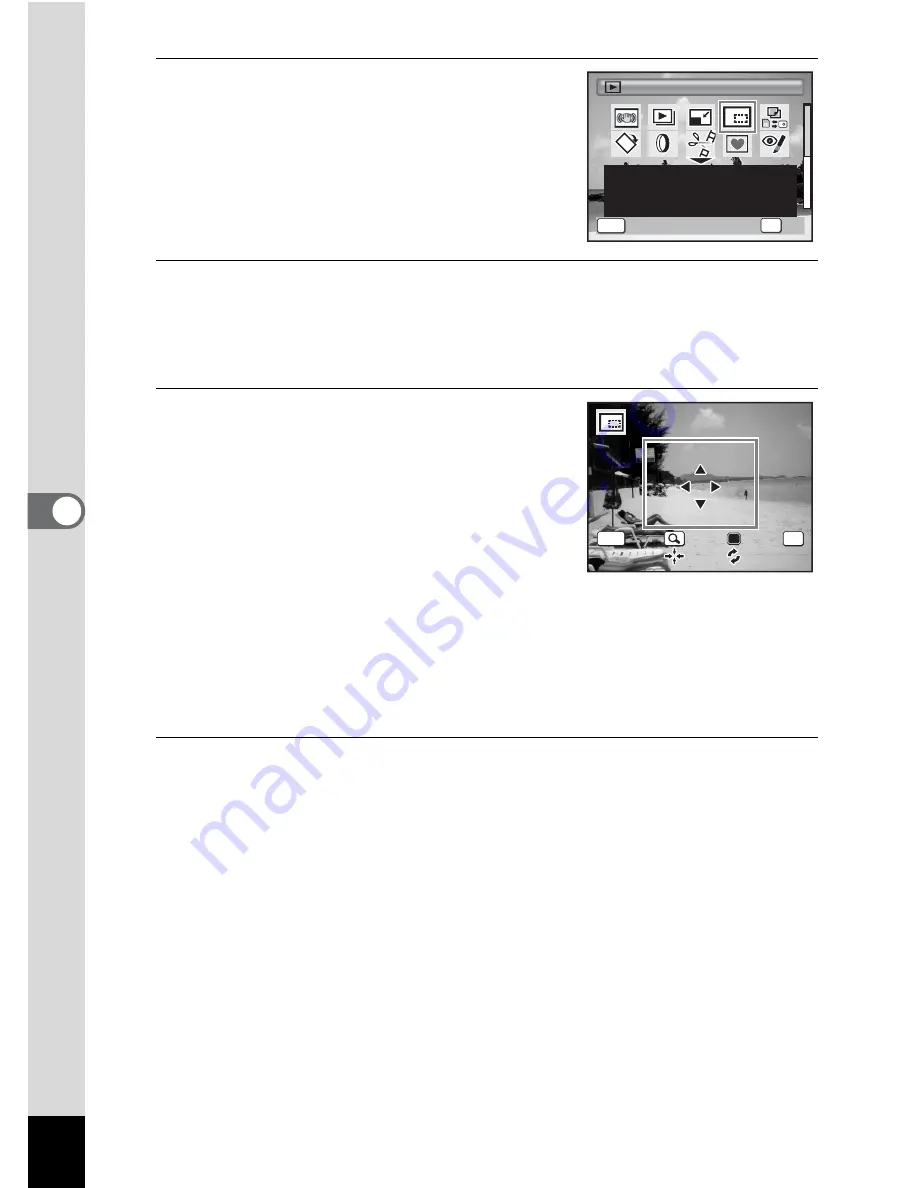
Use the four-way controller
(
2345
) to select
o
(Cropping).
4
Press the
4
button.
The cropping screen appears.
The maximum range for cropping is shown with a green frame on
the screen. Cropping cannot be performed inside of this area.
5
Choose the cropping conditions.
The following operations move the green
frame and set the area for cropping on the
screen.
Zoom/
f
/
y
button
Changes the size of the cropped
section
Four-way controller (
2345
) Moves the cropping position up,
down, left and right
Green button
Rotates the cropping frame
6
Press the
4
button.
The cropped image is saved with a new file name.
The cropped image is saved in the same quality as the original image.
The number of recorded pixels is selected automatically according to
the size of the cropped section.
MENU
1 / 2
1 / 2
C a n c e l
C a n c e l
O K
O K
C a n c e l
O K
OK
C r o p p i n g
C r o p p i n g
C r o p p i n g
For cropping images to the
size you like. Saved as a
new image.
OK
MENU
C a n c e l
C a n c e l
O K
O K
O K
Содержание OPTIO L60
Страница 47: ...2 Common Operations Understanding the Button Functions 46 Setting the Camera Functions 51...
Страница 119: ...4 Playing Back and Deleting Images Playing Back Images 118 Deleting Images 132 Connecting the Camera to AV Equipment 141...
Страница 145: ...5 Editing and Printing Images Editing Images 144 Setting the Printing Service DPOF 158 Printing Using PictBridge 161...
Страница 169: ...6 Recording and Playing Back Sound Recording Sound Voice Recording Mode 168 Adding a Voice Memo to Images 171...
Страница 175: ...7 Settings Camera Settings 174...
Страница 217: ...Memo...
Страница 222: ...Memo...
Страница 223: ...Memo...


