160
5
Edi
tin
g an
d Pri
n
ti
ng
Ima
g
es
When you choose the number of copies and whether or not to insert the
date, the settings are applied to all the images stored in the camera.
1
Display the screen for DPOF settings in
Q
mode.
Refer to Steps 1 to 3 on p.158.
2
Use the four-way controller (
23
) to select [All Images].
3
Press the
4
button.
The message [DPOF setting for all images] appears.
4
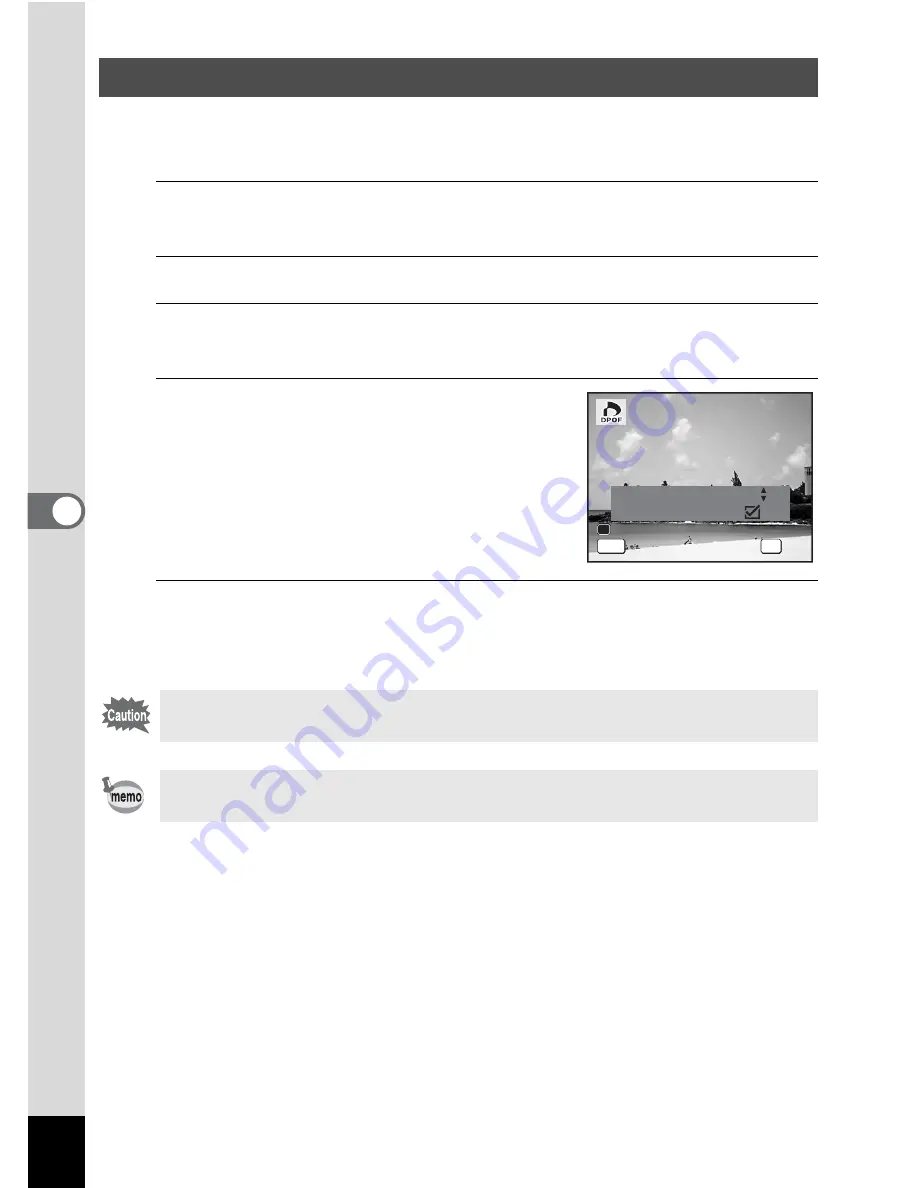
Choose the number of copies and
whether to insert the date or not.
Refer to Steps 6 and 7 in “Printing Single
Images” (p.159) for details of how to make
the settings.
5
Press the
4
button.
The settings for all the images are saved and the camera returns to
the DPOF setting screen.
\
Printing All Images
The number of copies specified in the DPOF settings applies to all
the images. Before printing, check that the number is correct.
Settings for single images are canceled when settings are made with
[All Images].
C o p i e s
D P O F s e t t i n g f o r
D P O F s e t t i n g f o r
a l l i m a g e s
a l l i m a g e s
D P O F s e t t i n g f o r
a l l i m a g e s
D a t e
D a t e
D a t e
C a n c e l
C a n c e l
C a n c e l
OK
O K
O K
O K
MENU
0 1
Содержание OPTIO L60
Страница 47: ...2 Common Operations Understanding the Button Functions 46 Setting the Camera Functions 51...
Страница 119: ...4 Playing Back and Deleting Images Playing Back Images 118 Deleting Images 132 Connecting the Camera to AV Equipment 141...
Страница 145: ...5 Editing and Printing Images Editing Images 144 Setting the Printing Service DPOF 158 Printing Using PictBridge 161...
Страница 169: ...6 Recording and Playing Back Sound Recording Sound Voice Recording Mode 168 Adding a Voice Memo to Images 171...
Страница 175: ...7 Settings Camera Settings 174...
Страница 217: ...Memo...
Страница 222: ...Memo...
Страница 223: ...Memo...


