Chapter 6
How to Setup the POS terminal
NOTE: This document is CONFIDENTIAL and must be used exclusively for the operation of PAX programs. It may not be
duplicated, published, or disclosed without prior written permission from PAX.
.
136
6.4.5
Additional Prompts
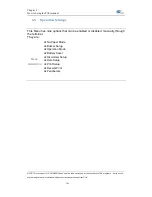
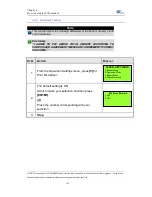
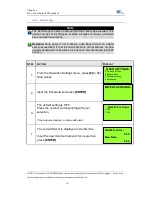
This menu contains different functions that can be enabled or disabled.
They are:
M
ENU
D
ESCRIPTION
Clerk/Server ID Mode
Invoice Mode
CashBack Prompt
Table Mode(RESTAURANT)
Guest No. Mode(RESTAURANT)
6.4.5.1
Clerk/Server ID Mode
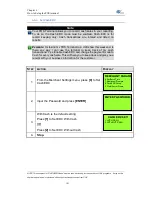
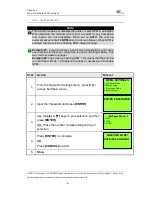
Note
This feature prompts you to enter the server/clerk ID number and is
implemented in both
restaurant (server) and retail (clerk)
applications. You can also designate up to one-hundred (100)
server/clerk name
—ID combinations starting from ID #1 up to ID #100.
For Retail, this display name is
“Clerk”, and for Restaurant, display
name is
“Server”.
Example:
I would like the receipts to list the clerk who made the sale.
Enable Clerk mode and enter all of the clerk’s names starting with Clerk
ID#1.
S
TEP
A
CTION
D
ISPLAY
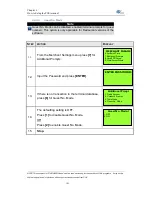
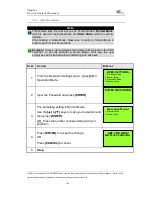
1.
From the Merchant Settings menu, press
[7]
to set
the Additional Prompts.
2.
Input the Password and press
[ENTER]
3.
The display represents a retail setup.
Press
[1]
to select Clerk ID mode.
ENTER PASSWORD:
Additional Prmpt
1. Server ID Mode
2. Invoice Mode
3. CashBack Prompt
MERCHANT PARAMS:
4. Edit Trailer
5. Merchant Fee
6. Set Batch Time
7. Additional Prompts


