Photo Backup Stick
34
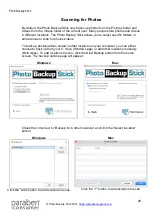
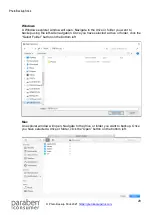
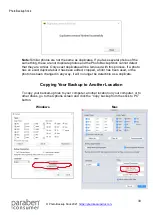
A window will pop up. Navigate to the drive or folder you want to copy your files to and
click the “Select Folder” button in Windows or “Choose” in Mac. Your files backed up on
your Photo Backup Stick will be copied to the location you selected.
Note:
We recommend that you have more than one copy of your photos/videos. USB
drives are small and can be easily lost or stolen. Also, static charges or other external
factors can render a USB drive inoperable making it impossible to access your backups.
Convert HEIC to JPG
Apple devices often create photos in .HEIC format. This type of format cannot be
displayed on most digital frames or TVs. The iOS app for iPhones and iPads will ask if
you want to convert HEIC files to JPG after the backup is complete. The Windows and
Mac apps allow you to convert your backed up files from HEIC to JPG under the
Options page. Open the Options page from the main screen and click the “Convert
HEIC to JPG” button.
Organize Backups
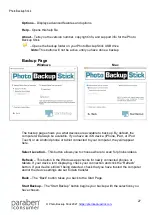
There are two options for photo organization in the Options. If you select “Keep
Backups Organized”, your photos will be saved in the same folder structure as they
were on your computer. This means if photos are organized on your computer in
different folders (i.e. by location name, date, event, etc.), they will stay organized in the
same folder structure.
If you choose “Don’t Organize Backups”, your photos will be backed up into one folder
on your stick despite where they are found on your computer.
Viewing Photos
There are two ways to view photos after a backup completes:
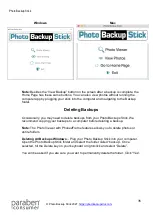
Photo Viewer Button
– This opens the Phone2Frame photo viewer and editor. Here,
you can view, delete, and edit photos. You can sort photos by date, name, or file size.
View Backup Button
– This opens the “Backup” folder from the Photo Backup Stick in
a new window on your computer.

