-
-
84
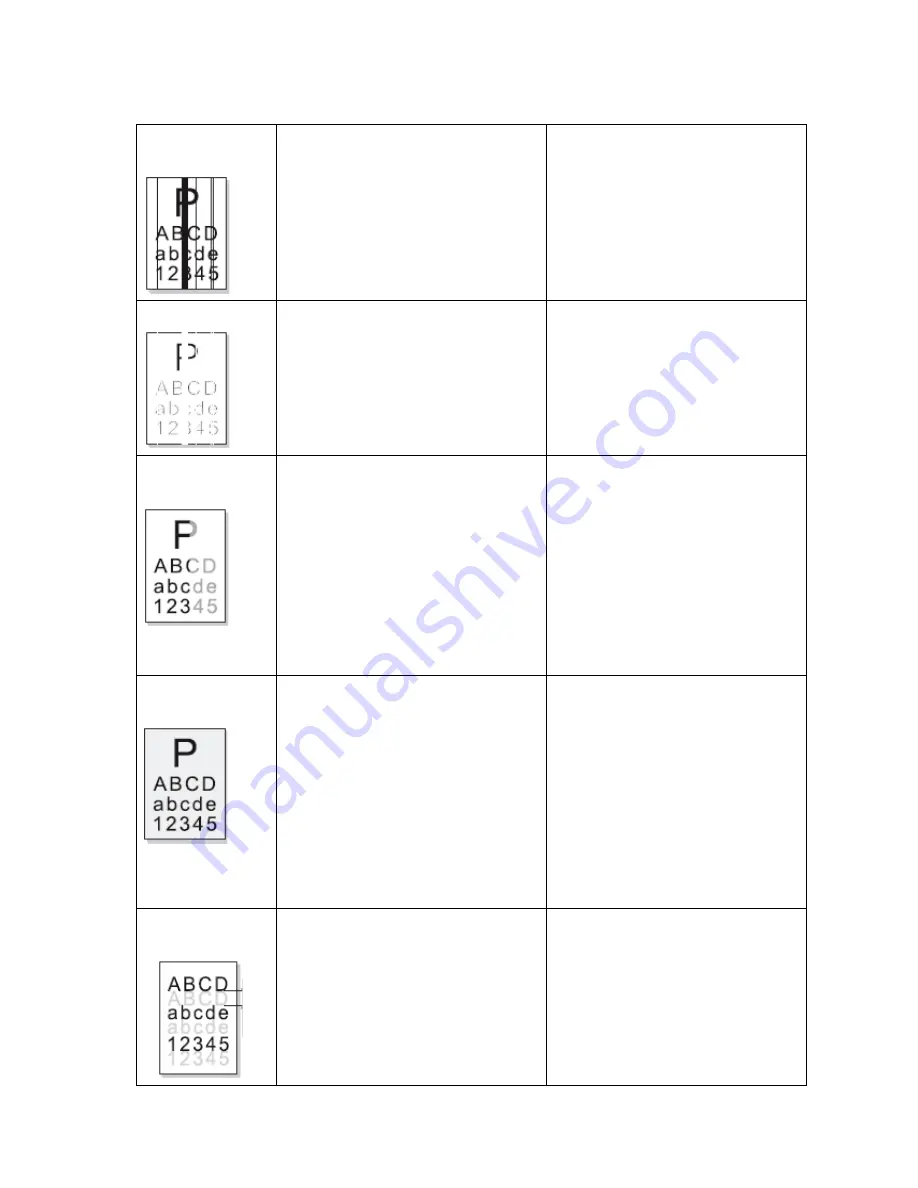
Vertical black line
or band
1.
Wipe blade is deformed or damaged.
2.
OPC is damaged.
3.
There is foreign matte between
developing roller and development
blade.
1.
Replace the print cartridge
Vertical white line
1. the window of internal lenses of
LSU mirror is soiled.
2. Foreign matter or toner particles
between the developer roller and
blade.
3. Fixing unit is abnormal.
1. Clean the LSU window.
2. Replace print cartridge.
3. Clean or replace fixing unit.
Density uneven in
the left and right
1.
Developing blade is damaged.
2.
The spring pressure of transfer
roller’s on left side and right side is
not equivalent, and the springs are
damaged,
transfer
roller
are
installed improperly or transfer
roller’s coating or its bottom part is
damaged.
1.
Replace developing roller and try
again.
2.
Replace the left and right spring
or shaft.
Light black
background
1.
Check whether the unspecified
paper is used.
2.
Check whether the life of print
cartridge is expired.
3.
Check whether HVPS is normal.
1.
Make sure the specified print
media is used.
2.
Replace the print cartridge.
3.
Cleaning the high voltage terminal
or replace engine board.
Ghost occurs
periodically
1.
If ghost occurs at the interval 75.4
mm. the OPC is damaged.
2.
If ghost occurs at the interval 62.3
mm. the heat roller is soiled.
3.
output High voltage from engine
board is abnormal.
1.
Replace print cartridge.
2.
Clean the surface of heat roller. If
it is not resolved, please replace
fixing unit
3.
Replace the engine board.
Содержание P1000 Series
Страница 1: ...Pantum Monochrome Laser Printer Service Manual P1000 P2000 Series...
Страница 8: ...vii 6 3 4 Paper jam 79 6 3 5 Image defects 83...
Страница 9: ...1 Chapter 1 Product description 1 1 Features 1 2 Overview 1 3 Specification...
Страница 12: ...4 1 2 2 Rear view 1 USB interface connector 2 Power receptacle 3 Power switch Right side cover Rear cover...
Страница 39: ...31 Chapter 3 Operation Theory 3 1 Electronic Configuration 3 2 Structure...
Страница 43: ...35 3 2 Construction 3 2 1 Print engine imaging system...
Страница 52: ...44 4 2 Disassembly flow chart...
Страница 56: ...48 then release them to remove the top cover...
Страница 58: ...50 2 Release bottom screws 3 Loosen hooking tabs gently and then remove the right side cover...
Страница 69: ...61 Chapter 5 Regular maintenance 5 1 Cleaning Inside Printer 5 2 Consumables Replacement...
Страница 73: ...65 Chapter 6 Error indications and troubleshooting 6 1 Introduction 6 2 Error Indications 6 3 Trouble shooting...
Страница 89: ...81 Paper Jam at the print cartridge unit 1 Open the discharge tray 2 Release the print cartridge...


