-
-
24
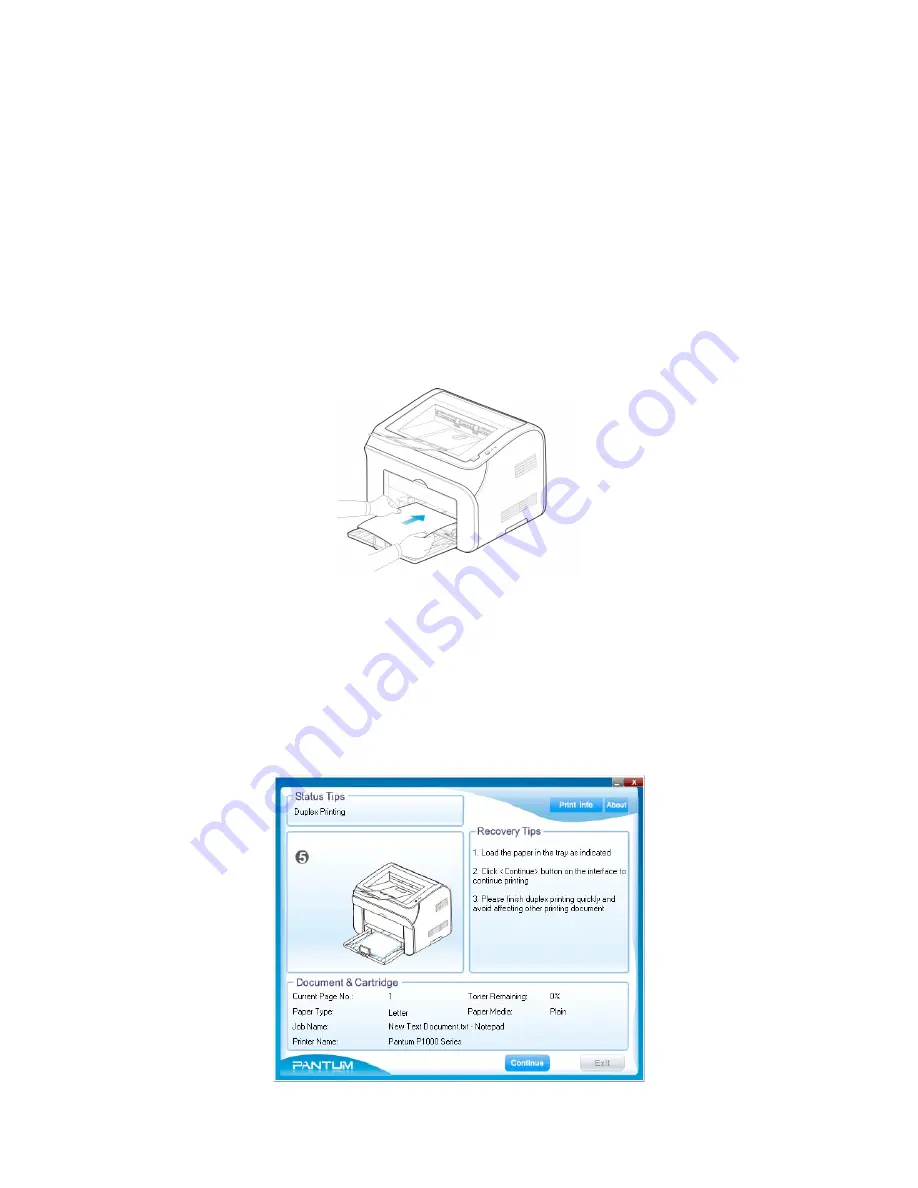
4) Remove the documents from the output bin then put them into the automatic paper tray with the
back side up and the leading edge (top of the page) feeding into the printer first.
Note: Don’t change the order of the documents when you remove the stack of paper from the
output bin, turn the stack over and put it into the automatic paper tray in the same order
and in the same direction as the stack was removed from the output bin.
5) Click
Continue
on the Status Monitor.
6) The printer will print the front pages of the document in order on the other side of the
paper.
Using the manual feed slot
1) Load the appropriate media into the manual feed slot before printing. The printer will start in
manual feed mode automatically when you complete this step.
2) Check the Manual Duplex Printing box in the Duplex area. The default setting is unchecked.
3) Click the OK button to close the Properties dialog box, then OK again (or Print from some
applications) to print the document.
4) The printer will start printing all the back pages of the document first. Feed each sheet of media
into the manual feed slot once the previous sheet of media has completely cleared the slot until
all the back pages of the document have been printed.
5) When finished printing the back pages the printer will show a Status Alert on the computer
screen as shown below:
Содержание P1000 Series
Страница 1: ...Pantum Monochrome Laser Printer Service Manual P1000 P2000 Series...
Страница 8: ...vii 6 3 4 Paper jam 79 6 3 5 Image defects 83...
Страница 9: ...1 Chapter 1 Product description 1 1 Features 1 2 Overview 1 3 Specification...
Страница 12: ...4 1 2 2 Rear view 1 USB interface connector 2 Power receptacle 3 Power switch Right side cover Rear cover...
Страница 39: ...31 Chapter 3 Operation Theory 3 1 Electronic Configuration 3 2 Structure...
Страница 43: ...35 3 2 Construction 3 2 1 Print engine imaging system...
Страница 52: ...44 4 2 Disassembly flow chart...
Страница 56: ...48 then release them to remove the top cover...
Страница 58: ...50 2 Release bottom screws 3 Loosen hooking tabs gently and then remove the right side cover...
Страница 69: ...61 Chapter 5 Regular maintenance 5 1 Cleaning Inside Printer 5 2 Consumables Replacement...
Страница 73: ...65 Chapter 6 Error indications and troubleshooting 6 1 Introduction 6 2 Error Indications 6 3 Trouble shooting...
Страница 89: ...81 Paper Jam at the print cartridge unit 1 Open the discharge tray 2 Release the print cartridge...


