-
-
19
2.4 Printing method
The printer has two methods for printing. One is printing from the automatic insertion tray, the
other is printing from the manual insertion tray.
Note: it is recommended the printer use 80g/m
²
A4 Top Gun sheets as the standard type paper.
When loading paper:
1) Envelopes, card stock, labels and transparencies should be fed from the manual feed
tray.
2) Before loading paper into the automatic paper tray… fan, jiggle, and smooth the stack
so that it will lay flat in the tray. Tray capacity is 150 sheets of 20 lb bond / 80 g/m
2
paper. Load fewer sheets for heavier bond.
3) After loading paper into the automatic paper tray or manual feed slot, adjust the feed
guides snuggly against the sides of the paper.
2.4.1 Printing from automatic insertion tray
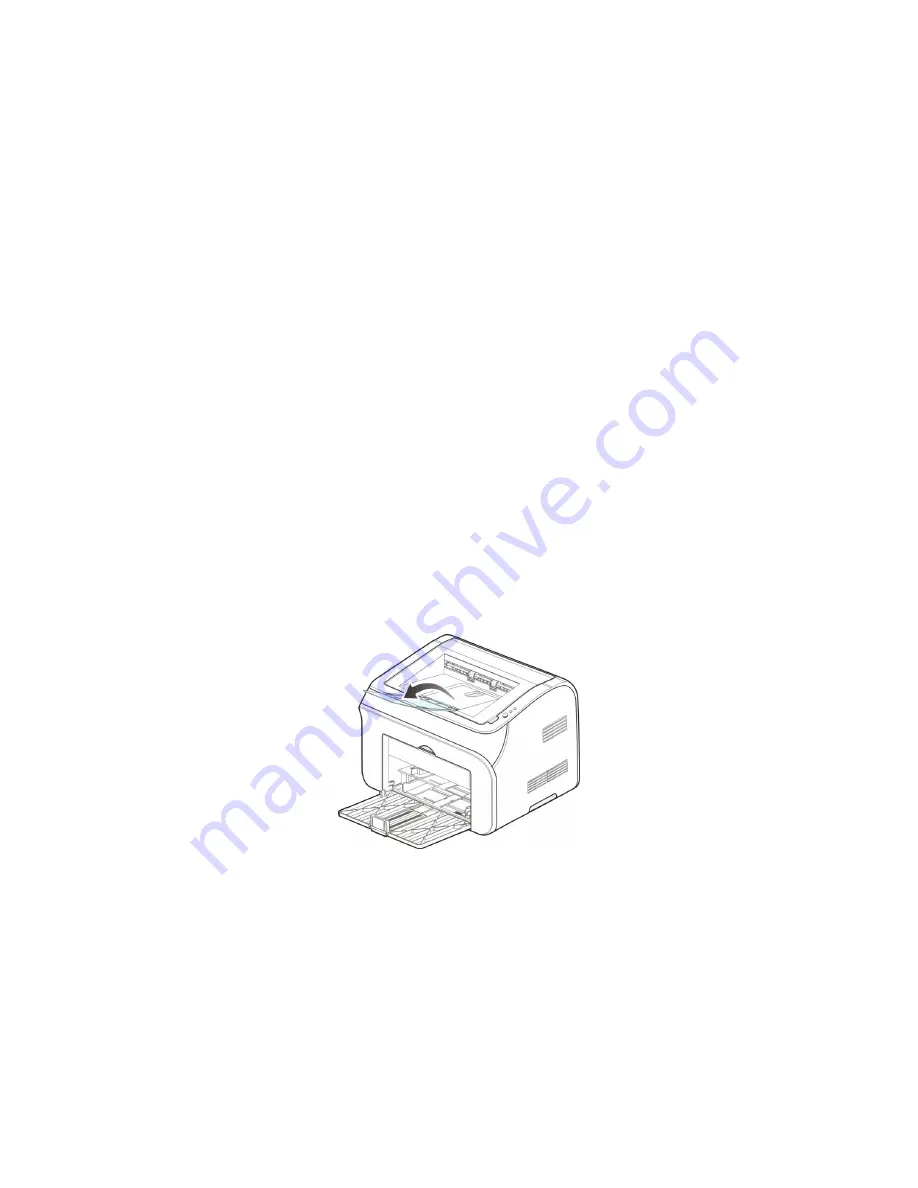
Load paper into the automatic paper tray and make sure there is no paper in the manual feed slot,
then print the document.
Note
:
Raise the document discharge extender to prevent the document slipping out from the
document discharge tray. If you choose not to raise the extender, we suggest you remove
the document discharge tray immediately.
If you place more than 150 sheets at once, it may cause a paper jam or paper non-feed.
For double-sided printing, please turn over the sheet with the unprinted surface upward and
the previously printed side facing down.
Содержание P1000 Series
Страница 1: ...Pantum Monochrome Laser Printer Service Manual P1000 P2000 Series...
Страница 8: ...vii 6 3 4 Paper jam 79 6 3 5 Image defects 83...
Страница 9: ...1 Chapter 1 Product description 1 1 Features 1 2 Overview 1 3 Specification...
Страница 12: ...4 1 2 2 Rear view 1 USB interface connector 2 Power receptacle 3 Power switch Right side cover Rear cover...
Страница 39: ...31 Chapter 3 Operation Theory 3 1 Electronic Configuration 3 2 Structure...
Страница 43: ...35 3 2 Construction 3 2 1 Print engine imaging system...
Страница 52: ...44 4 2 Disassembly flow chart...
Страница 56: ...48 then release them to remove the top cover...
Страница 58: ...50 2 Release bottom screws 3 Loosen hooking tabs gently and then remove the right side cover...
Страница 69: ...61 Chapter 5 Regular maintenance 5 1 Cleaning Inside Printer 5 2 Consumables Replacement...
Страница 73: ...65 Chapter 6 Error indications and troubleshooting 6 1 Introduction 6 2 Error Indications 6 3 Trouble shooting...
Страница 89: ...81 Paper Jam at the print cartridge unit 1 Open the discharge tray 2 Release the print cartridge...


