89
Changing Network Settings
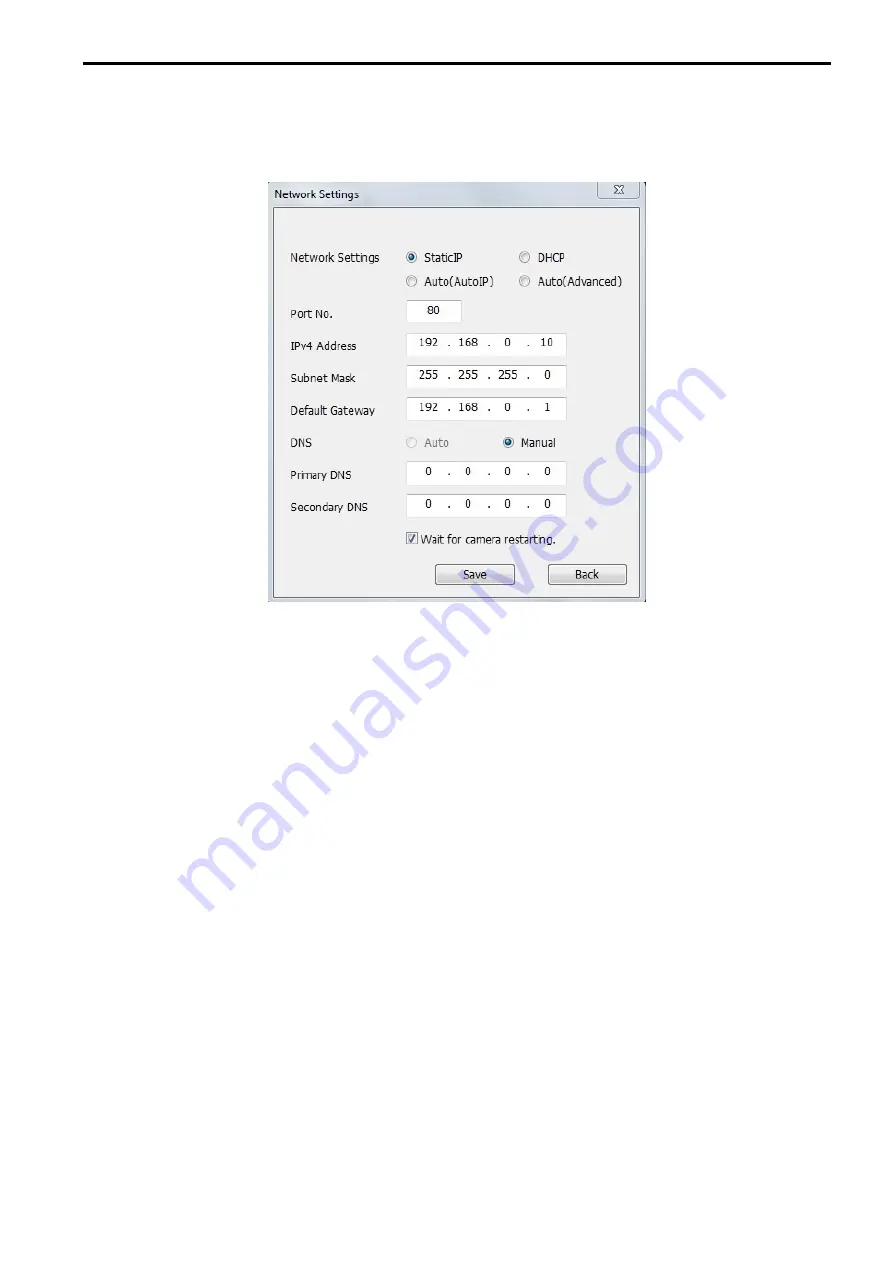
When changing settings related to the network settings, such as connection mode, IP address, and subnet
mask, click the [Network Settings] button in “IP Setting Software” screen.
The “Network Settings” screen is displayed. Enter each item and then click the [Save] button.
Figure 8-5
Note
•
The cameras don’t support “Auto(AutoIP)” and “Auto(Advanced)” of Network Settings.
•
By unchecking the “Wait for camera restarting.” checkbox, multiple cameras can be continuously
configured.
•
For further information about each setting of the “Network Settings” page, refer to “7.3 Network”.
IMPORTANT
•
It may take for around 2 minutes to complete to upload the settings to the camera after clicking the
[Save] button. The settings may be invalidated when the LAN cable is disconnected before completing
the upload. In this case, perform the settings again.
•
When using a firewall (including software), allow access to all UDP ports.
Note:
•
This manual is for reference only. Slight difference may be found in user interface.
•
All the designs and software here are subject to change without prior written notice.
•
All trademarks and registered trademarks mentioned are the properties of their respective
owners.
•
If there is any uncertainty or controversy, please refer to the final explanation of us.


