42
43
Step 5
Enter the password, and then click the [Next] button.
For character entry, refer to "About the operation of
on-screen keyboard" (
☞
page 16).
• Enter 5 to 8 alphanumeric characters for a pass
-
word.
• To confirm the password, enter the same pass
-
word again into the "Confirm" column.
• To save the entered password, check "Memorize
password temporarily". The next time data is cop-
ied, the password entry window will open with the
password already filled in. The password will be
retained in memory until the power of the recorder
is turned off
→
The copy start confirmation window will be dis-
played.
Step 6
Click the [OK] button in the copy start confirmation
window.
→
"Copying" is displayed in the status display area,
and copying will start. When copying is complet-
ed, "Copying" will go off.
Important:
• Do not remove the SD memory card during copy
-
ing data onto the SD memory card. Otherwise the
data stored on the SD memory card could be lost.
• If the copy destination lacks sufficient remaining
storage capacity, copying will continue until the
medium is full. Use a medium with sufficient stor-
age capacity to avoid left over data that is not
copied.
• Copying will be performed in the following order:
Viewer Software
→
Images
→
Audio Depending
on the designated time range for copying and the
remaining space of the storage medium, images
and audio may not be copied.
• Clicking the [Copy] button during the copying pro
-
cess will display the copy cancel confirmation
window, allowing you to cancel copying. Copying
continues while the copy cancel confirmation win-
dow is displayed.
• Do not turn off the power of the recorder while
copy is in progress. If the power is turned off while
copying, the storage media copied on will become
unusable.
• It is possible to copy up to 10000 data on an SD
memory card and up to 25000 data on a DVD
disc. However, it is impossible to copy any more
data exceeding these limits even when there is a
sufficient remaining capacity.
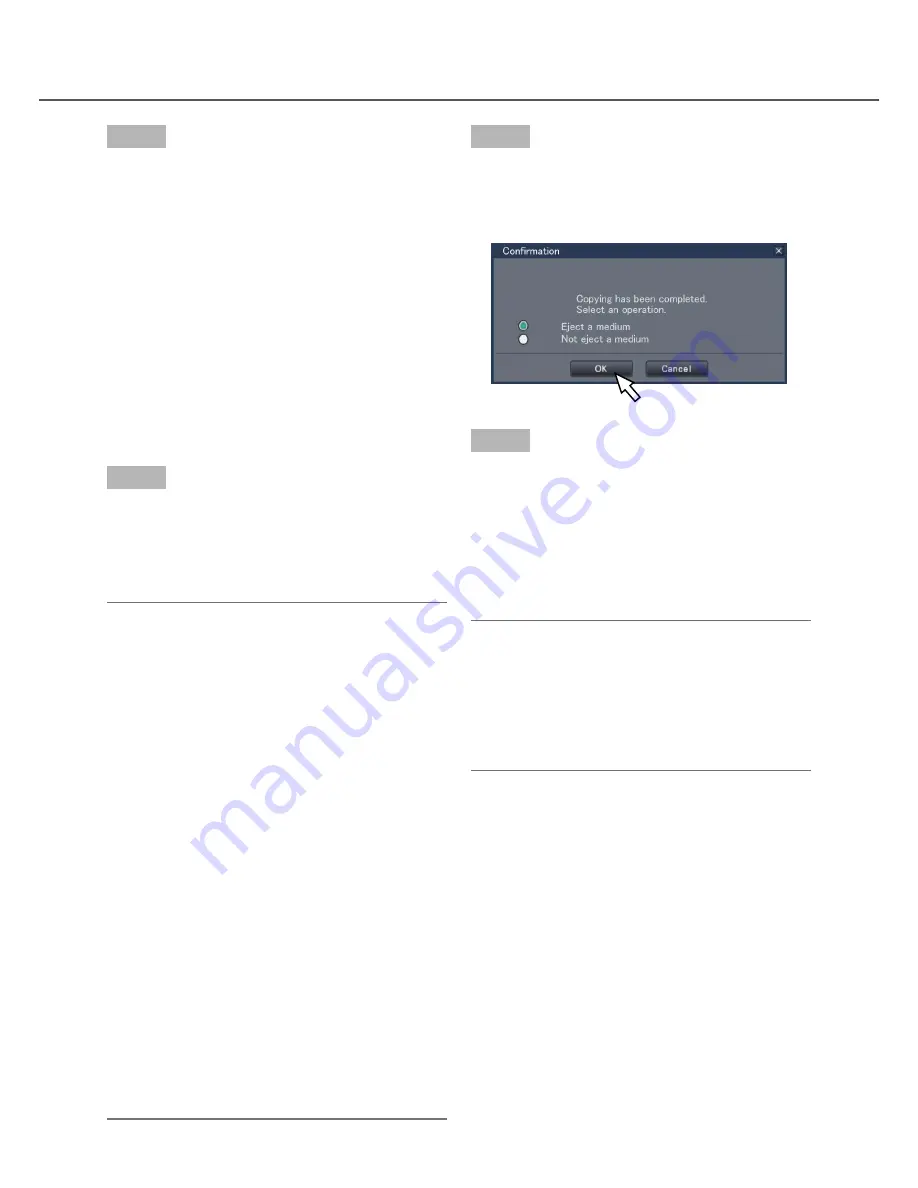
Step 7
When copying on a DVD disc, a confirmation window
is displayed on completion.
To continue copying, select "Not eject a medium" and
click the [OK] button.
Step 8
After all the required data is copied to the disc, select
"Eject a medium" on the confirmation window and
click the [OK] button.
→
The finalization confirmation window will be dis-
played. When the [OK] button is clicked, finaliza-
tion (the proce-dure to eject the DVD) will be per-
formed. After the procedure is complete, the disc
can be ejected. Press the eject button.
Important:
• If the disc is not finalized, the tray may not open
even after the eject button is pressed.
• If data is once copied on a DVD disc, no more
copy will be possible after ejection.
• When "Failed to finalize." Is displayed, the disc
can be ejected, but cannot be played back. In this
case, retry coping on another disc.
The disc can be ejected as follows instead of step 8.


