34
35
Step 3
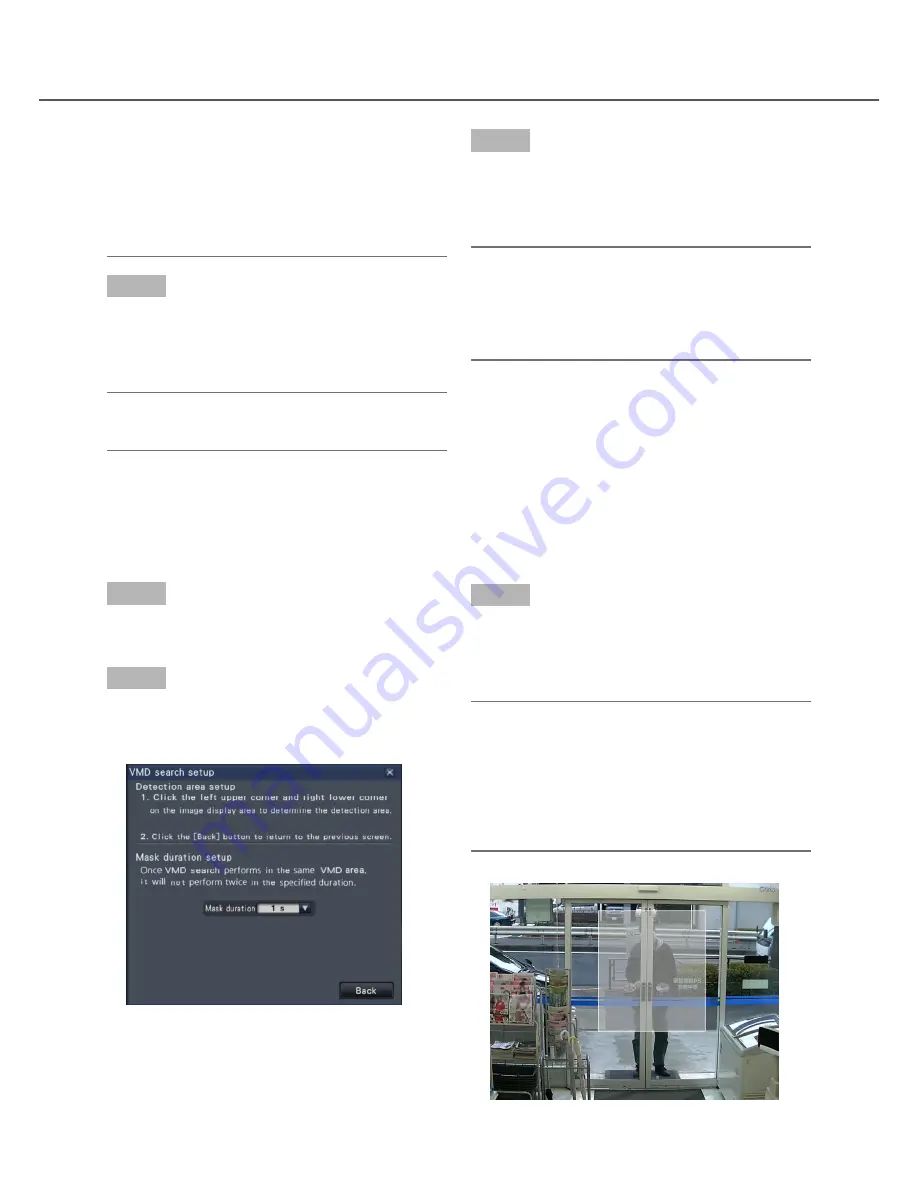
On the displayed image, click the upper left and lower
right corner of the square that will become the VMD
area.
→
The area set up for VMD search turns gray.
Note:
• As the detection areas will be set up to match the
image display area divided into 16x16 segments,
the top left and bottom right detection areas may
not be exactly as designated.
• It is impossible to delete the detection area that
has been set. To change the detection area set-
ting, perform Step 3 again.
Set up VMD areas, etc. [VMD search setup]
Set up VMD areas within images and a mask duration.
Step 1
Display the images from the camera to search on a
1-screen. (
☞
Page 20)
Step 2
Click the [Setup] button next to [Detection area /
Mask duration].
→
The "VMD search setup" panel will be displayed.
• The VMD search function searches the entire
camera image by default. To designate a search
area, click the [Setup] button next to [Detection
area / Mask duration] on the "VMD search setup"
panel. (
☞
Page 34)
• It may take some time until the search results are
displayed.
Step 5
Select the line with the desired list, and click the play-
back button on the playback operation panel.
(
☞
Page 26)
→
Playback will start from the date & time selected.
Note:
• Playback can also be started by double-clicking
the desired date & time line.
Step 6
To stop playback and return to live images, click the
stop button on the playback operation panel.
→
Playback will stop, and live images will be dis-
played.
Note:
• Playback can also be stopped and live images
can also be displayed by the following operations:
• Clicking the [x] button on the date & time oper
-
ation panel (playback display)
• Changing the playback medium


