83
Mixer Cleaning Procedure
1. Required parts and tools used
Table 1
Part names and tools used
Remarks
Carburetor cleaner
Rags
As needed
2. Preparation for work
(1) See “1. Safety Precautions” and “2. Preparation for work” of “Basic Operation” in this manual.
3. Mixer cleaning procedure
When the mixer requires cleaning, use an air blower or the like to clean the passageways.
Also, if the mixer is very dirty with carbon, oil, or other deposits, use a rag with carburetor cleaner or the like on it to
wipe them off.
Do not spray carburetor cleaner directly on the mixer, because it can cause the deterioration of resin and rubber parts.
4. Preparation for operation
(1) Turn on the power supply circuit breaker for the
outdoor unit.
(2) Open the main gas valve, starting the fuel supply.
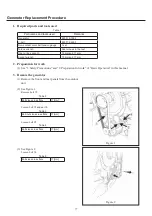
(3) Set the STOP SW (S001) from STOP to NORM.
(Figure 1)
5. Final check
(1) Running condition check
c
Make sure that no abnormal noise or vibration occurs.
d
Make sure that none of the attached parts are loose.
(2) Cleanliness check of the surroundings
c
Make sure no unneeded items or trash is scattered around.
d
Make sure no tools, etc. have been forgotten within the unit.
e
Use rags to wipe up any water or oil that has accumulated in the bottom of the unit.
Figure.1
GHP̲Main̲Parts̲Replacement.indd 83
2012/07/31 17:54:45


