Settings
ENGLISH
31
Menu operation (continued)
▌
CLOCK PHASE
If you require further adjustment for the same reason as
the
DOT CLOCK
adjustment, you can further adjust the
timing of the clock. (For
RGB/YP
B
P
R
input signal only)
Press ◄► buttons to adjust.
NOTE:
If the projecting signal’s dot clock frequency is higher than
•
162 MHz, adjusting
DOT CLOCK
or
CLOCK PHASE
may
not make any difference. Refer to “LIST OF COMPATIBLE
SIGNALS”. (
page 50)
▌
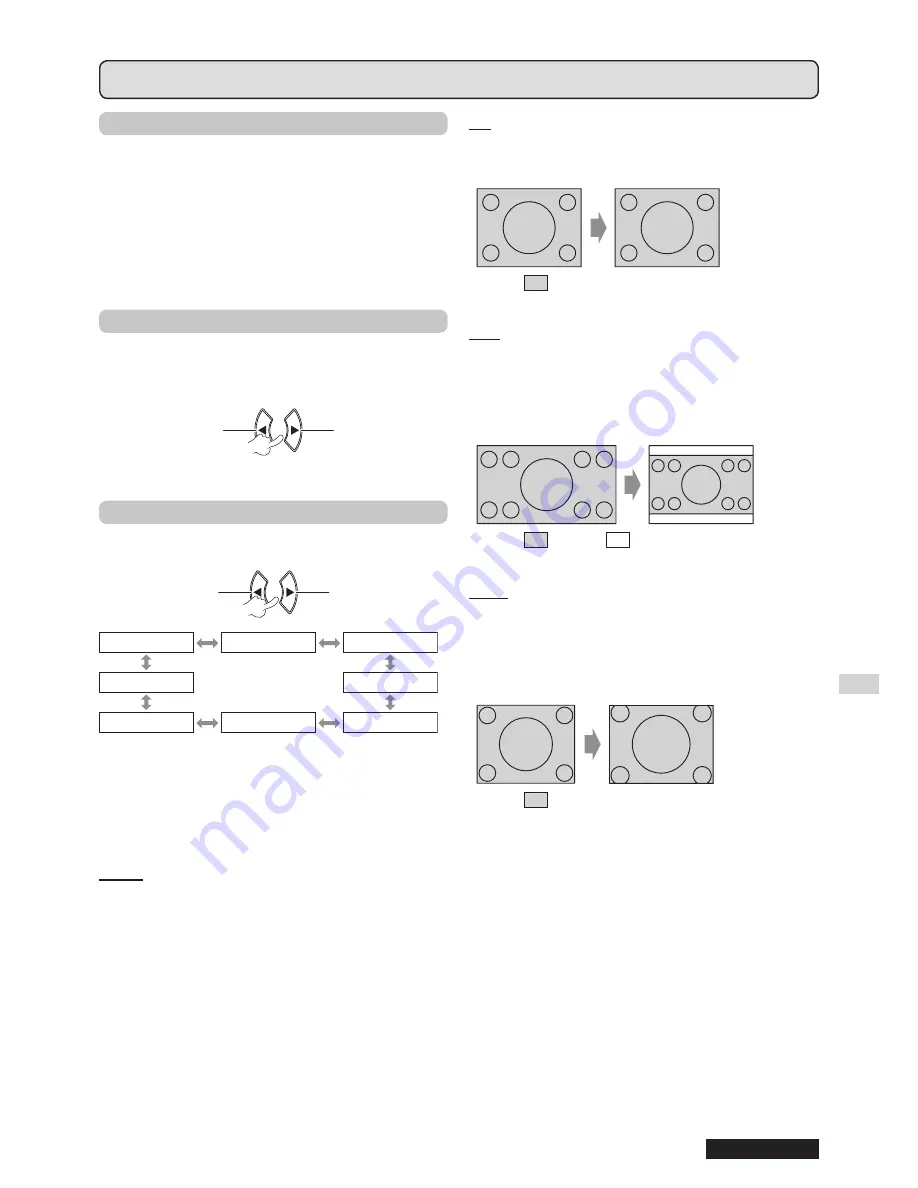
OVER SCAN
Use this function when characters or pictures are
cropped near the periphery of the projected image.
(For
S-VIDEO/VIDEO/RGB
(Moving image)/
YP
B
P
R
input signal only)
Zoom out
Change
setting
Change
setting
Zoom in
Setting range: 0 to +3
▌
ASPECT
You can manually switch to the desired aspect ratio.
Selectable options vary according to input signal.
Change setting
Change
setting
Change
setting
Change setting
AUTO
4:3
16:9
THROUGH
H FIT
S4:3
HV FIT
V FIT
NOTE:
AUTO
•
mode is displayed only when NTSC/480i signal is
input.
THROUGH
•
mode is displayed only for certain signals.
For the wide signal*
•
2
, the aspect ratio option cycles through
16:9 ↔ V FIT ↔ HV FIT.
AUTO
(For NTSC/480i input signal only)
The signal which contains an identifying signal will be
detected and will automatically project the image in the
most optimal aspect setting.
4:3
Standard input signal*
1
projection is 4:3 aspect ratio.
Input signal: XGA
Image:
16:9
Standard input signal*
1
projection is 16:9 aspect
ratio.
Wide input signal*
2
projection is the current aspect
ratio.
Input signal: 1 080/60i
Image:
Panel:
H FIT
Standard input signal*
1
projection without changing
the aspect ratio uses all the panel pixels in the
horizontal direction to crop the top and bottom of the
image.
Input signal: SXGA
Image:
*
1
A standard signal has an aspect ratio of 4:3 or
5:4.
*
2
A wide signal has an aspect ratio of 16:10, 16:9 or
15:9.


