37
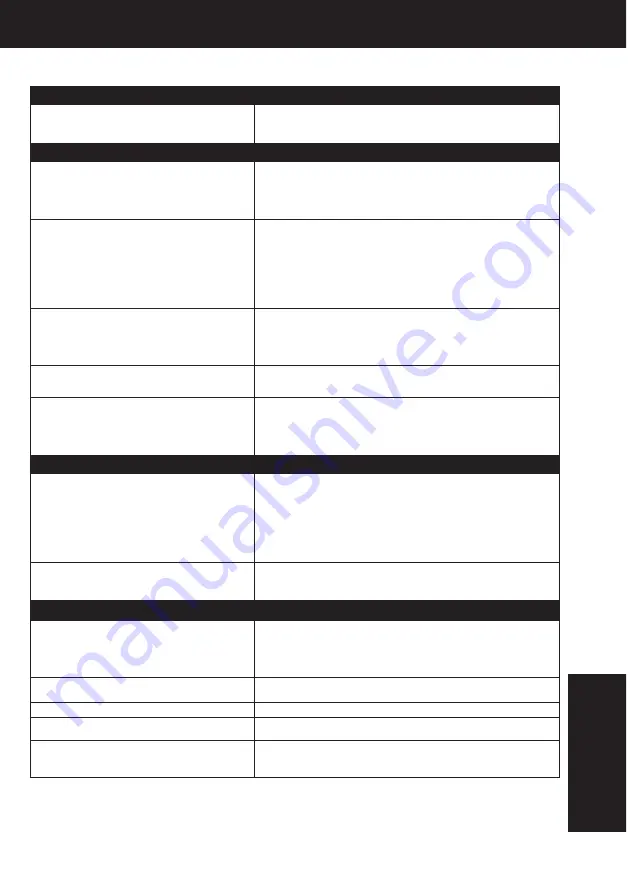
Before Requesting Service
Power
No power…
Recording & Playback
TV program cannot be recorded...
Timer recording cannot be performed…
There is no playback picture, or the playback
picture is noisy or contains streaks...
Special effects playback, picture may
contain some vertical jitter when using a TV
with an Automatic Vertical Hold Control...
VCR cannot be controlled...
Check the following points if you are having trouble with your VCR.
Correction
• Completely insert Power Plug into an AC outlet.
• Set POWER button to on.
• Make sure power source is active.
Miscellaneous
Programs cannot be viewed on TV...
Video cassette cannot be inserted...
Video cassette cannot be removed...
Video cassette ejects when a recording is started
or the power is turned off for timer recording...
In Stop mode, the motor (CYLINDER)
continues to rotate...
Remote Control
VCR cannot be remote controlled...
ACTION and PROG/VCR+ buttons do not
respond...
Correction
• Make sure VCR power is on.
• Make sure Remote is in VCR mode.
• Aim Remote Control directly at remote sensor on VCR. (P.6)
• Avoid any object blocking signal path.
• Check Remote batteries. (P.4)
• Make sure VCR LOCK is set to off. (P.33)
• Exposing VCR remote sensor to direct fluorescent or outdoor
light may cause signal interference.
• Check connections between VCR, external antenna, and TV.
• Press VCR button for VCR mode. (P.20)
• Check Remote batteries. (P.4)
Correction
• Check connections between VCR, external antenna, and TV.
• Check channel selections.
• Make sure your antenna system (CABLE or TV) is correctly
set. (Channels [P.12])
• Make sure cassette record tab is intact. (P.4)
• Confirm that clock is set to current time and date.
• Make sure Cable/DSS box (if used) is left on and tuned to
channel to be recorded.
• Set recording start/stop times correctly. (P.16)
• Make sure VCR POWER button is pressed off. (P.16)
• Timer recording may not be performed or continued if a
power interruption occurs before or during a Timer
Recording, even after power is restored.
• Select channel 3 or 4 on TV to match VCR output channel
(3 or 4) (P.8) or select LINE.
• Set VCR/TV selector to “VCR.”
• Adjust TRACKING control in either direction. (P.35)
• Try Head Cleaning. (P.35)
• Set TV’s Vertical Hold Control to MANUAL, then adjust.
• Make sure VCR power is on.
• Check Remote batteries.
• Make sure VCR LOCK is set to off. (P.33)
• Make sure Remote is in proper mode.(P.20)
• Make sure Timer Record is not in progress.
Correction
• Make sure TV power is on.
• Make sure TV is set to output of VCR.
• Check connections between VCR, external antenna, and TV.
• Set VCR/TV selector to “TV.” (P.15)
• Make sure proper signal source is selected.
• Insert the cassette with window side up; record tab facing you.
• Check if a tape is already in the unit.
• Completely insert Power Plug into an AC outlet.
• Make sure cassette record tab is intact. (P.4)
• To enable Quick play mechanism, the cylinder will rotate for
about 3 minutes. This reduces response time from Stop to
Play mode and from Play to Rewind Search mode.
For Y
our
Information
Содержание Omnivision PV-V4621
Страница 6: ...Fig 1 3 Fig 1 4 Fig 1 5 6 ...
Страница 26: ...6 2 2 Inner Parts Location Fig J1 1 26 ...
Страница 27: ...6 2 3 EJECT Position Confirmation Fig J1 2 27 ...
Страница 28: ...6 2 4 Grounding Plate Unit Full Erase Head and Cylinder Unit Fig J2 1 6 2 4 1 Reassembly Notes 28 ...
Страница 58: ...11 2 MECHANISM BOTTOM SECTION 58 ...
Страница 59: ...11 3 CASSETTE UP COMPARTMENT SECTION 59 ...
Страница 60: ...11 4 CHASSIS FRAME AND CASING PARTS SECTION 60 ...
Страница 61: ...11 5 PACKING PARTS AND ACCESSORIES SECTION 61 ...


