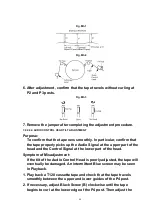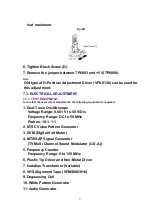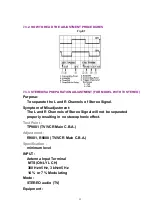
2. Installation of Holder Unit
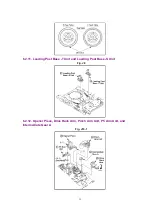
A. Turn the Wiper Arm Unit so that the grooves on each end are
aligned with the each groove on Side Plate L and R.
B. Insert Holder Unit boss (A) and (B) into the grooves as shown in
Fig. K1-1.
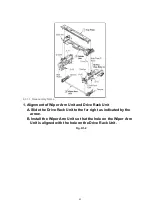
C. Finally, in the EJECT Position, confirm that the protrudence on
the Wiper Arm Unit is aligned with the indentation on the Drive
Rack Unit.
Fig. K1-3
3. Make sure to hook the spring to the Drive Rack Arm of Mechanism
chassis.
43
Содержание Omnivision PV-C2542
Страница 22: ...6 1 2 Disassembly Method Fig D2 22 ...
Страница 23: ...Fig D3 23 ...
Страница 24: ...6 1 2 1 Notes in chart 1 Removal of VCR Unit Fig D4 24 ...
Страница 28: ...6 2 2 Inner Parts Location Fig J1 1 28 ...
Страница 29: ...6 2 3 EJECT Position Confirmation Fig J1 2 29 ...
Страница 30: ...6 2 4 Full Erase Head and Cylinder Unit Fig J2 30 ...
Страница 70: ...70 ...
Страница 73: ...11 2 MECHANISM BOTTOM SECTION 73 ...
Страница 74: ...11 3 CASSETTE UP COMPARTMENT SECTION 74 ...
Страница 75: ...11 4 CHASSIS FRAME SECTION 1 75 ...
Страница 76: ...11 5 CHASSIS FRAME SECTION 2 76 ...
Страница 77: ...11 6 PACKING PARTS AND ACCESSORIES SECTION 77 ...
Страница 84: ...121 LSPG1279 PACKING CASE PAPER F 6 84 ...
Страница 97: ...R5317 ERDS2TJ101 CARBON 1 4W 100 97 ...
Страница 99: ...R6045 ERJ6GEYJ102V MGF CHIP 1 10W 1K 99 ...
Страница 118: ...R5401 ERJ6GEYJ561V MGF CHIP 1 10W 560 118 ...
Страница 120: ...R6049 ERJ6GEY0R00V MGF CHIP 1 10W 0 120 ...

