


–
"Full HD"
(default): The resolution of still
images is Full HD.
–
"HD"
: The resolution of still images is HD.
Note
•
If the network has low bandwidth and a
high rate of packet loss, selecting
"HD"
is recommended. For details,
contact your dealer.
•
If the field frequency is different
between parties in a video conference
call, the display resolution will be
"HD"
,
even if you have specified
"Full HD"
.
•
During a 4-party video conference call,
the display resolution will be
"HD"
, even
if you have specified
"Full HD"
.
5.
Press
[G]
.
•
A dialogue box to confirm the saving of settings
is displayed.
6.
Use
[
][
]
to select
"Yes"
and press
[Enter]
.
•
The system settings screen is displayed.
7.
Press
[Home]
.
•
The Home screen is displayed.
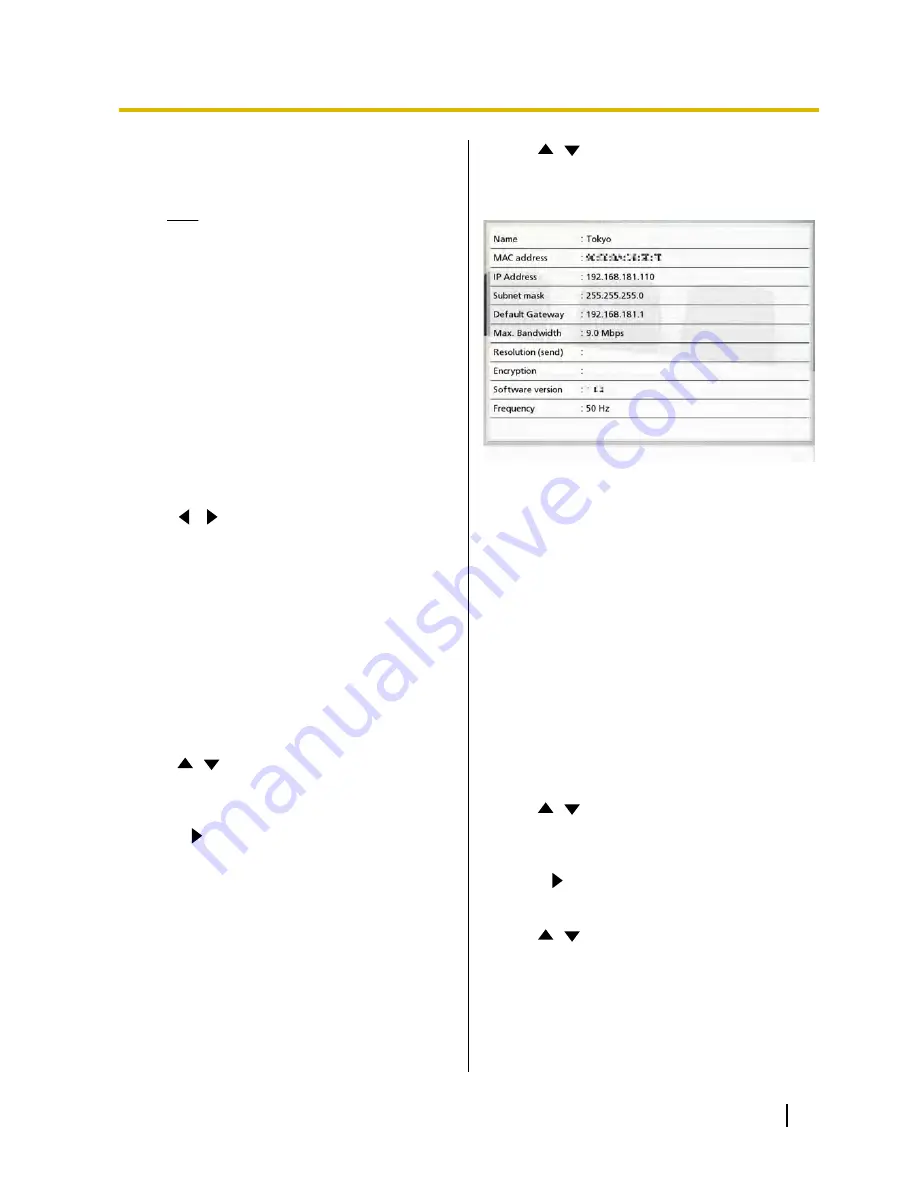
Display Unit Information
You can view the setting information for the
KX-VC500.
1.
Press
[Menu]
.
•
The Menu screen is displayed.
2.
Use
[
][
]
to select
"Settings"
and press
[Enter]
.
•
The system settings screen is displayed.
3.
Press
[
]
.
•
The next page is displayed.
4.
Use
[
][
]
to select
"System Info."
and press
[Enter]
.
•
The unit information screen is displayed.
(Page 57)
5.
Press
[Home]
.
•
The Home screen is displayed.
Setting the Mic Position
You can specify where a Boundary Microphone is
conceptually positioned relative to the display. When
sounds are transmitted to another party, they are played
in accordance with the specified positions, which
creates a stereo environment.
Setting the Mic Position
automatically
1.
Press
[Menu]
.
•
The Menu screen is displayed.
2.
Use
[
][
]
to select
"Settings"
and press
[Enter]
.
•
The system settings screen is displayed.
3.
Press
[
]
.
•
The next page is displayed.
4.
Use
[
][
]
to select
"MIC Setting"
and press
[Enter]
.
•
The auto settings screen is displayed.
User Manual
65
Contacts and Settings
Содержание KX-VC500
Страница 101: ...User Manual 101 Notes ...


