6. Copy
46
6 Copy
Copying
6.1 Using the unit as a
copy machine
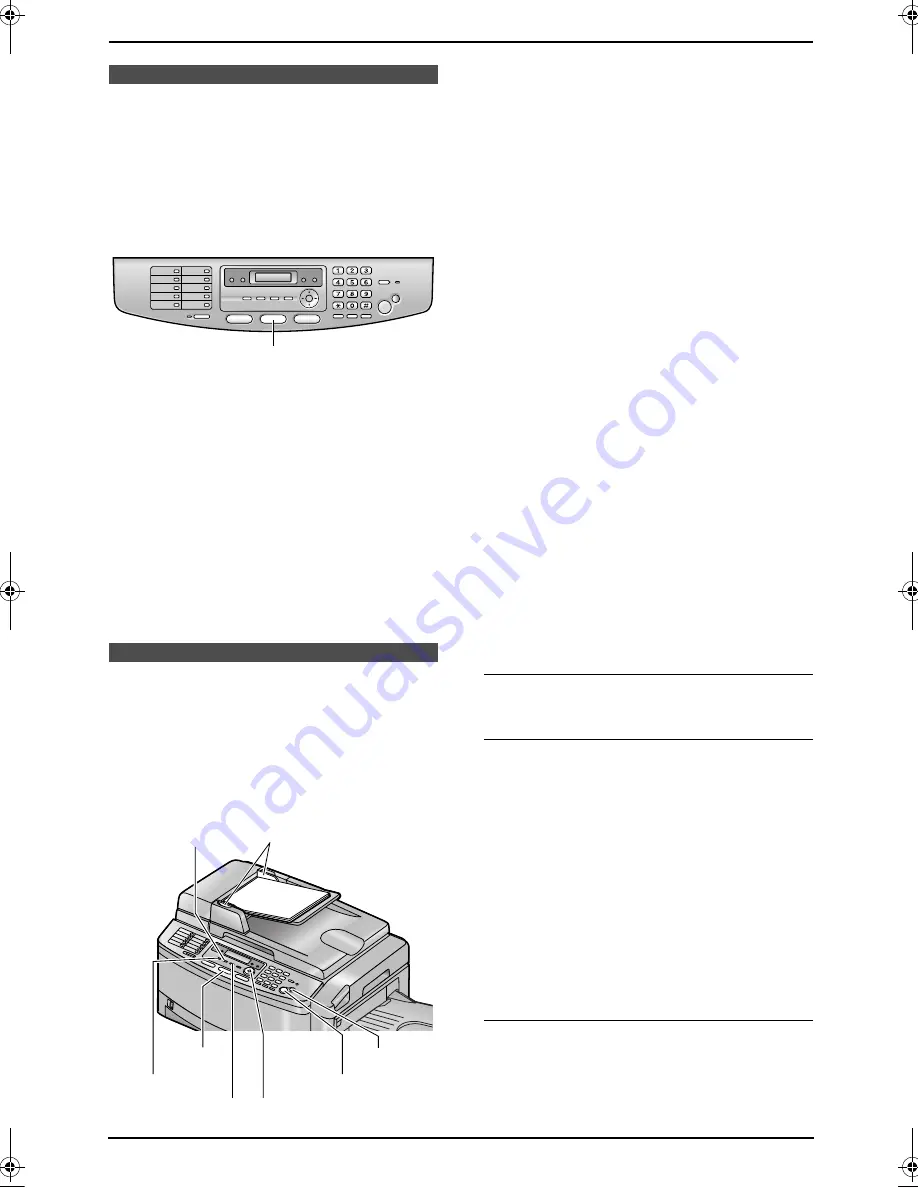
6.1.1 Entering the copy mode
Before copying, set the operation mode to the
copy mode.
Press
{
COPY
}
to turn the
{
COPY
}
light ON.
Note:
L
You can change the default operation mode
(feature #463 on page 66) and the timer
before returning to the default operation
mode (feature #464 on page 66).
L
Copied documents will be stacked on the
upper output tray. You can change the output
tray for copying (feature #466 on page 70).
L
If the
{
FAX AUTO ANSWER
}
indicator is ON,
the unit can receive faxes automatically even
in the copy mode.
6.2 Making a copy
6.2.1 Using the auto document
feeder
L
Confirm that there are no documents on
the scanner glass.
1
If the
{
COPY
}
light is OFF, turn it ON by
pressing
{
COPY
}
.
2
Set the original.
1.
Adjust the width of the document guides
(
1
) to fit the actual size of the document.
2.
Insert the document (up to 50 pages)
FACE UP into the feeder until a single
beep is heard.
3
If necessary, change the following settings
according to the type of document.
L
To select the resolution, see page 46.
L
To select the contrast, see page 46.
L
To select the input tray and paper size,
see page 47.
4
If necessary, enter the number of copies (up
to 99).
5
Press
{
START
}
.
L
The unit will start copying.
6
After you finish copying, press
{
STOP
}
to
reset the settings you set in step 3.
Note:
L
Any document which can be sent as a fax can
also be copied and scanned (page 34).
The effective scanning area is changed
depending on the setting of the paper size.
L
Do not open the document cover when
making a copy with the auto document
feeder.
To stop copying
Press
{
STOP
}
.
To select the resolution
1.
Press
{
RESOLUTION
}
.
2.
Press
{V}
or
{^}
repeatedly to select the
desired resolution.
–
“
TEXT/PHOTO
”
: For documents
containing both text and photographs.
–
“
TEXT
”
: For documents containing only
text.
–
“
PHOTO
”
: For documents containing
photographs, shaded drawings, etc.
Note:
L
You can change the default resolution in
feature #461 (page 69).
To select the contrast
You can adjust this setting depending on the
lightness or darkness of the document. 5 levels
(light to dark) are available.
1.
Press
{
CONTRAST
}
.
{
COPY
}
1
{
CONTRAST
}
{
COPY
}
{
STOP
}
{
START
}
{
<
}{
>
}{V}{^}
{
RESOLUTION
}
{
PAPER TRAY
}
FLB853EX-PFQX2373ZB-en.book Page 46 Tuesday, February 21, 2006 7:09 PM
Содержание KX-FLB853EX
Страница 110: ...11 Index 108 Toner save Feature 482 15 66 Transparency 53 U USB cable 50 V Volume 26 ...
Страница 111: ...109 Notes ...
Страница 112: ...110 Notes ...
Страница 113: ...111 Notes ...


