With Other Equipment
VQT4C70
57
[SD]
[USB]
, video camera, etc.
>
[HDD]
1
Connect the video camera or insert the
media.
• Make the video camera ready for data
transfer.
The menu screen appears. (
>
36)
2
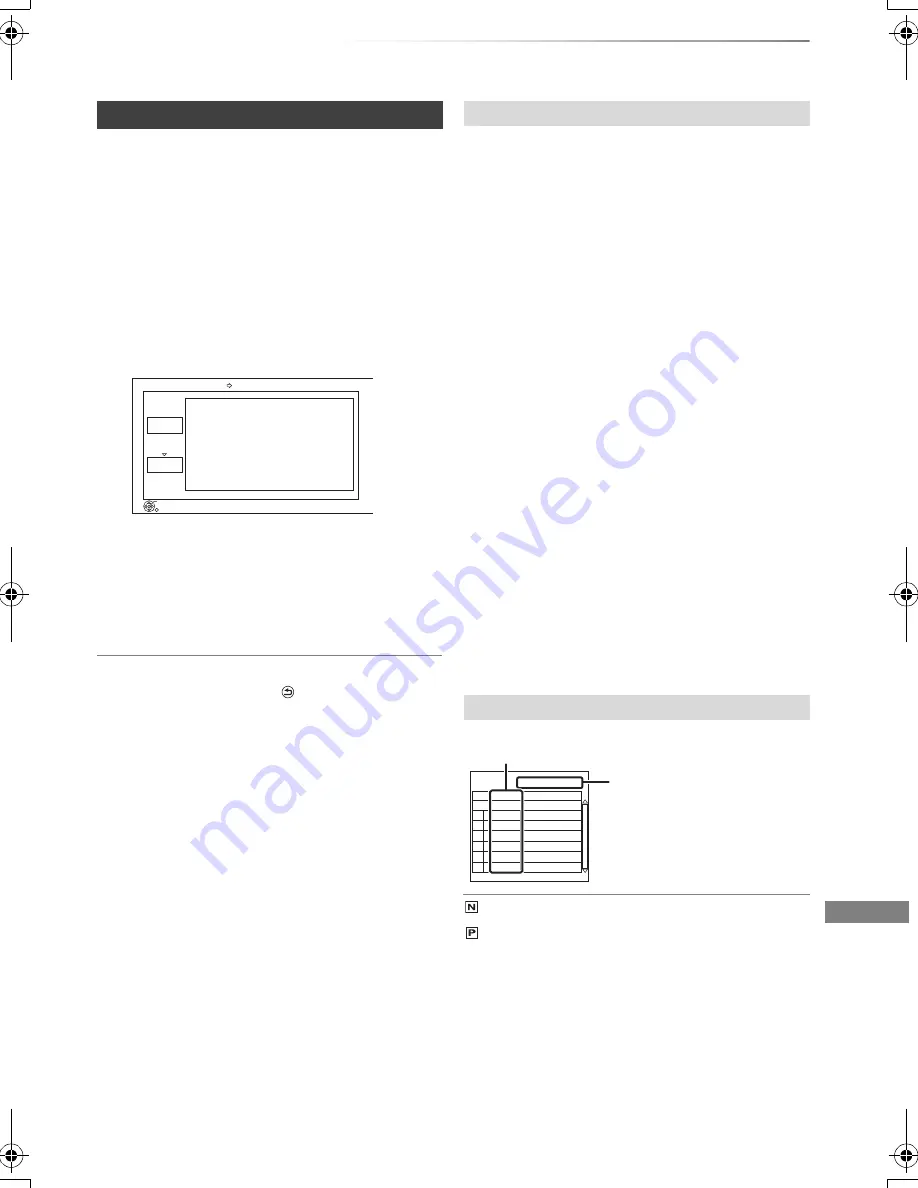
Select “Copy Video ( MPEG2 )”, then press
[OK].
e.g.,
All titles of SD video on the media that can
be copied are registered in the copying list.
3
Select “Start”, then press [OK].
4
Select “Yes”, then press [OK] to start
copying.
To stop copying
Press and hold [RETURN
] for 3 seconds.
• The titles will be copied in the order of the copying list. If
you want to specify the order, edit the copying list after the
titles are selected.
• The total data size shown may be larger than the sum of the
data sizes for each registered item.
Select “List”, then press [
1
] (right) after step 2.
(
>
left)
1 Select the title, then press the yellow button.
Repeat this step to select titles.
2 Press [OPTION].
3 Select the item, then press [OK].
Delete All:
All titles that you registered to copy are
deleted.
Select “Yes”, then press [OK].
Add:
Add new items to the copying list.
1 Select the title, then press the yellow
button.
Repeat this step to select titles.
2 Press [OK].
Delete:
Select “Yes”, then press [OK].
Move:
Move selected items or change the order of
items on the copying list.
Select the destination, then press [OK].
4 Press [
2
].
Copying SD Video (MPEG2 format)
Copy Video ( MPEG2 )
List
Start
RETURN
OK
Press OK to start copying.
USB HDD
To edit the copying list
Screen icons
Data size of each registered item
Size:
Data size recorded to the
HDD
(NTSC)
(PAL)
Title recorded using a different
encoding system from that of the
unit.
• Titles displaying these marks
cannot be selected.
Page 01/01
Size:
Destination Capacity:
No.
Size
New item (Total=0)
Title
( 0% )
0 MB
20806 MB
DMRPWT520GL_eng.book 57 ページ 2012年2月9日 木曜日 午後6時15分


