Adjustment and settings
Auto Setup
Starting auto setup
Before starting auto setup
Choose [SYSTEM CAM] > [ASU MODE] in the ROP menu to select “FULL” or “EASY” mode.
“ASU MODE” (see page 106)
FULL
Standard setup based on an outdoor shooting chart
EASY
Easy setup based on an outdoor shooting chart
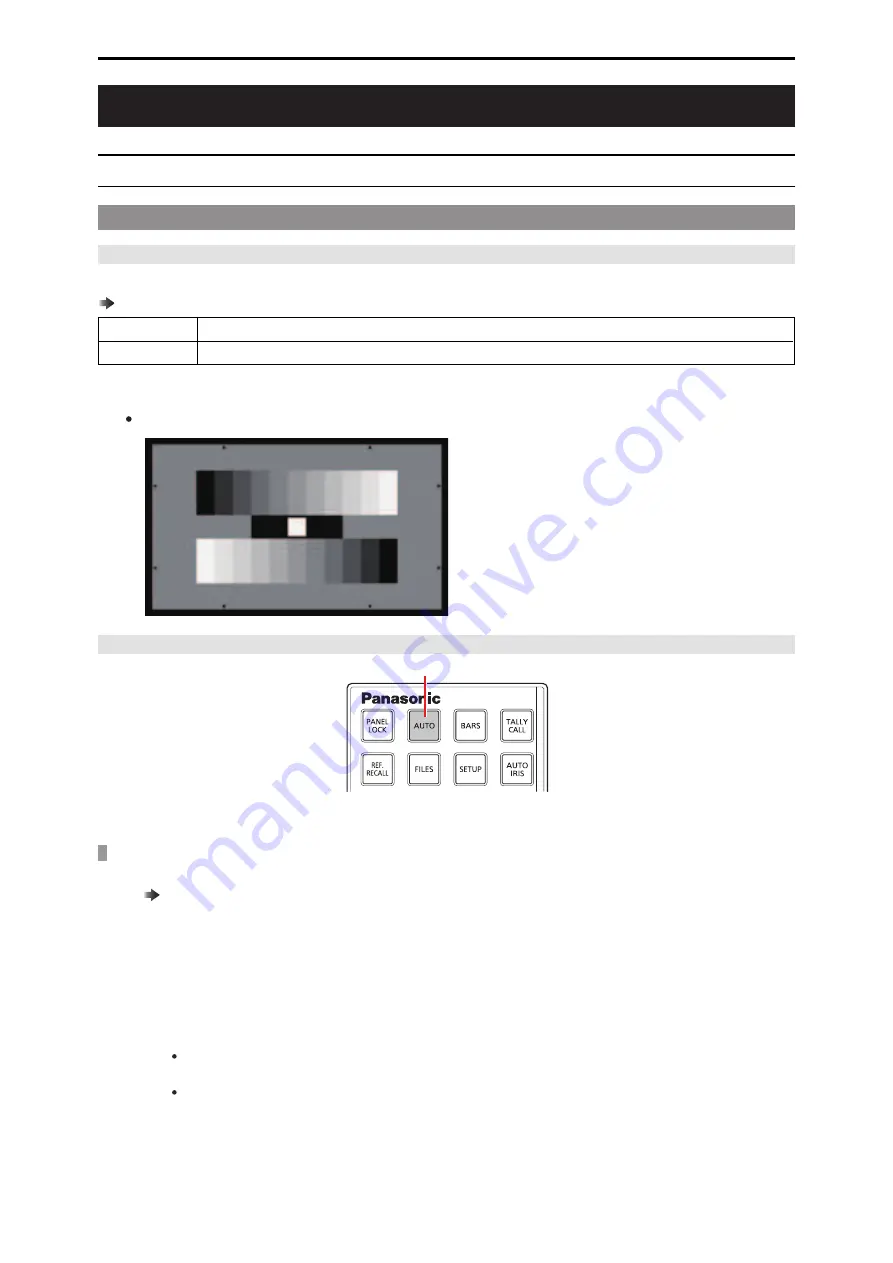
Align the position of the gray scale wedge with the angle of view in the vertical direction of the viewfinder. Be sure to correctly select the pos-
ition from which you shoot the chart since some positions may not enable a satisfactory auto setup.
Recommended gray scale
Starting auto setup
A
A. [AUTO] button
Operating procedure
1. Assign auto setup to the [AUTO] button under [ROP SETTING] > [AUTO BUTTON] in the ROP menu.
“AUTO BUTTON” (see page 112)
2. Press the [AUTO] (A) button
The [AUTO] button flashes while the auto setup start preparation mode is established, and a square marker appears in the center
of the camera viewfinder. Align the white at the center of the gray scale with this square marker. (To cancel setup, press and hold
this button.)
3. Press the [AUTO] (A) button again.
The [AUTO] button lights as auto setup starts. (Holding down the [AUTO] button during the auto setup operation will abort auto
setup.)
The [AUTO] button goes off when auto setup ends successfully.
If the [AUTO] button flashes at approximately 1-second intervals, auto setup has ended without being completed. Dur-
ing the auto setup operation, the picture monitor (PM) displays characters to indicate operation status.
If auto setup is not completed, check the message on the picture monitor (PM) on the CCU.
- 34 -
Adjustment and settings


