Chapter 9 Network Connection
—
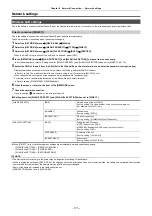
Network settings
- 179 -
4
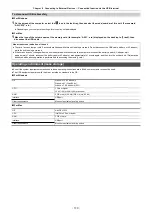
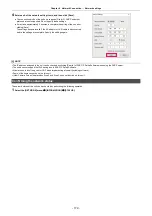
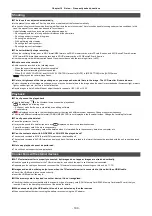
Enter each of the network setting items, and then click [Save].
≥
The connection mode of the unit only supports [Fixed IP]. DHCP and other
protocols are not supported. Do not specify these settings.
≥
It may take approximately 2 minutes to complete the setting of the unit after
clicking [Save].
The settings become invalid if the AC adaptor or LAN cable is disconnected
before the settings are complete. Specify the settings again.
@
NOTE
0
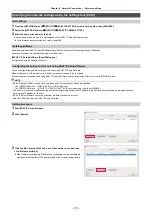
The IP address assigned to the unit can be checked by clicking [Search] of EASY IP Setup Software when using the DHCP server.
0
The unit does not support the IPv6 setting due to EASY IP Setup Software.
0
Allow access to all of the ports for UDP when implementing a firewall (including software).
0
Some of the items cannot be set on this unit.
0
[View Camera Screen] displayed on Step 2 and Step 3 does not function on this unit.
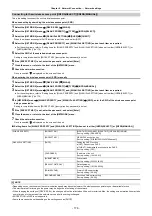
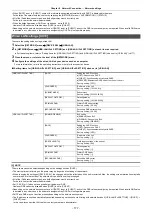
Confirming the network status
The network status of the unit can be checked by performing the following operation.
1
Select the [NETWORK] menu
→
[INFORMATION]
→
[STATUS].
Содержание AG-CX7
Страница 8: ...Chapter 1 Overview Before using the unit read this chapter ...
Страница 16: ...Chapter 2 Description of Parts This chapter describes the names functions and operations of parts on the unit ...
Страница 155: ...Chapter 7 Output and Screen Display This chapter describes the screen displayed on the output video and LCD monitor ...
Страница 166: ...Chapter 8 Connecting to External Devices This chapter describes the external devices that can be connected to the unit ...
Страница 172: ...Chapter 9 Network Connection This chapter describes how to use the unit by connecting to a network ...
Страница 188: ...Chapter 10 Notes Maintenance of the unit or frequently asked questions are described ...
Страница 199: ...Chapter 11 Specification This chapter describes the specifications of this product ...
Страница 208: ... Panasonic Corporation 2020 Panasonic Corporation Web site http www panasonic com ...

