TransPort™ PT878GC User’s Manual
69
Chapter 4.
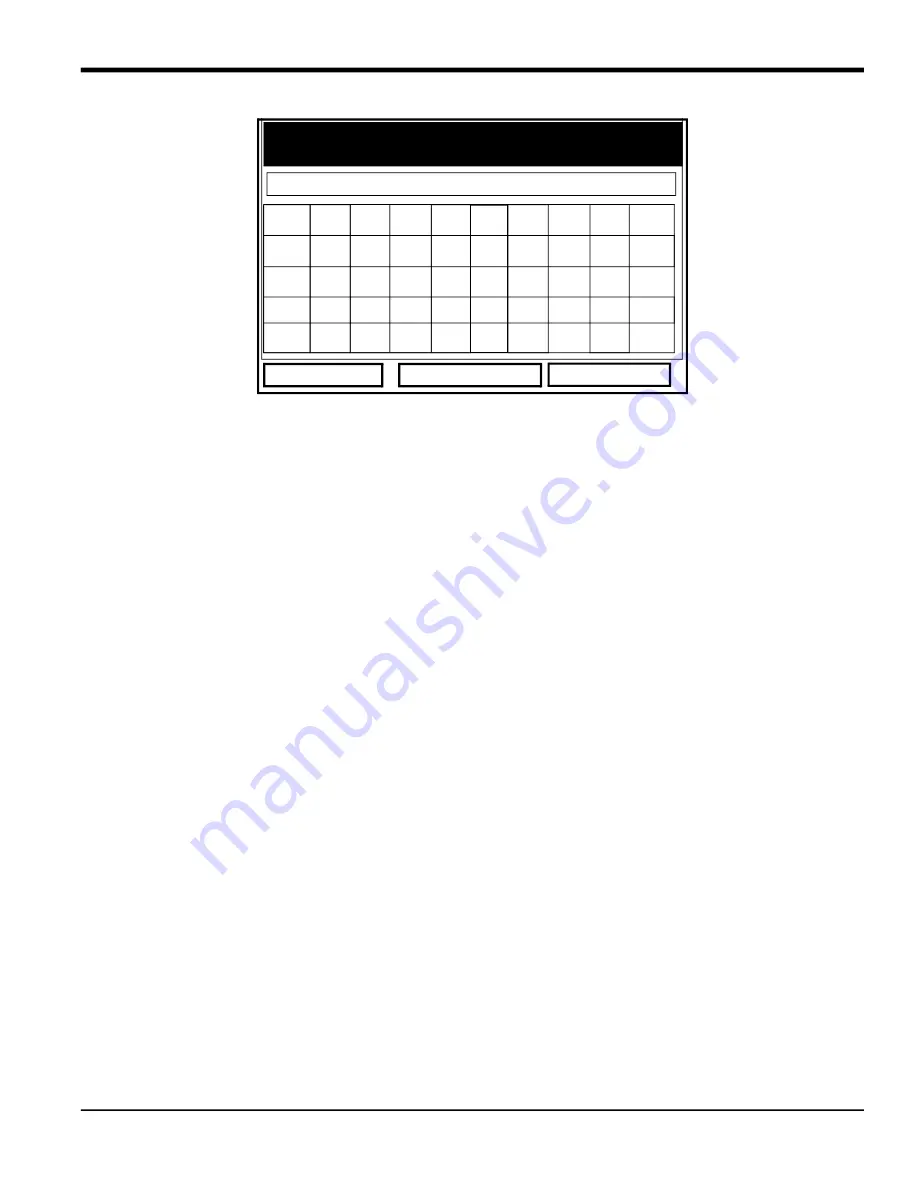
Figure 65: The Text Creation Window
b.
Use the four arrow keys to scroll to the desired letter or symbol, and press
[ENTER]
to add the letter to the
label.
Note:
Pressing
[SEL]
causes the screen to alternate between a set of upper-case (capital) letters, a set of
lower-case letters, and a set of symbols. Use all three screens to create a desired label.
c.
Repeat this procedure for each letter or symbol you wish to add to the label. If you wish to delete a letter,
press
[F1]
(Delete) to erase each letter or symbol, from right to left on the label. Up to 17 characters can
appear in the label window.
d.
When you have completed the label, press
[F3]
(OK) to confirm the label, or
[F2]
(Cancel) to leave the
window without adding the label.
3.
The next prompt asks for the Units Symbol.
a.
Press
[ENTER]
to reopen the text creation window.
b.
Repeat the procedure used for the Label (on the previous page) to create the Units Symbol.
c.
When you have completed the entry, press
[F3]
(OK) to confirm the symbol, or
[F2]
(Cancel) to leave the
window without adding the symbol.
4.
The next prompt asks you to select the number of decimal places.
a.
Press
[ENTER]
to open the drop-down menu.
b.
Scroll to the desired number of decimal places, ranging from 0 to 4.
c.
Press
[ENTER]
to confirm the entry.
5.
The final prompt asks for the function itself.
a.
Press
[ENTER]
to open the function creation window, which appears similar to Figure 4-23 on the next page.
b.
Use the four arrow keys to scroll to the desired function or table, and press
[ENTER]
to confirm each entry. Use
the numeric keys to enter numeric values. Press
[F1]
(Delete) to remove any mistaken or unwanted symbols
or numbers.
Note:
Pressing
[SEL]
causes the screen to alternate between a set of symbols and functions and a list of user
functions. Use both screens to create the desired function.
A B C D E F G H I J
K L M N O P Q R S T
U V W X Y Z 0 1 2 3
4 5 6 7 8 9 . , “ ‘
= < >
Delete
Cancel
OK
Содержание PT878GC
Страница 2: ......
Страница 4: ...ii no content intended for this page...
Страница 10: ...Contents viii TransPort PT878GC User s Manual...
Страница 16: ...Chapter 2 6 TransPort PT878GC User s Manual Figure 3 Connection Locations...
Страница 50: ...Chapter 3 40 TransPort PT878GC User s Manual...
Страница 98: ...Chapter 5 88 TransPort PT878GC User s Manual...
Страница 148: ...Chapter 8 138 TransPort PT878GC User s Manual...
Страница 152: ...Chapter 9 142 TransPort PT878GC User s Manual Figure 131 Printout of a Typical Drive Report...
Страница 190: ...Chapter 10 180 TransPort PT878GC User s Manual...
Страница 196: ...Chapter 11 186 TransPort PT878GC User s Manual...
Страница 197: ...TransPort PT878GC User s Manual 187 Appendix A Appendix A A 1 Menu Maps Figure 162 The Main Menu...
Страница 198: ...Appendix A 188 TransPort PT878GC User s Manual...
Страница 199: ...Appendix A TransPort PT878GC User s Manual 189 Figure 163 The Site Menu...
Страница 200: ...Appendix A TransPort PT878GC User s Manual 190 Figure 164 The Program Menu Transducer Lining Fluid and Path Options...
Страница 201: ...Appendix A TransPort PT878GC User s Manual 191 Figure 165 The Program Menu Pipe Option...
Страница 204: ...Appendix A TransPort PT878GC User s Manual 194 Figure 168 The Meter Menu...
Страница 205: ...Appendix A TransPort PT878GC User s Manual 195 Figure 1 Logging Mneu...
Страница 212: ...Appendix D 202 TransPort PT878GC User s Manual...
Страница 218: ...Index 208 TransPort PT878GC User s Manual...
Страница 220: ...2 Doc Tittle Manual Type...
Страница 222: ...Warranty 4 TransPort PT878GC User s Manual no content intended for this page...
Страница 223: ......


