21
Changing the AFM Probe
The user will want to learn how to change the AFM probe (aka “tip” or “cantilever”) for many
reasons: to install a new probe at the beginning of the user’s session, to replace a probe that is broken
or dull in the middle of a user’s session, or to
install different tips that allow the user to access multiple
modes of AFM during a session. Installing a fresh probe at the beginning of the session is the only way
that the user can be for certain that the tip is unbroken, sharp, and free of contamination (i.e., do not
rely on the previous user’s probe in the tool as a way to save money, as it might also be a waste of time).
This guide demonstrates how to remove and replace a probe from the AFM z-scanner.
The user will need to provide a new probe and a pair of sharp-tipped tweezers. The user will also need a
very small Phillips head screwdriver; this is provided in the small clear toolbox on the control desk
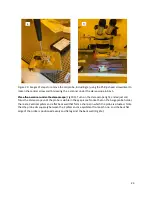
(Figure 18a).
Figure 18. Image of (a) the tools of the trade, including a box of fresh tips, sharp-tipped tweezers, and a
small Phillips head screwdriver; and (b) and image of the z-scanner resting on a tabletop with the beige
tip holder facing upward.
Notice the red arrow that points to the ONLY SCREW THAT THE USER WILL
LOOSEN/TIGHTEN
From the Jupiter softwa
re, in the Engage panel, click on “Change Cantilever,” and wait for the button
to turn green in color
(Fig 7). This moves the stage to a location where it is out of the way of the user,
and this also disengages the AFM lasers. On the AFM head, a light that
says “Ok to Remove” will be
illuminated.


