22
9. Calibration
9.1 Calibration Recording
9.2 Calibration Analysis
The system is calibrated by focusing on a sphere with a known width. The software detects the edges of
the sphere and determines the number of pixels that correspond to the known diameter. The first step in
calibration is to record an image or video of the calibration sphere.
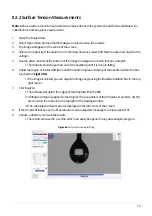
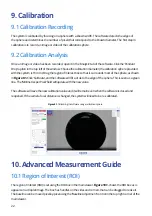
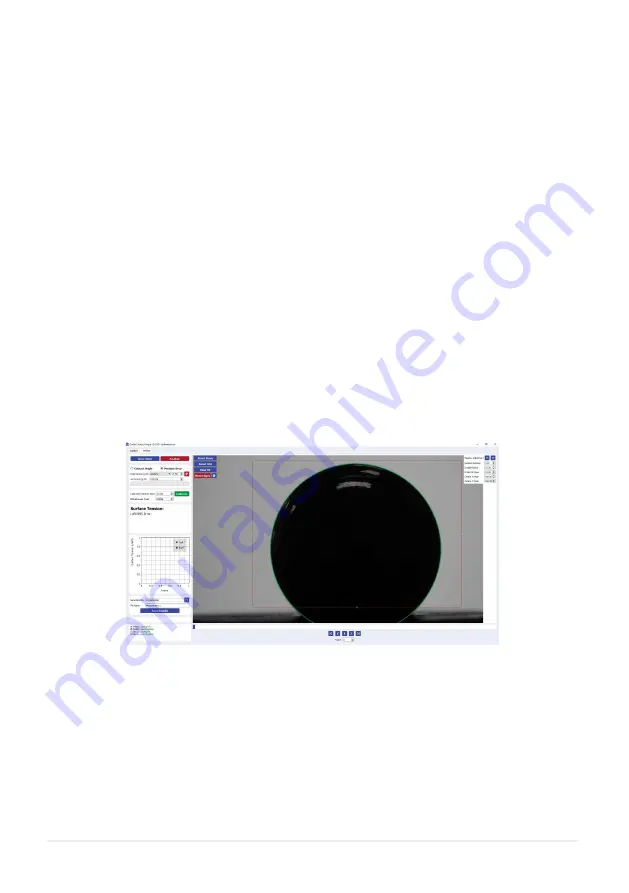
Once an image or video has been recorded, open it in the ‘Analysis’ tab of the software. Click the ‘Pendant
Drop’ option in the top left of the window. Choose the calibration diameter (the calibration sphere provided
with the system is 10 mm). Drag the region of interest box so that is surrounds most of the sphere, as shown
in
Figure 9.1.
Click ‘Calibrate’, and the software will fit a circle to the edge of the sphere. This is seen as a green
line. The ‘Millimetres per Pixel’ field will update with the new value.
The software will save the new calibration value and it will remain even when the software is closed and
reopened. If the camera focal distance is changed, the system will need to be re-calibrated.
Figure 9.1.
Calibrating the software using a calibration sphere.
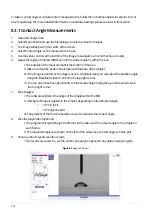
The region of interest (ROI) is set using the ROI box in the main viewer.
Figure 10.1.
shows the ROI box as is
appears on a droplet image. The box has handles on the sides and corners that can be dragged to resize it.
The baseline can be moved pixel-by-pixel using the ‘Baseline Adjustment’ control in the top right corner of the
main viewer.
10. Advanced Measurement Guide
10.1 Region of Interest (ROI)
Содержание L2004A1
Страница 29: ......

