14
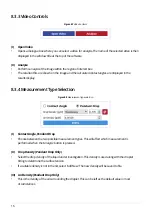
To take a contact angle or surface tension measurements, follow the instructions below in sections 8.3.1 or
8.3.2 respectively. For more detailed information on individual settings, please see later in this section.
1. Open the ‘Analyse’ tab.
2. Select ‘Open Video’ and use the file dialogue to select a video for analysis.
3. The image will appear in the centre of the screen.
4. Select ‘Contact Angle’ as the measurement choice.
5. Use the video controls at the bottom of the image to navigate to a frame that has a droplet.
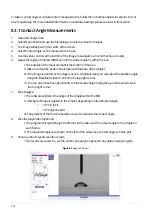
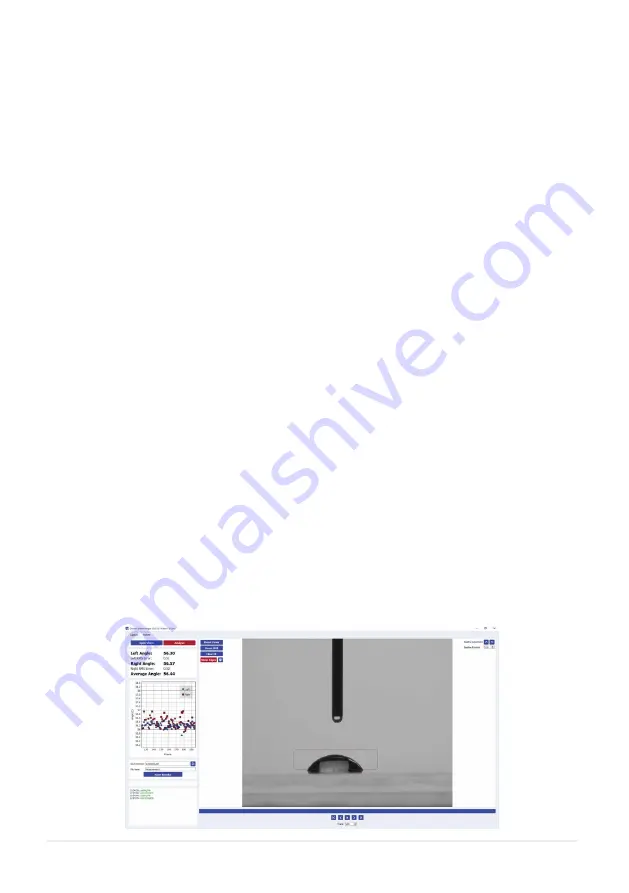
6. Adjust the region of interest (ROI) box until the entire droplet is within the box.
I. The baseline of the measurement is the bottom of the box.
II. Make sure that the bottom line is level with the base of the droplet.
III. If the image is slanted, or the stage was not completely level, you can adjust the baseline angle
using the ‘Baseline Rotation’ control in the top right corner.
IV. You can also make fine adjustments to the baseline height using the up and down arrows in
the top right corner.
7. Click ‘Analyse’.
I. The software will detect the edges of the droplet within the ROI.
II. A fitting technique is applied to the droplet, depending on its estimated angle:
• < 10° Circle Fit
• > 10° Polynomial Fit
III. The gradient of the fit at the baseline is used to calculate the contact angle.
8. Click the play button (optional).
I. The program will cycle through the frames in the video and fit a contact angle to the droplet in
each frame.
II. The calculated angles are shown on the left of the screen as a contact angle vs frame plot.
9. Choose a directory and save the results.
I. The results are saved in a .csv file, which can easily be opened in any data analysis program.
Figure 8.5.
Region of interest
8.3.1 Contact Angle Measurements
Содержание L2004A1
Страница 29: ......

