11
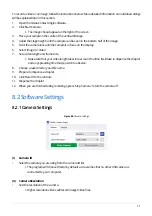
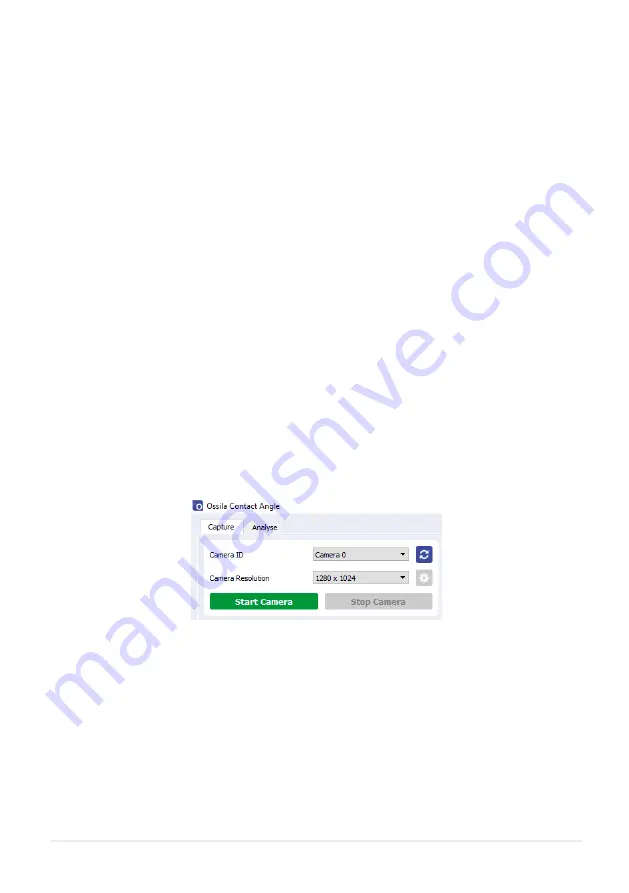
Figure 8.2.
Camera settings.
8.2 Software Settings
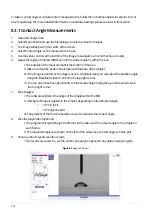
To record a video or an image, follow the instructions below. More detailed information on individual settings
will be explained later in this section.
1. Open the Ossila Contact Angle software.
2. Click ‘Start Camera’.
I. The image should appear on the right of the screen.
3. Place your sample in the centre of the vertical tilt stage.
4. Adjust the stage height until the sample can be seen in the bottom half of the image.
5. Twist the camera lens until the sample is in focus on the display.
6. Select ‘Image’ or ‘Video’
7. Set a video length and frame rate.
I. Make sure that your video length takes into account the time it will take to dispense the droplet
and any spreading time that you wish to observe.
8. Choose a save directory and file name.
9. Prepare to dispense a droplet.
10. Click ‘Record’ in the controls.
11. Dispense the droplet.
12. When you are finished taking recordings, press ‘Stop Camera’ to turn the camera off.
8.2.1 Camera Settings
(I) Camera ID
•
Select the camera you are using from the camera ID list.
I. The program will choose 0 (zero) by default, as it assumes that no other USB camera is
connected to your computer.
(II) Camera Resolution
•
Sets the resolution of the camera.
I. Higher resolution videos will result in larger video files.
Содержание L2004A1
Страница 29: ......

