17
8.3.5 Calibration Controls
8.3.6 Results Display
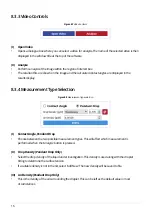
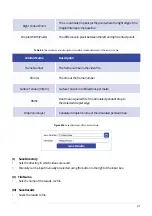
(I) Calibration Diameter
•
Select the diameter of the calibration sample under test. The calibration sample provided with the
system has a diameter of 10 mm, which is the default value of this field.
(II) Calibrate
•
Performs the calibration procedure on the calibration sample within the region of interest. For more
information on calibration, see section 9.
(III) Millimetres per Pixel
•
Shows the millimetres per pixel determined by the calibration procedure.
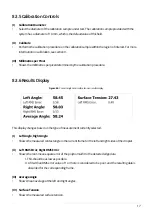
This display changes based on the type of measurement currently selected.
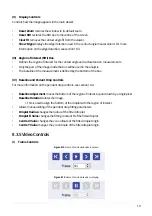
(I) Left Angle, Right Angle
•
Shows the measured contact angle in the current frame for the left and right sides of the droplet.
(II) Left RMS Error, Right RMS Error
•
Shows the root-mean-square error of the polynomial fit to the detected edge data.
I. This should be as low as possible.
II. A fit with an RMS error value of 1 or more is considered to be poor, and the resulting data is
discarded for the corresponding frame.
(III) Average Angle
•
Shows mean average of the left and right angles.
(IV) Surface Tension
•
Shows the measured surface tension.
Figure 8.9.
Contact angles and surface tension results display.
Содержание L2004A1
Страница 29: ......

