


12
13
After warming up, the analyzer goes into 'Stand-by' mode.
Warming up
9. OPERATION
Note:
The analyzer will automatically go into
'stand-by' mode after a test.
9.3 Stand-by
9.4 Power Save
After 30 minutes in 'stand-by' mode, without any action, the Analyzer goes into 'Power
Save' mode.
To Return to 'Stand-by' mode, press shortly, or just open the lid for testing.
When the power is connected, the displays shows 'Warming up' until the device is ready
for test.
Warming up will take approximately 5 minutes depending on the ambient temperature.
9.2 Warming up
While warming up, the
CLOVER A1c
®
performs hardware
functionality test to verify that the internal optics and the
mechanical system are operating correctly.
13/03/30
AM10:00
Set up
Memory
DATE
yy/mm/dd
TIME
12h
13 / 03 / 30
AM 08 : 00
DATE
yy/mm/dd
TIME
12h
13 / 03 / 30
AM 08 : 00
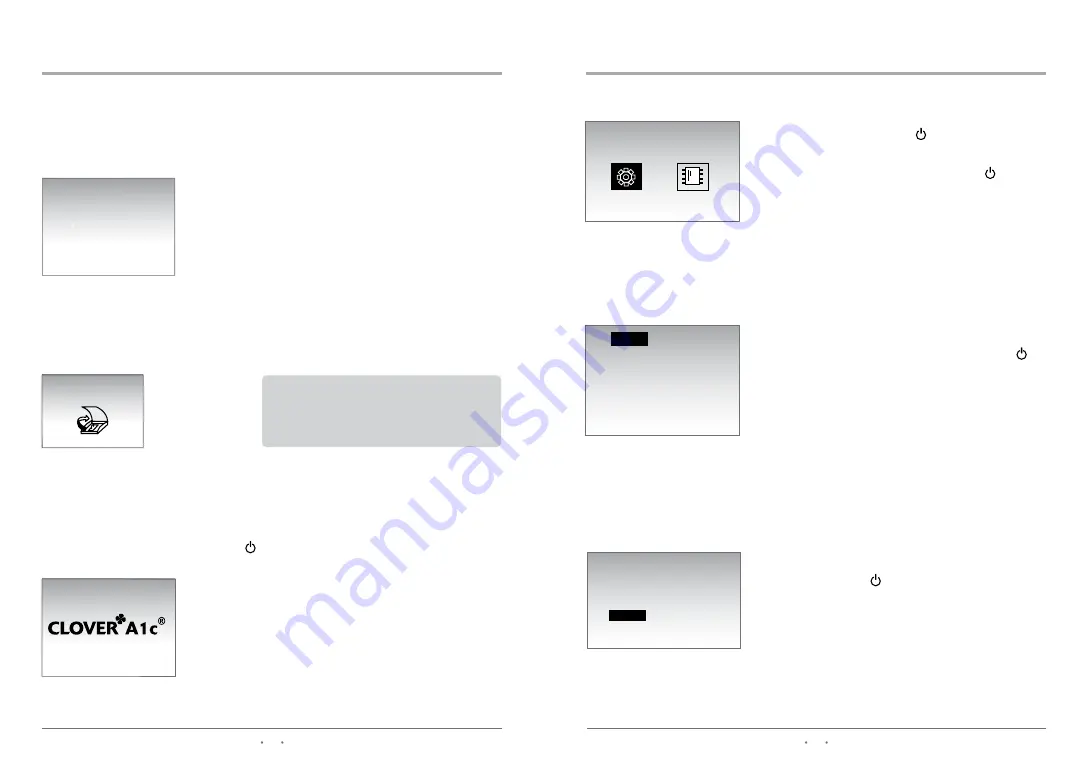
10. SETTING THE ANALYZER
Date
Getting into set up mode
In stand-by mode, press the button and hold for 3
seconds. Choose between set up and memory mode
by pressing
̵G
or
̷G
buttons. Then, press button
to select.
Time
Select the time format by pressing the
̵G
or
̷G
buttons, then press . 12h for standard time / 24h
for military time
Select the date format ('yy/mm/dd' or 'mm/dd/yy' or
'dd/mm/yy') by pressing the
̵G
or
̷
, then press
Next, set the date by pressing the
̵G
or
̷G
bottens.
You may hold the arrow keys to scroll through the
dates faster.


