


42
43
14. OPTIONS
STEP 4.
Scan the desired barcode until the Patient ID
is displayed on the LCD.
If the reader is not able to consistently read your labels, apply a test label of the format
being used to a new specimen tube and perform the barcode test.
If the reader is able to read the test label, the quality of your labels may be inadequate.
If the test label cannot be read, the reader itself could be the problem.
Contact with our local representatives for technical assistance.
NOTE
It is important that the labels be printed to the required specifications.
Reading errors may occur if any of the following conditions exist :
- The width of the barcode is too narrow
- The barcode length is too long
- The height is too low
- The reader is held too far from the label
- The background reflection is too high or low
13/03/30
14. OPTIONS
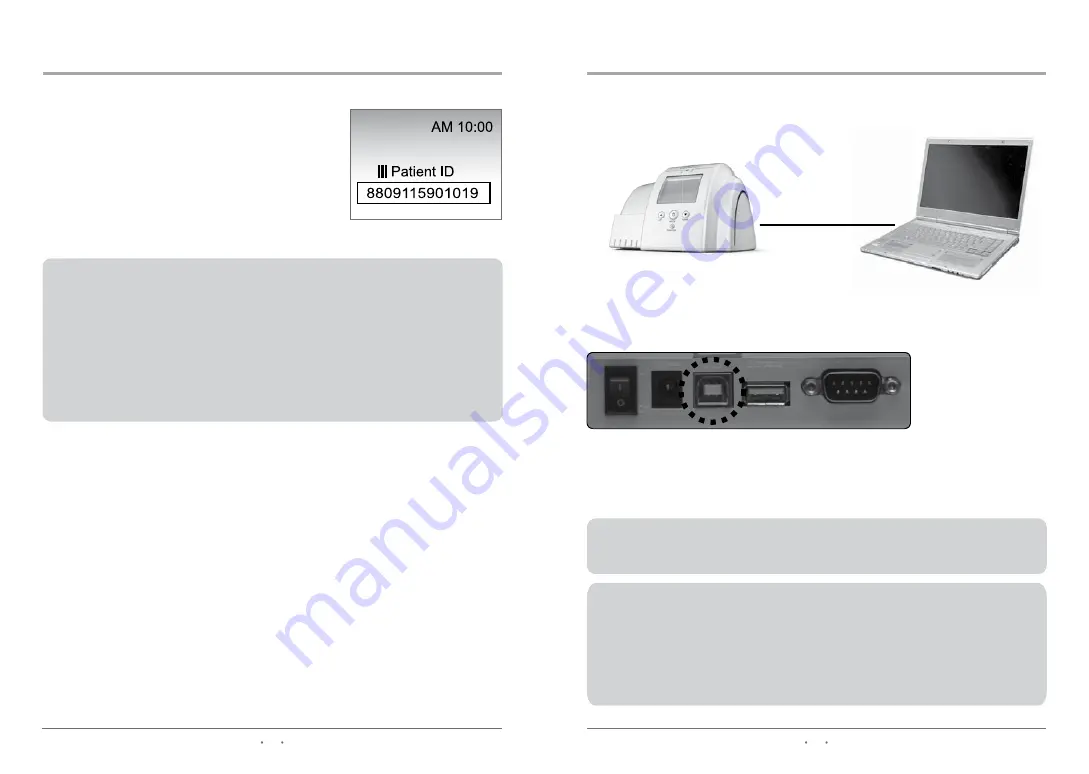
STEP 1. Connect the USB Cable from the analyzer to the PC while in stand-by mode.
STEP 2. Once connected the analyzer will display ‘PC’.
STEP 3. Download the PC application program.
STEP 4. Once the program is downloaded, click the ‘Date Transfer’ icon
on your PC. The results from the analyzer will be transferred over.
NOTE
For more information, please refer to the user’s guide. You can find user’s guide if
you are installed window program.
CAUTION
- To view the User's Guide, you need Adobe Reader Version 3 or higher.
- If this is not already installed on your computer, you can download it free at
(http://www.adobe.com/products/acrobat/readstep2.html)
- You can purchase the computer communication cable separately from a local
representative.
Please use the exclusive USB cable provided by OSANG Healthcare
Analyzer
Computer
14.3 Transfer Test Results to a Computer
On/Off 9V
USB Barcode Printer


