MW1008P, user manual
9
MODEL
The
MODEL
key selects between a series or parallel equivalent circuit model for the device under test.
Pressing this key for two seconds or longer places the Model selection in Auto mode. In this case the instrument
selects the most appropriate model.
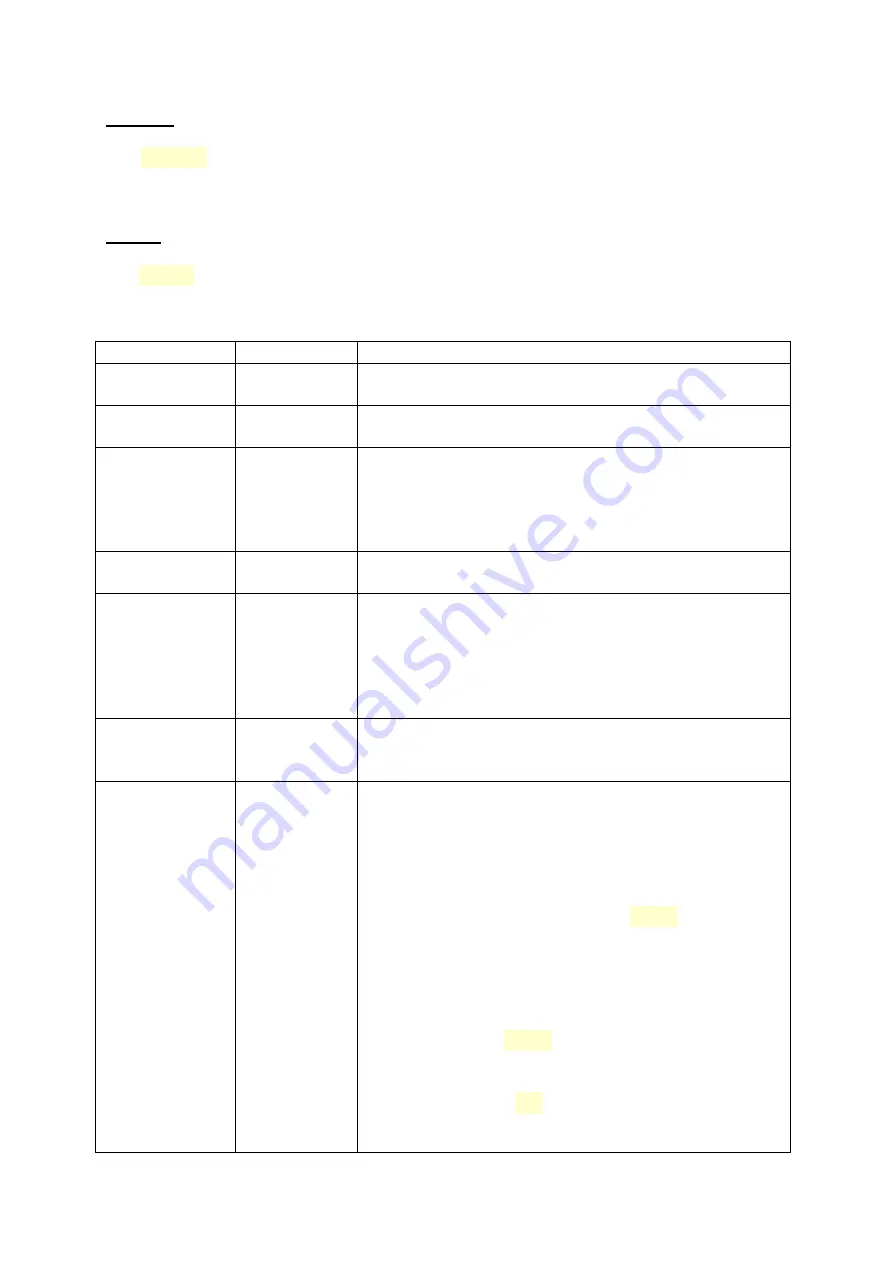
MENU
The
MENU
key allows access to a series of special configurable parameters. Pressing this key displays the
programmable options. The current state of each option is displayed on the first line of the LCD as that option is
selected. To move through the Menu, press the key under the forward or back arrows displayed on the LCD.
Menu
Default value
Purpose
Backlight
ON
The backlight can be set to ON or OFF. To turn the
backlight off, press the key under OFF.
Sound
ON
This option turns the audible alert function ON or OFF.
Averaging
ON
Set this feature to ON to compensate for random noise
that is apparent when measuring some components.
There are seven selectable step rates from 2 to 8. Each
step adds approximately .25 seconds to the sampling
refresh rate of the LCD display.
Numb. Avrg.
4
Number of measurements used for averaging.
Varactor
(varicap)
OFF
This option requires the MW108 Varactor Test Fixture
available from MW Instruments. Turning the Varactor
option to ON will place the LCR meter automatically in
the Varactor measurement mode upon saving and exiting
the Menu. To return to normal features, select the Menu
key and turn the Varactor feature OFF.
Usr f
(user frequency)
1.25 kHz
Set the user frequency from 100 Hz up to 25 kHz
Sorting
OFF
Use this feature to measure and sort like valued
components.
Turning the Sorting function ON will allow the user to set
the Tolerance between the value of the benchmark
component and like components to be measures. This
Tolerance is selected by pressing the
NEXT
key.
When the appropriate tolerance has been selected,
pressing the key under the left arrow enables the value of
the benchmark component to be entered by pressing the
‘Edit’ key. A cursor will appear under the first digit of the
value. Pressing the
NEXT
key will move the cursor to the
next digit. Pressing the ‘Change’ key will step the value of
the selected digit. When the desired value has been
entered, pressing the
OK
key will record this value.
Pressing the key under the right arrow will allow the user to set the


