24
NOTE
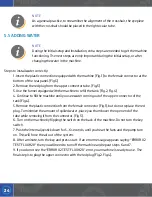
As a general practice, to streamline the alignment of the crosshair, the eyepiece
with the crosshair should be placed in the right ocular tube.
5.1: ADDING WATER
NOTE
During the initial setup and installation, extra steps are needed to get the machine
functioning. The next steps are only important during the initial setup, or after
changing the water in the machine.
Steps to install water correctly:
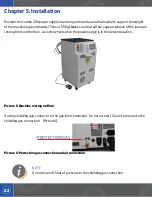
1. Insert the plastic connection equipped with the machine (Fig. 1) to the female connector at the
bottom of the rear panel. (Fig.3)
2. Remove the red plug from the upper connector tube. (Fig.3)
3. Use the funnel equipped with the machine to refill the tank. (Fig.2, Fig.4)
4. Continue to fill the machine until you see water coming out of the upper connector of the
tank (Fig.4).
5. Remove the plastic connection from the female connector (Fig.1), but do not replace the red
plug. To minimize the amount of spilled water, place you thumb over the open end of the
tube while removing it from the connector. (Fig 3).
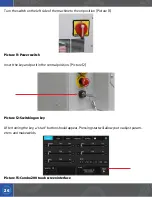
6. Turn on the machine by flipping the switch on the back of the machine. Do not turn the key
switch.
7. Push the internal joystick down for 5-6 seconds, until you hear the fans and the pump turn
on. This will force the air out of the system.
8. After a minute, turn the key and press start. If an error message appears saying: “ERROR 02
TEST FLUX H20” then you will need to turn off the machine and repeat steps 6 and 7.
9. If you do not see the “ERROR 02 TEST FLUX H20” error, your machine is ready to use. The
final step is to plug the upper connector with the red plug (Fig.2, Fig.4).
Содержание Combo 200
Страница 1: ...Orion Laser Welder User Manual Orion Combo 200 ...
Страница 4: ...4 ...
Страница 7: ...7 ...
Страница 52: ...52 ...


