EN
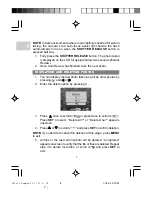
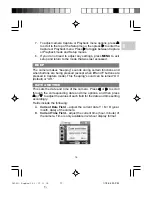
3. If you want to save battery power while using your camera, press
DISP
a third time to turn off the LCD.
4. Press
DISP
a fourth time to turn the LCD back on to show full
information.
NOTE:
In Video Capture mode, you cannot choose between different
LCD information settings.
TAKING BASIC PICTURES
1. Frame and view your subject in the LCD.
2. Press and hold the
SHUTTER RELEASE
button half way to focus
on the subject. The bottom LED by the viewfinder will show green
meaning the camera is on auto-focus and ready to take a photo.
NOTE:
If the object cannot be focused during auto-focus, the bottom
LED by the viewfinder turns to green. When focusing, the LED blinks
green slowly.
The bottom LED will light up and blink slowly during auto-focus, and
stop blinking once auto-focus is ready. The bottom LED will blink quickly
to indicate auto-focus is not ready.
AUTO-FOCUS
The camera’s auto-focus lens takes photos at a range of 1 m to infinity
(normal), and approximately 10 cm (macro). The macro-focusing
function lets you move the camera lens very close to the subject,
allowing you to take close-up photos with clarity and in detail.
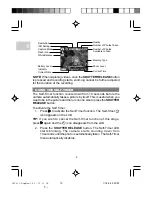
Battery Level
Indicator
Current Date
Resolution
ISO Setting
Capture Mode
Flash Icon
White Balance
Quality
Number of Photos
Available to Take
Current Time
Number of Photos Taken
6
Memory Type
DS9810 EngManl R3 (V2.0) OP
1/7/05, 4:00 PM
7
¶´ƒ


