12-14
Installing a G4 Console
Install the G4 Console
1-, 2-, 3-Cell Color Touch Installation and Service Guide
/67-2014 Rev G
© 2011 Omnicell, Inc.
5. Check the other connections to the PowerCom4 board to ensure they have not come loose
during transport.
6. Replace the lid and replace the screws that secure the lid to the E-Box.
Install the G4 Console
Insert the G4 Console into the Cabinet Frame
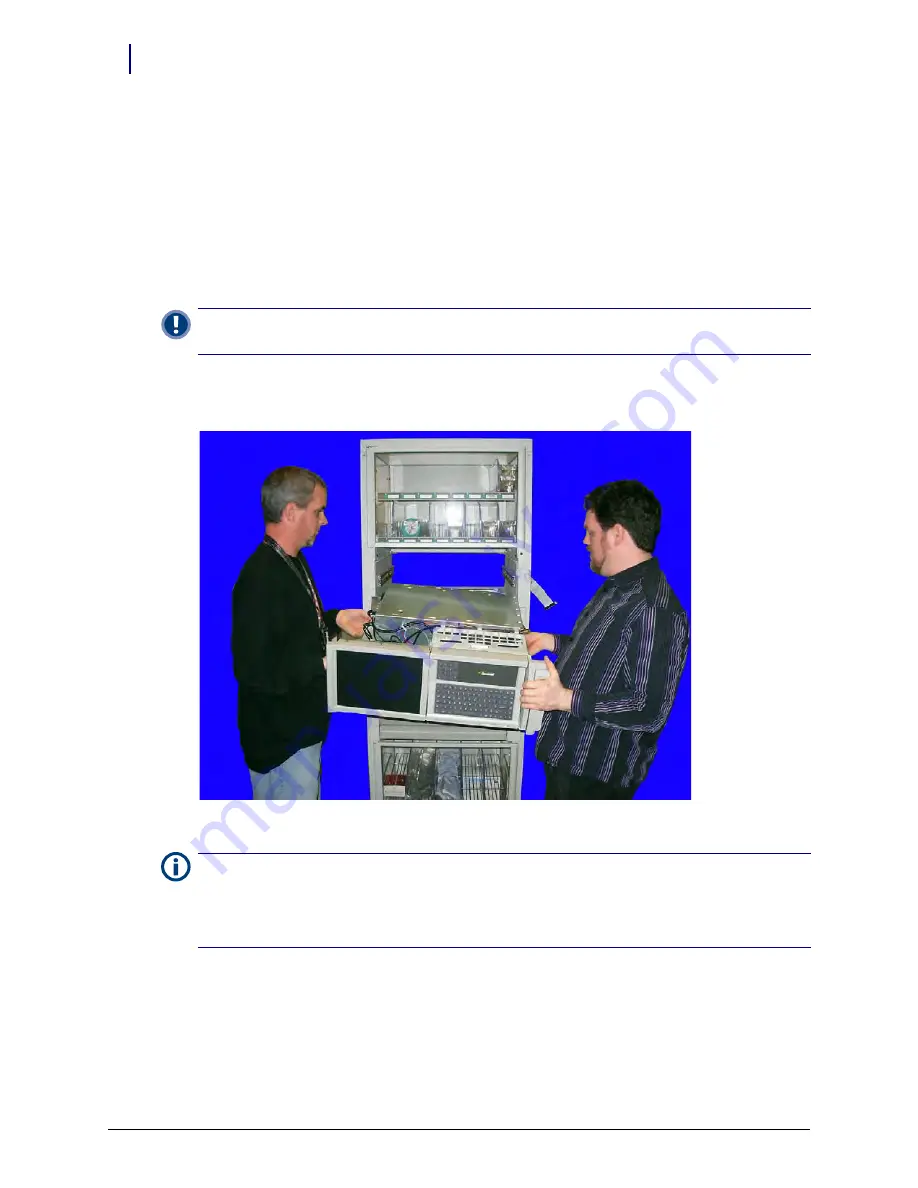
1. Lift the G4 console onto the rails in the cabinet and slide the console in until it clicks into
place.
Figure 12-21.
Lift the console with E-Box onto the rails
2. Pull the console back out until the rails stop.
3. Connect the wireway cable to the E-Box.
Important:
The G4 console is heavy and requires two people to lift it into place. Trying to lift the console into
the cabinet with just one person can result in injury or damage to the console.
Note:
If there is interference between the G4 console and the top of a previously installed supply drawer,
verify that the correct mounting brackets were used for the supply drawer. A supply drawer installed below
the console should use part numbers 53-3043 (left bracket) and 53-3044 (right bracket). For instructions to
remove the drawer and reinstall it with the correct brackets, refer to
on page 7-15 and


