55
Chapter 4: Configuring EXVoice for Using the DS-4000 Recorder
•
Folders
– These are not used with the Olympus DS-4000.
5. Click
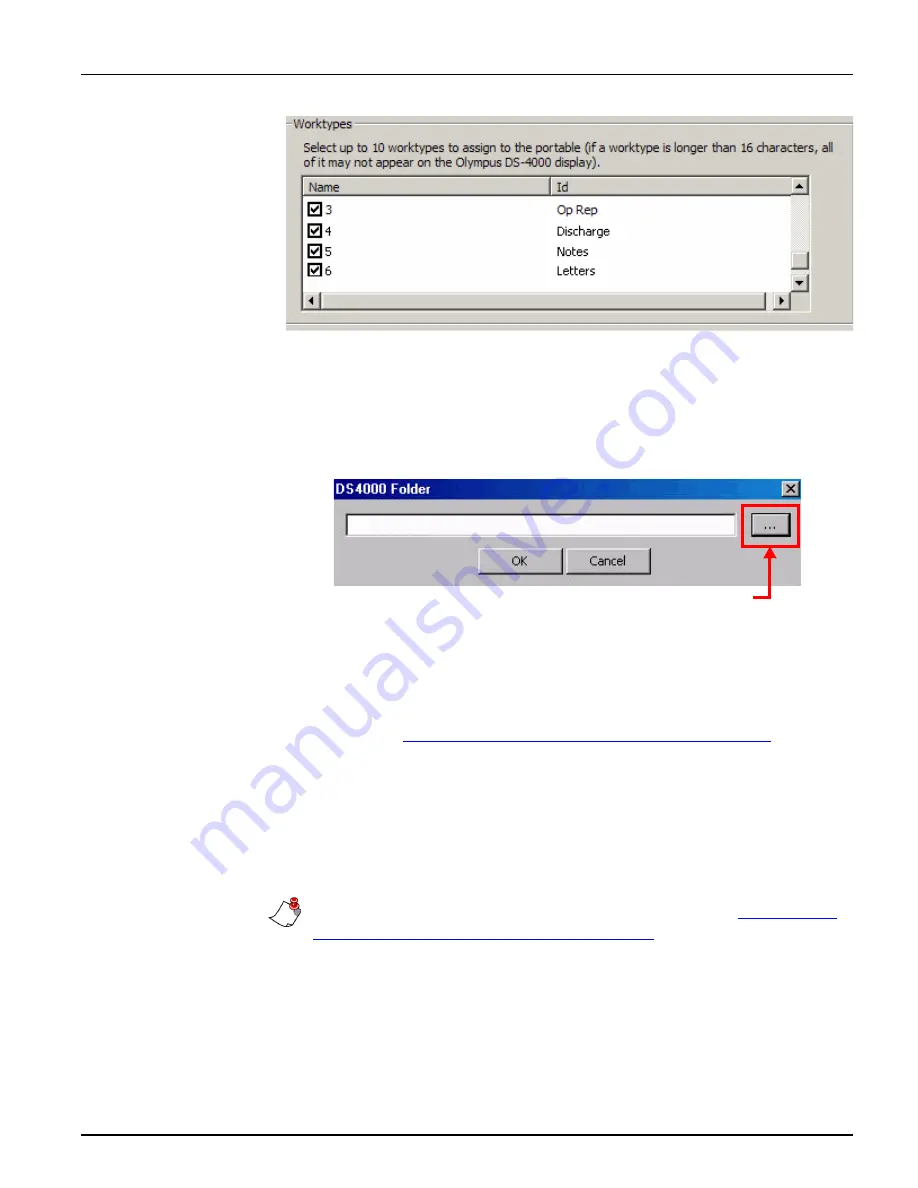
Assign data
at the bottom of the dialog box to save the settings to
the recorder and close the dialog box.
6. Select
File > Configure DS-4000 path
. The
DS-4000 Folder
dialog
box opens.
7. Click the ellipsis icon and browse to the root directory (not a subfolder)
of the removable drive assigned to the Olympus recorder by your
computer. The drive letter assigned varies from computer to computer.
The
Olympus Uploader
utility searches all five folders (
A
through
E
)
on the device.
8. Refer to
“Uploading a Test Dictation” beginning on page 57
to create a
dictation and test the upload process.
Reassigning a Recorder in EXVoice 6.5
At times, you may need to assign an Olympus recorder to a different
provider. This can be done by a system administrator at any workstation on
which the
Olympus Uploader
has been installed and configured.
Note:
If your facility is using EXVoice Version 7.x, refer to
Recorder (EXVoice 7.x)” beginning on page 52
procedures.
Ellipsis icon
Содержание DS-4000
Страница 42: ...38 Olympus DS 4000 Digital Recorder Installation and User Guide...
Страница 64: ...60 Olympus DS 4000 Digital Recorder Installation and User Guide...
Страница 70: ...66 Olympus DS 4000 Digital Recorder Installation and User Guide...
Страница 78: ...74 Olympus DS 4000 Digital Recorder Installation and User Guide...
Страница 80: ...76 Olympus DS 4000 Digital Recorder Installation and User Guide...


