- 86 -
5. Scan
Sending Scanned Data as an E-mail Attachment
This section describes how to send scanned data as an e-mail attachment.
•
•
Entering E-mail Address to Send E-mail
• Specifying a Destination from Address Book or Group List (Advanced Manual)
• Specifying a Destination Using One-touch Button (Advanced Manual)
• Specifying a Destination from Transmission History (Advanced Manual)
• Specifying a Destination Searching LDAP Server (Advanced Manual)
• Setting the Sender's Address (Advanced Manual)
• Setting the Reply Address (Advanced Manual)
• Registering an E-mail Template (Advanced Manual)
• Using an E-Mail Template (Advanced Manual)
• Saving Transmission Data (Advanced Manual)
• Checking Results of Scan To E-mail (Advanced Manual)
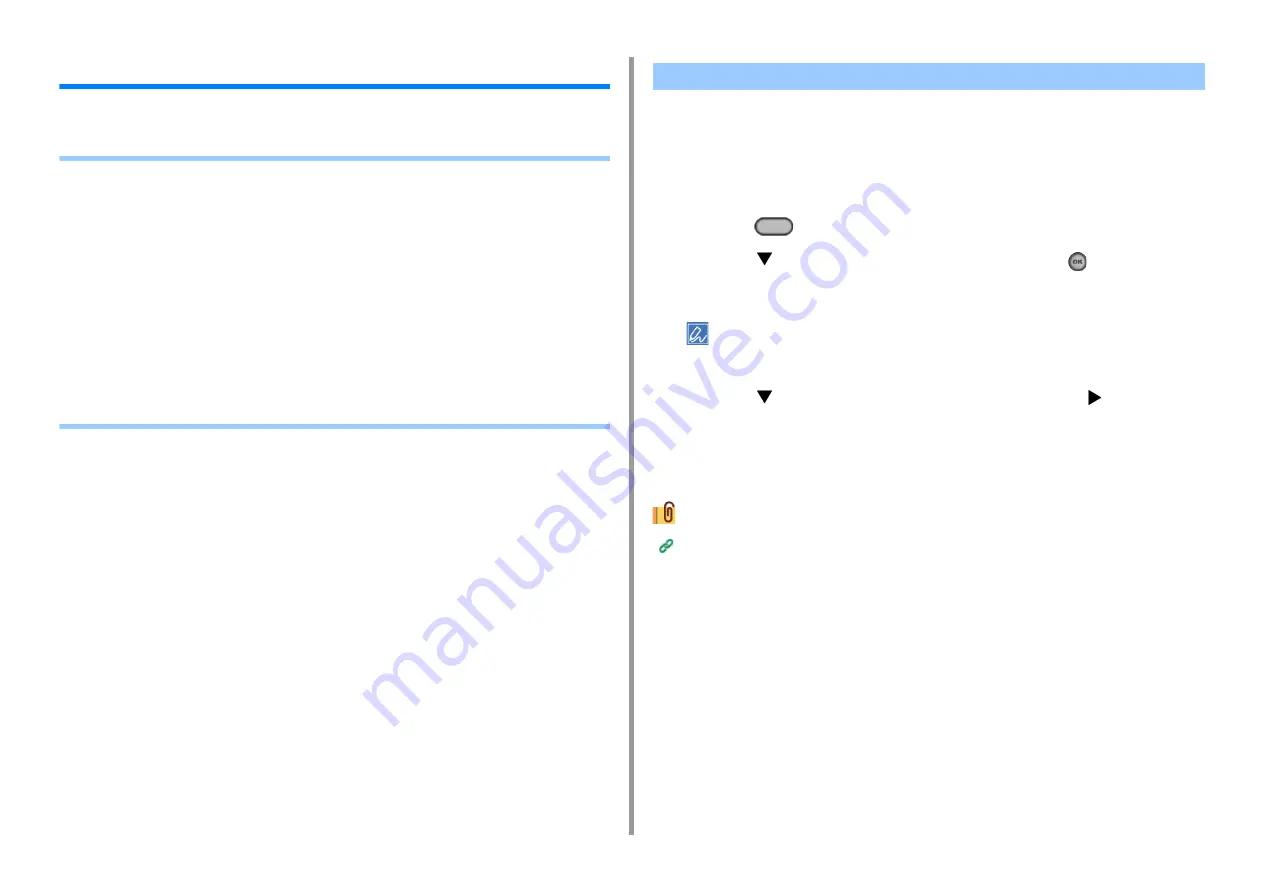
If the machine is set up from [Easy Setup] > [E-mail Setting], skip Before Using Scan To E-
mail. If the information is not set, set up in the following procedure.
1
Check the information related to E-mail following the steps in "
2
Press the
(SETTING) button on the operator panel.
3
Press the
button to select [Easy Setup] and press the
(OK) button.
4
Enter the administrator password, and then press [Enter].
The factory default password is "999999". If the administrator password is changed after installing the machine,
enter the updated password.
5
Press the
button to select [E-mail Setting] and press the
button.
6
Press [Next].
7
Follow the onscreen instruction to enter the information checked in Step 1.
E-mail Setup (Advanced Manual)
Before Using Scan To E-mail
Содержание ES5463 MFP
Страница 1: ...MC563 ES5463 MFP User s Manual...
Страница 11: ...11 1 Before starting ENVIRONMENTAL INFORMATION...
Страница 16: ...16 2 Setting Up Side view when the additional tray unit is installed...
Страница 21: ...21 2 Setting Up 13 Hold the handle B to close the scanner unit...
Страница 34: ...34 2 Setting Up 1 Plug the power cord into the power connector 2 Plug the power cord into the outlet...
Страница 40: ...40 2 Setting Up 7 Replace the paper cassette into the machine Push the paper cassette until it stops...
Страница 55: ...55 2 Setting Up 10 Click Complete 11 Click Next If the following dialog box is displayed click Yes...
Страница 81: ...4 Copy Copying Cancelling Copying Specifying the Number of Copies...
Страница 85: ...5 Scan Sending Scanned Data as an E mail Attachment Saving Scanned Data in a Shared Folder Cancelling Scanning...
Страница 95: ...95 6 Print 5 Change the settings in each tab to suit your needs 6 Click OK 7 Click Print on the Print screen...
Страница 106: ...106 6 Print Supply Levels Panel Item Description 1 Consumables Displays the remaining amount of consumables...
Страница 107: ...7 Fax Basic Operations of Fax Functions Setting for Receptions...
Страница 198: ...46590302EE Rev3...


