22
4 Set Up Network Connection
Automatic Setting
By default, the IP address is assigned to the machine automatically by the DHCP server. Therefore, all you have to
do when using DHCP is just to connect the network cable. After connecting the LAN cable, wait for 30 seconds
until the machine obtains the IP address.
This machine also supports automatic IP addresses using BOOTP and RARP protocols. If you use these protocols, follow the procedures
on “Manual Setting” and select <ON> in step 6, and then select <ON> in <2.BOOTP> or <3.RARP>.
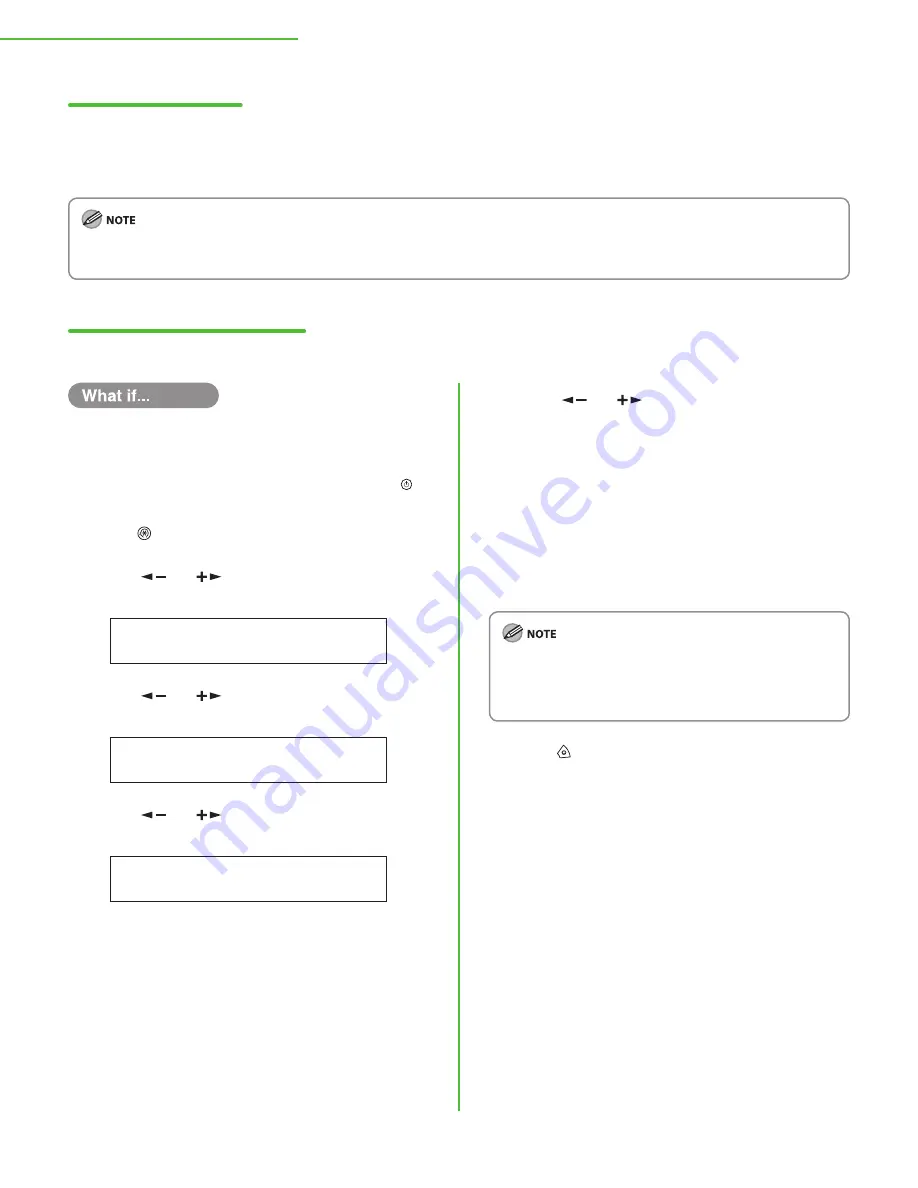
Check IP Address Setting
To confirm IP address settings, follow the procedure below.
The display returns to the standby mode:
The machine may enter the standby mode (Auto Clear function) while you are
setting it up. Make the setting again from the main menu.
The display turned off:
The machine may enter the sleep mode while you are setting it up. Press
[Power] to turn the machine back ON and continue the setup.
1
Press [Additional Functions].
2
Press [
] or [
] to select <9. SYSTEM
SETTINGS>, then press [
OK
].
9 . S Y S T E M
S E T T I N G S
A D D .
F U N C T I O N S
3
Press [
] or [
] to select <5. NETWORK
SETTINGS>, then press [
OK
].
5 . N E T W O R K
S E T T I N G S
S Y S T E M
S E T T I N G S
4
Press [
] or [
] to select <6. VIEW IP
ADDRESS>, then press [
OK
].
6 . V I E W
I P
A D D R E S S
N E T W O R K
S E T T I N G S
●
●
5
Press [
] or [
] to select <1. IP ADDRESS>,
<2. SUBNET MASK>, or <3 GATEWAY ADDRESS>,
then press [
OK
].
If the machine is communicating with the network
properly, the IP address, subnet mask and gateway address
are displayed.
If not, they are not displayed.
If the machine does not obtain the IP address 30 seconds
after you connect the LAN cable, turn OFF the main power
switch, and then turn it ON again and wait for another 90
seconds. If the machine still does not obtain an IP address,
ask your network administrator.
We recommend you to take note of the IP address you
confirmed here. You will need the IP address when you use
the Remote UI function. For details on the Remote UI
function, see “Using the Remote UI” in the e-Manual.
6
Press [Stop] to return to the standby mode.


