11
2 Set Up the Machine
6
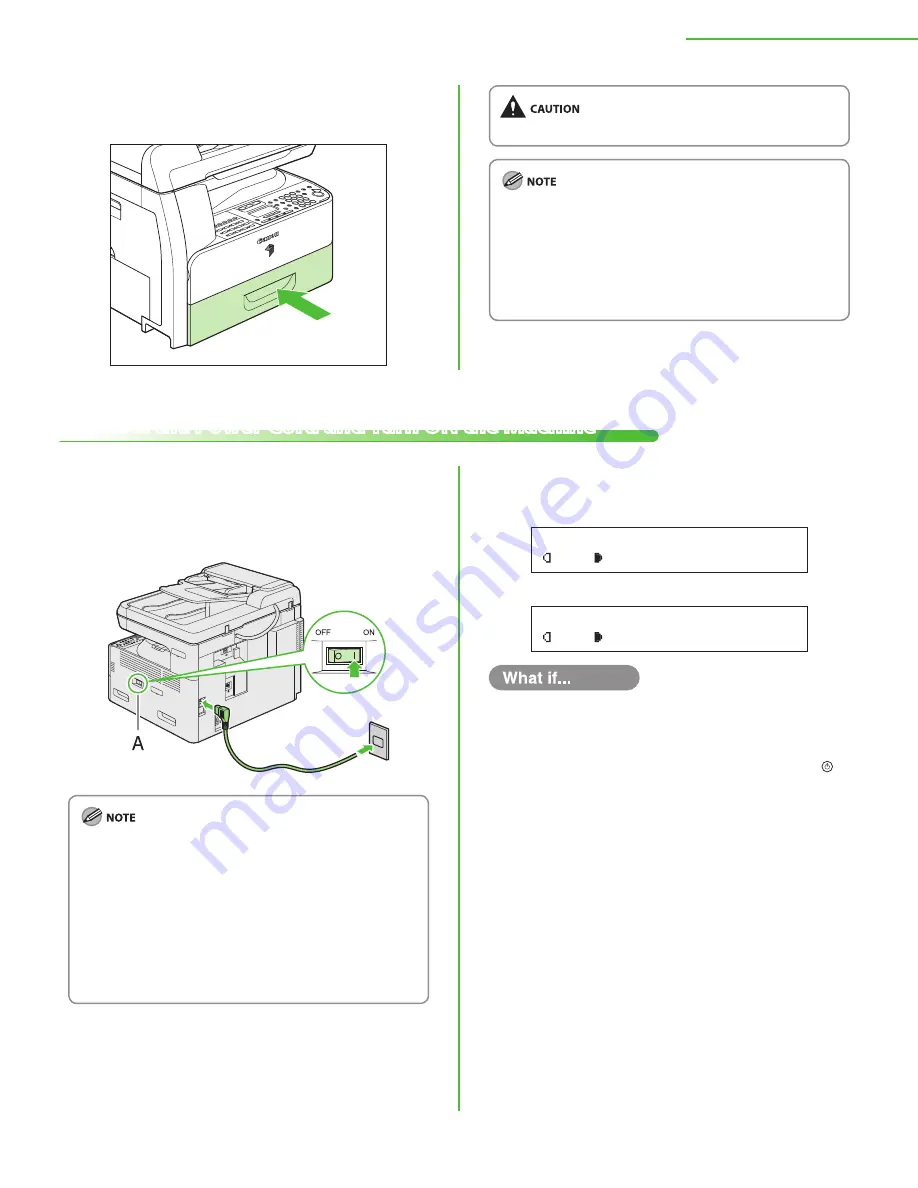
Gently insert the paper drawer as far as it will
go.
Connect the Power Cord and Turn ON the Machine
Be careful not to get your fingers caught.
In the same manner, load the paper into the optional
paper drawer. For attaching the optional paper drawer,
see the instruction sheet that comes with the optional
paper drawer.
For details on loading paper in the stack bypass, see
Chapter 2, “Originals and Print Media,” in the Basic
Operation Guide.
–
–
1
Connect the power cord to the rear socket on
the back side of the machine and to the wall
outlet, and press the [I] side of the main power
switch (A) to ON.
Do not connect the machine and the computer with a
USB cable at this time. Connect the machine and the
computer with a USB cable only during the software
installation procedure.
If you want to use the optional paper drawer, attach the
Cassette Feeding Module-N2 to the machine before
turning ON the machine. (For instructions on how to
attach the Cassette Feeding Module-N2, see the
instruction sheet that comes with the Cassette Feeding
Module-N2.)
–
–
2
The machine enters the standby mode.
Without optional drawer
0 1
A
T E X T
1 0 0 %
L T R
With optional drawer
0 1
A
T E X T
1 0 0 %
A U T O
The display returns to the standby mode:
The machine may enter the standby mode (Auto Clear function) while you are
setting it up. Make the setting again from the main menu.
The display turned off:
The machine may enter the sleep mode while you are setting it up. Press
[Power] to turn the machine back ON and continue the setup.
<CLOSE COVER/FRONT OR LEFT COVER> is displayed:
Make sure that the front or left cover is closed properly.
(See “Install Toner Cartridge,” on p. 6, or “Install Drum Unit,” on p. 8.)
<OUT OF TONER/CHANGE TONER> is displayed:
Make sure that the toner cartridge is installed properly.
(See “Install Toner Cartridge,” on p. 6.)
<DRUM IS NOT SET/INSERT THE DRUM> is displayed:
Make sure that the drum unit is installed properly.
(See “Install Drum Unit,” on p. 8.)
<LOAD PAPER> is displayed:
Make sure that paper is loaded in the paper drawer properly.
(See “Set Up Paper Drawer and Load Paper,” on p. 9.)
●
●
●
●
●
●
●
●


