258
12.WHEN THE GRAPHIC SYMBOLS BLINK ON THE TOUCH
12
1. DESCRIPTION OF THE BLINKING GRAPHIC SYMBOLS
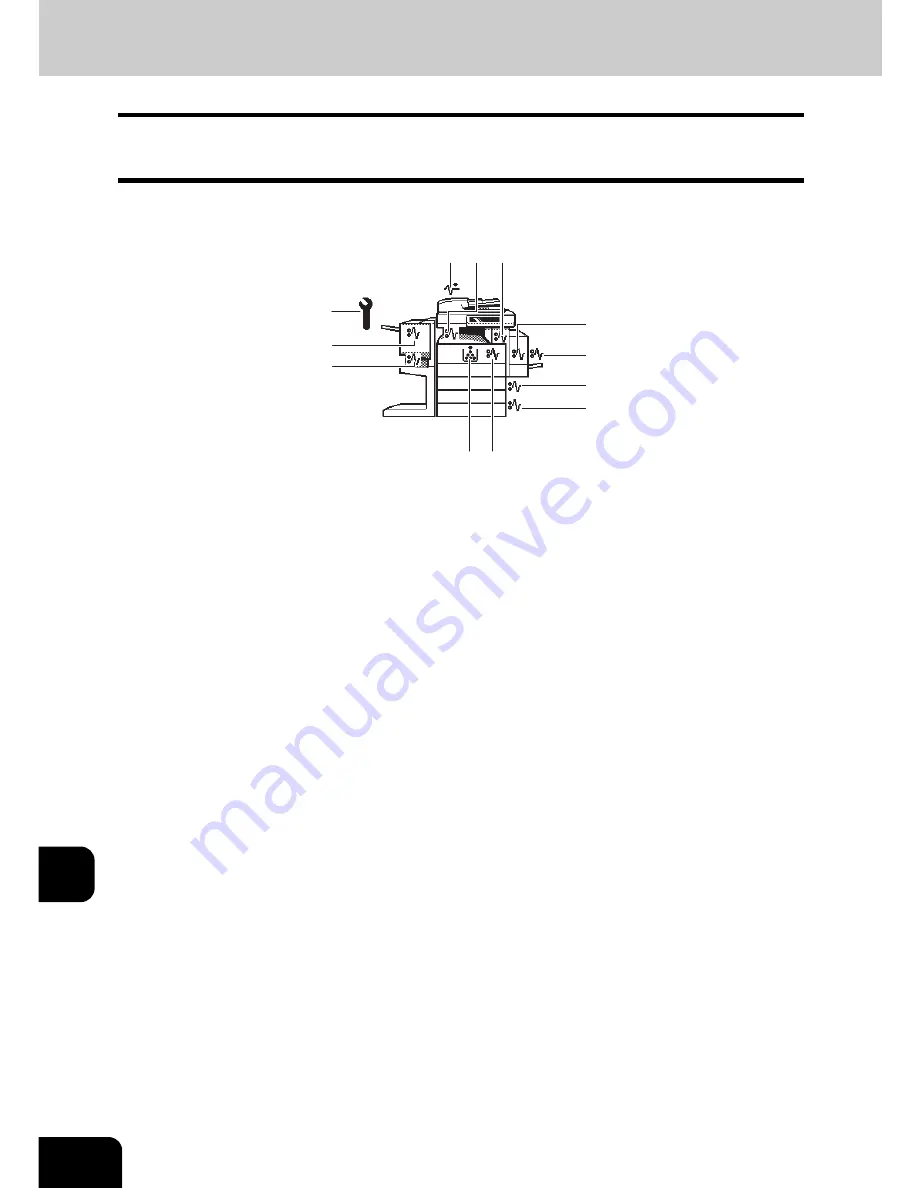
The graphic symbol on the touch panel shows the status of the equipment. When one of the graphic
symbols blinks, take the appropriate action referring to the page shown.
1
: REPLACE TONER CARTRIDGE symbol
Blinks when the toner cartridge runs out of toner.
"2.REPLACE TONER CARTRIDGE SYMBOL"
Page 260
2
: CHECK ORIGINALS symbol
Blinks when an original misfeed occurs inside the reversing automatic document feeder.
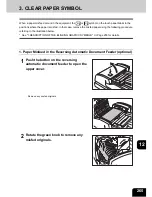
"1. Paper Misfeed in the Reversing Automatic Document Feeder (optional)"
Page 265
3
: JAM RELEASING UNIT MISFEED symbol
Blinks when a misfeed occurs in the jam releasing unit.
"2. Jam Releasing Unit Misfeed"
Page 268
4
: DRAWER MISFEED symbol
Blinks when paper fed from one of the drawers is misfed.
"3. Drawer Misfeed"
Page 269
5
: OPTIONAL FEEDER MISFEED symbol
Blinks when paper fed from the large capacity feeder (optional) is misfed.
"4. Paper Misfeed in the Large Capacity Feeder (optional)"
Page 270
6
: BYPASS MISFEED symbol
Blinks when a sheet of paper fails to be fed into the equipment during bypass copying.
"5. Paper Misfeed on the Bypass Feed Unit"
Page 271
7
: DUPLEXER MISFEED symbol
Blinks when a paper misfeed occurs inside the automatic duplexer.
"6. Paper Misfeed in the Automatic Duplexer"
Page 271
8
: FUSER MISFEED symbol
Blinks when a paper misfeed occurs in the fuser unit.
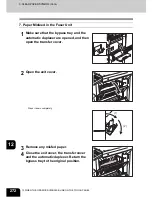
"7. Paper Misfeed in the Fuser Unit"
Page 272
2
9
8
7
6
4
5
3
1
11
10
12
Содержание im2330
Страница 1: ...For Oc and Imagistics Models Oc Operator s Manual for Basic Functions im2330 im2830...
Страница 4: ......
Страница 8: ...4...
Страница 10: ...6 NOTICE TO USERS Cont 1 Identification Label 2 Certification Label 3 Explanatory Label 4 Warning Label 1 3 2 4...
Страница 76: ...2 72 2 HOW TO MAKE COPIES...
Страница 107: ...103 4 4 IMAGE EDITING AND IMAGE ADJUSTMENT 1 BACKGROUND ADJUSTMENT 104 2 SHARPNESS ADJUSTMENT 105...
Страница 110: ...4 106 4 IMAGE EDITING AND IMAGE ADJUSTMENT...
Страница 144: ...5 140 5 USING THE EDITING FUNCTIONS...
Страница 145: ...141 6 6 STORING ORIGINALS 1 STORE TO e FILING 142 2 COPY FILE 145...
Страница 152: ...6 148 6 STORING ORIGINALS...
Страница 185: ...181 8 2 Select the destination that you want to delete and then press the DELETE button...
Страница 211: ...207 9 4 Press the paper size button you set by pressing the paper size button on the screen 5 Press the START button...
Страница 228: ...224 10 e FILING 2 SETTING UP BOX Cont 10 4 Press the ENTER button A box is newly set...
Страница 230: ...226 10 e FILING 3 CHANGING INPUT DATA Cont 10 5 Press the ENTER button The box settings are updated...
Страница 240: ...10 236 10 e FILING...
Страница 256: ...252 11 TEMPLATE 4 CHANGING INPUT DATA Cont 11 7 Press the ENTER button The data of user group are changed...
Страница 260: ...256 11 TEMPLATE 5 DELETING TEMPLATE Cont 11 5 Press the DELETE button The selected user group is deleted...
Страница 273: ...269 12 3 Drawer Misfeed 1 Open the cover 2 Remove any misfed paper 3 Close the cover...
Страница 295: ...291 13 13 MAINTENANCE 1 DAILY INSPECTION 292 2 SIMPLE TROUBLESHOOTING 294...
Страница 302: ...13 298 13 MAINTENANCE...
Страница 322: ...318 X X Y ZOOM 123...
Страница 323: ...Printed in China im2330 2830...
Страница 324: ......


