Creating Zones for OCR
Basic Procedures 3-13
Deleting Zones
You can delete the current zones if you want to create new zones or if
you do not want to process a particular area of a page during OCR.
To delete zones:
1
Select the zone you want to delete by clicking inside it in the
image viewer.
You can Shift-click to select additional zones. Choose
Select All
in the Edit menu to select all zones on the current page.
Selected zones are shaded.
2
Press the Delete key or choose
Clear
in the Edit menu.
The selected zones disappear but the contents of the page
image remain as is. Any part of a page image not enclosed by a
zone will be ignored during OCR.
Reidentifying Zone Types
The letter in the upper-right corner of a zone indicates its zone type. This
specifies characters or graphics that OmniPage Pro looks for within the
zone during OCR.
OmniPage Pro is supplied with
Alphanumeric
,
Graphic
, and
Numeric
zone
types.
Alphanumeric
zones are labeled with an
A
and
Graphic
zones are
labeled with a
G
. You can also create your own zone types. User-defined
zone types are marked with a
U
. (
Numeric
zone types are considered
user-defined zone types because they are editable.) See OmniPage Pro’s
online help for information on creating and editing zone types.
Make sure zones are identified correctly before OCR. For example, if a
page contains three paragraphs of text and a company logo, the
paragraphs should be
Alphanumeric
zone types and the logo should be a
Graphic
zone type.
To reidentify a zone type:
1
Select the zone you want to reidentify by clicking it.
You can Shift-click to select multiple zones. Selected zones are
shaded.
2
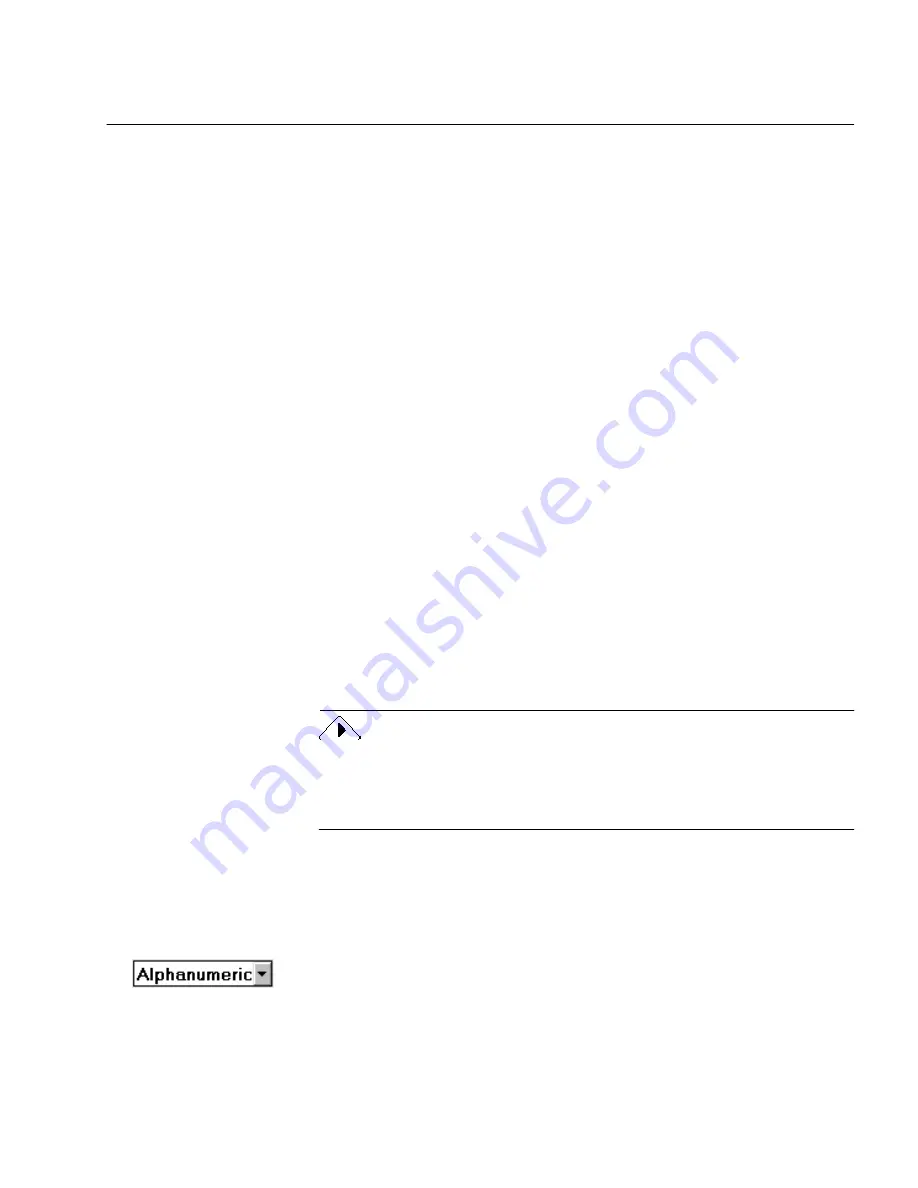
Select the desired zone type in the Zone Type drop-down list.
3
Repeat steps 1 and 2 for any other zones you want to reidentify.
Содержание OMNIPAGE PRO
Страница 58: ...Index 6...


