Setting Up Your Scanner With OmniPage Pro
2-4 Installation and Setup
To change your default scanner in OmniPage Pro:
1
Exit OmniPage Pro if it is running.
2
Click
Start
in the Windows 95 taskbar and choose
Programs
Caere Applications
Scan Manager 2.0
.
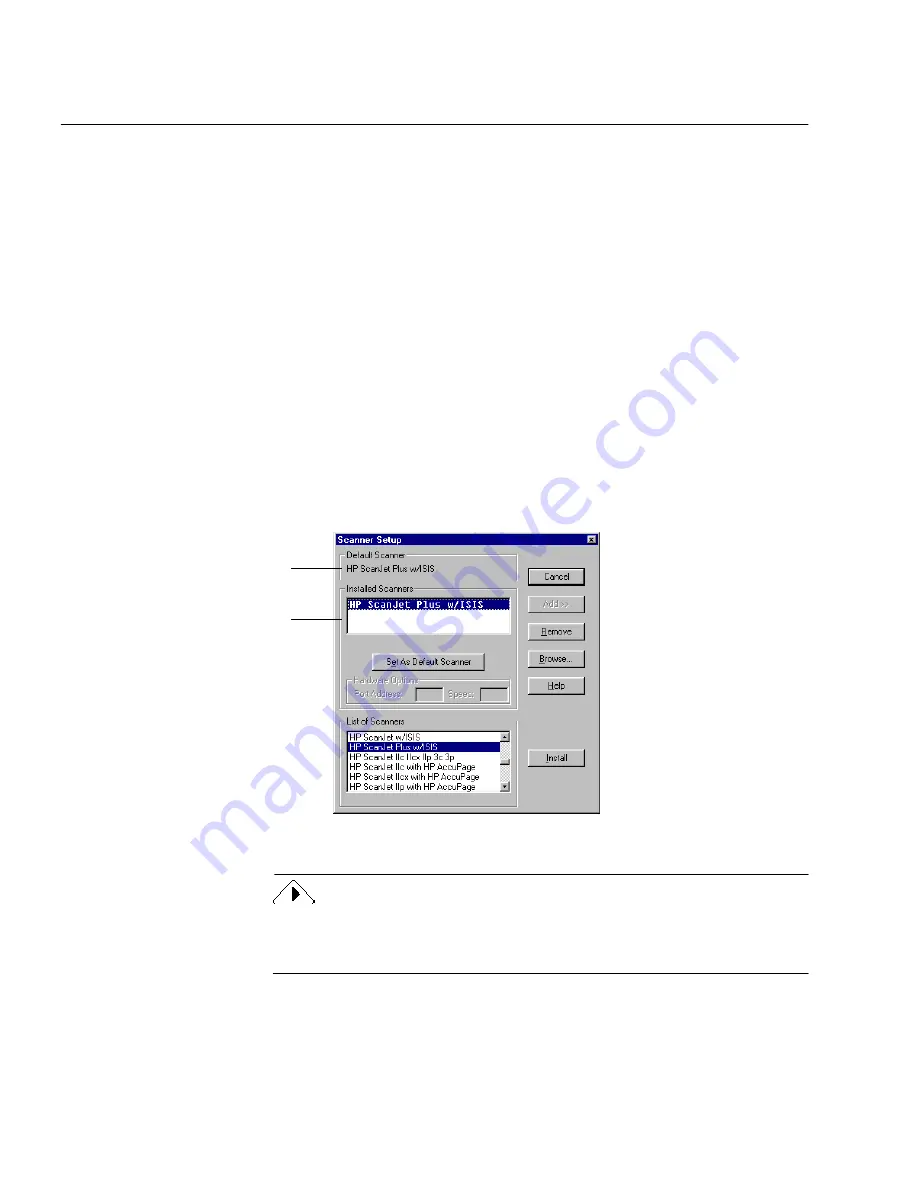
The Scanner Setup dialog box appears.
3
Click
Add>>
and insert the Scan Manager disk when prompted.
The dialog box expands to show a list of available scanners.
Some scanners are listed more than once because they have
different driver options. If you are unsure about which scanner
driver to use, see the
Scanner Setup Notes
booklet.
4
Select your scanner in the
List of Scanners
list box and click
Install.
The driver for that scanner is installed and the name of the
scanner appears in the
Installed Scanners
list box.
5
Select your scanner in the
Installed Scanners
list box and click
Set
As Default Scanner
.
6
Click
Close
.
If you use a Visioneer scanner or if your scanner is set up to work with
Visioneer’s PaperPort software, see “Using Visioneer PaperPort with
OmniPage Pro” on page 5-9.
The default scanner will be
used with OmniPage Pro.
Scanners that have installed
drivers appear here.
Содержание OMNIPAGE PRO
Страница 58: ...Index 6...


