13
41
54
53
52
G
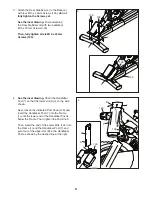
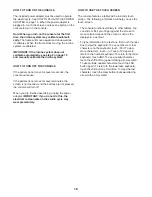
11.
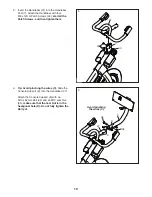
Note: You can attach your own saddle if
desired
.
See inset drawing a.
Tip the Saddle (54) to
one side and slide one of the rails (G) as far as
possible between the Lower Saddle Clamp (52)
and the Upper Saddle Clamp (53). If necessary,
further loosen the M8 Saddle Screw (41).
See inset drawing b.
Tip the Saddle (54)
downward as shown and slide the other rail (G)
between the Saddle Clamps (52, 53).
Make
sure that both rails are in the grooves in the
Saddle Clamps and that the Saddle is straight
and level.
Then, firmly tighten the Saddle
Screw (41).
11
54
54
a
b
53
52
52, 53
G
G
41
41
56
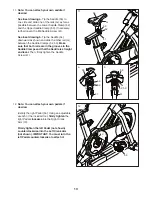
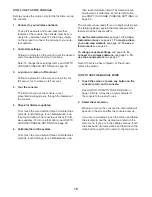
12.
Note: You can attach your own pedals if
desired.
Identify the right Pedal (56). Using an adjustable
wrench or the included tool,
firmly tighten
the
right Pedal
clockwise
into the Right Crank
Arm (19).
Firmly tighten the left Pedal (not shown)
counterclockwise into the Left Crank Arm
(not shown). IMPORTANT: You must turn the
left Pedal counterclockwise to attach it.
12
19
Содержание Commercial S22i Studio Cycle
Страница 4: ...4 STANDARD SERVICE PLANS...


