11. NOrd WAVE MANAGEr
|
39
memories, it will be at the end of the list.
If you right-click on a Sample Instrument you can upload it
2
from the Wave to the backup folder on the computer.
The file will be saved in the .nwi format, and may be
shared with other Nord Wave users.
Be careful with the Delete option, Programs may use
F
the Sample Instrument, and they will most likely not
sound the same if the SI is deleted.
Tip: The list also has information on the size, the
•
latest edit date and a version number of the Sample
Instruments. This can be useful if you e.g. need to free
up space in the Flash memory.
To add a previously saved Sample Instrument to the Nord
3
Wave, just locate the file on your hard drive and drag this file
to the desired location in the Nord Wave Manager.
Check the Expanded option to view all the locations
in the Flash memory.
here, the location #25 is empty.
Select the Programs option from the dropdown menu to
4
activate the Program Librarian function.
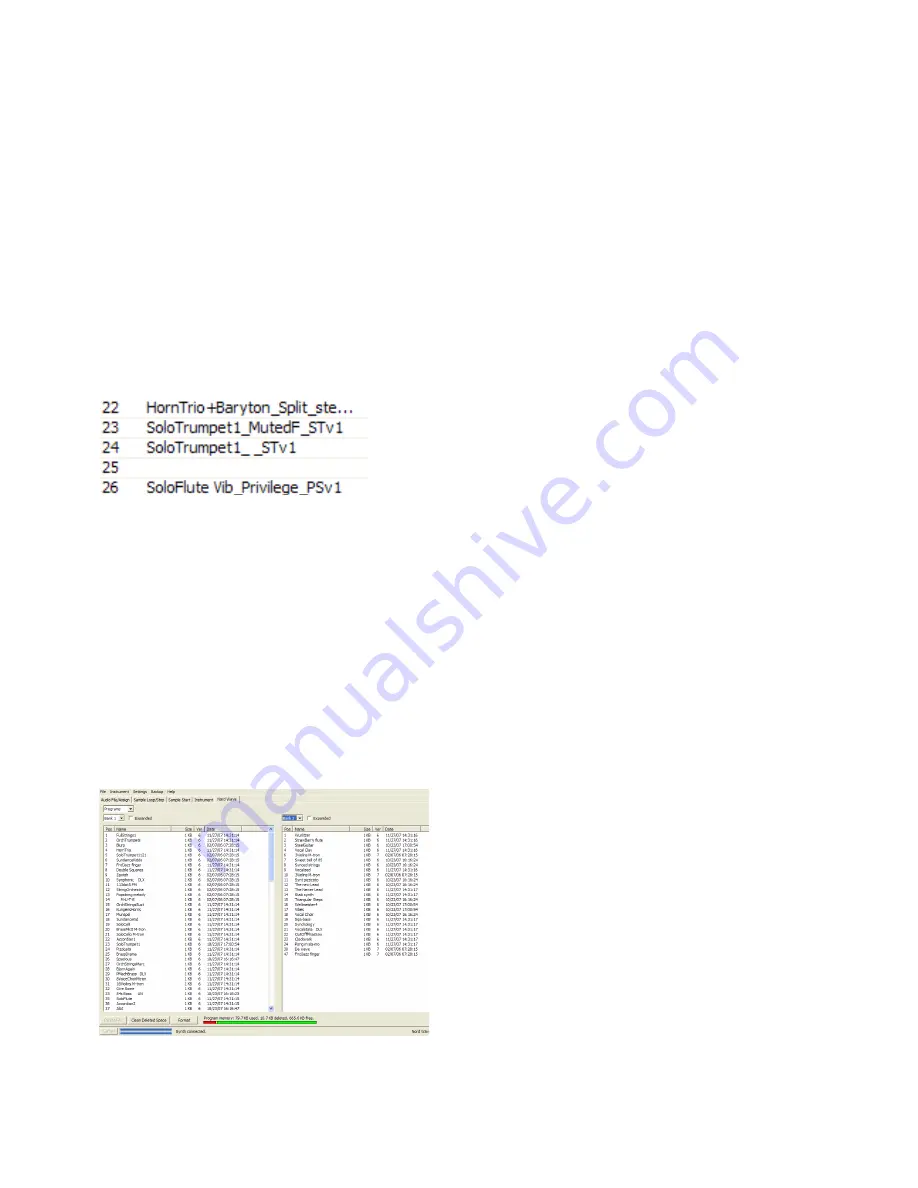
The Manager window is divided into two lists; each of
these lists will contain the Programs in the Nord Wave.
The lists are organized in the same Bank number,
Program number fashion as the Nord Wave Program
memory. You can select one bank at a time for each
separate list with the Bank Selector dropdown menu.
Tip: The two Program lists make organizing and
•
copying Programs between locations and banks easy.
Decide which one you should consider as the “source”
and the “destination” banks and just drag Programs
from one to the other. Dragging in this manner will
move the Program from the source bank location to
the destination bank location. If you drop a Program
on top of another Program, they will trade places
with each other.
Note: The two lists are identical. They are simply two
F
representations of the same memory area in the Nord
Wave, to make organizing the Program memories
between the banks as easy as possible. If you delete
a Program from one of the lists (right-click on a pro-
gram and select Delete), that Program will be deleted
from the Nord Wave and also from the other list as
well.
Right-click on a Program in any of the lists and select Upload
5
to backup folder.
This will save the selected Program as an .nwp file to
the hard drive. The hierarchy will look like this: Pro-
grams/Bank X. The necessary folders will be automati-
cally created when you upload a Program to the hard
drive.
To add a previously saved Program to the Nord Wave, just
6
locate the file on your hard drive and drag this file to the
desired Bank in the Nord Wave Manager.
Backup the original samples
Let’s make a backup of the Sample Instruments that cur-
rently resides in the Flash memory in the Nord Wave.
Launch the Nord Wave Manager and connect the Nord Wave to
1
the computer and open the Nord Wave tab if it is not already
open.
Go to the Settings menu in the Manager and select Backup
2
Folder....
Choose the folder on your hard drive where you want to save
3
the backups.
This location can be changed at any time.
Go to the Backup menu and select Backup...
4
The Nord Wave Manager will now suggest the location you
5
have chosen in step 3. Confirm by clicking on Save, and the
backup process will start.
Backing up the entire Program and Flash memory content
in this manner will take a few minutes, depending on the
sizes of the samples. Backing up from the Nord Wave Man-
ager is done in an incremental manner. Unless you change
the name of the file that is written to the hard drive, only
Sample Instruments and/or Programs that have been ed-
ited since the previous backup will be saved.
To restore, just go to Backup/Restore and browse to a previ-
6
ously saved backup file (file extension .nwb) and click Open.
This concludes our guided tour; we hope you have enjoyed
the show so far. Now follows the reference section where
all the functions in the Nord Wave Manager will be ex-
plained in detail.


